- Get external modules using git
- Build external modules(moyai)
- Build Space Sweeper game
- Build backend server
- Start backend server
- Start game
Use GitHub's normal procedure. Make sure that you get submodules recursively. If you're using command line git, you can get appropriate moyai version by this command:
git submodule update --init --recursive
See moyai's README . It supports MacOS X and Windows.
Use cl/sswin/sswin.sln for windows.
In MacOS X, type make depend;make in cl directory.
You can build it on MacOS, Linux. Use make command in vce directory, and after that make again in sv directory.
Server program is placed at sv/ssv. First you have to make data directories in sv/datadir by "ruby mkdir.rb" in the directory. Then you'll start it with these command line options:
./ssv realtime database --maxcon=10
You can see usage text by giving no arguments to the program.
Backend server requires Redis is running at localhost. You have to install Redis server in your machine and you'll start the redis server using "redis-server" or some commands like this.
In MacOS, you can find "ss" program in cl directory. In Windows, use sswin.sln and start Debug in Visual Studio.
You have to tell server address to the program. You can use command line argument like this:
--dbhost=localhost --rthost=localhost --username=nobita --debug
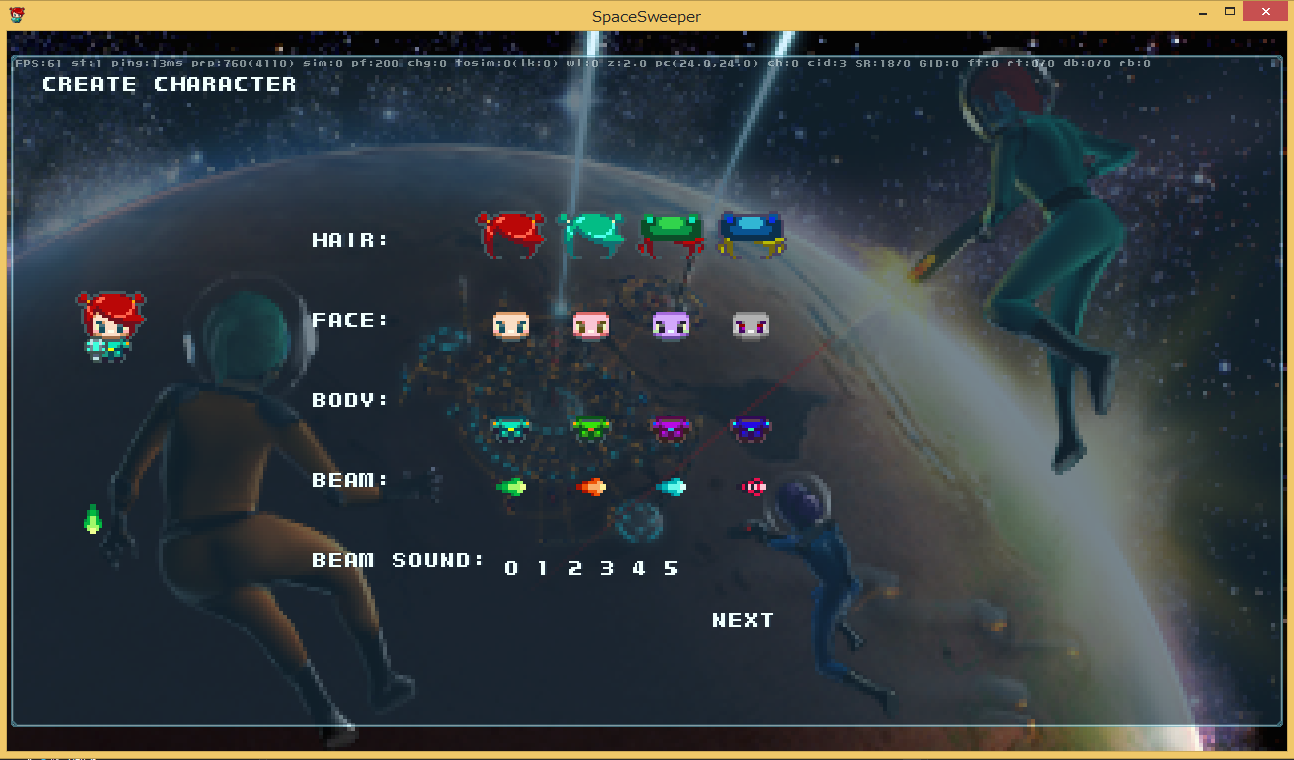
When success, you will see character making screen:
--username=STRINGSet the user name. This name corresponds to save game data, and needs to be exclusively controlled at a higher directory.--dbhost=HOSTNAMESet the address to the backend server’s database. Example: "localhost", "192.168.11.2"--rthost=HOSTNAMESet the address to the backend server’s realtime server (for game packet synchronization).--debugActivate debug commands, such as adding items or warping.--autoplayPlay automatically. (Stress testing)--autochargeAutomatically recharge player energy when playing.--speedwalkMove faster. For debugging.--infitemsInfinite items. For debugging.--jsdebugLog the joystick at all times.--nclocLog nearcast at all times.--skip-wmSkip the world map screen.--offlinePlay in single-player mode without the backend server.--fps=NUMBERManually set the frame rate.--long-db-timeoutSet the timeout for the database. This is required when playtesting over a slower network, like a wireless LAN.--save_max_concurrent=NUMBERAdjust maximum number of concurrent database saving request sent to backend server. Default value is 128 and this is suitable for SSD servers. Use 5~20 for HDD servers. This also depens on network speed/latency.
