This document is old and can be partly different for the recent virsion of VirtualBox.
The following the steps to install Ubuntu linux on VirtualBox. This document is prepared for the user who failed to install phonopy for some reason. Basically the questions on this procedure are not accepted in the phonopy mailing list.
The setup of Ubuntu linux on VirtualBox is quite easy. Ubuntu (server) linux on VMware player can be set up similarly.
Install VirtualBox
VirtualBox is an open source virtualization system. VirtualBox runs on Windows, Mac, Linux, etc. On Windows and Mac, the explanation of how to install is unnecessary. On Ubuntu linux, it can be installed using
apt-get:% sudo apt-get install virtualbox
Download Ubuntu Server image
The Ubuntu Server image is found at https://www.ubuntu.com/download/server/download. Alternatively it may be downloaded from the mirror sites near your location. For example, the file name may be like
ubuntu-14.04-desktop-i386.iso.Create a new virtual machine
You can specify parameters, but it is also OK just clicking next, next, ...
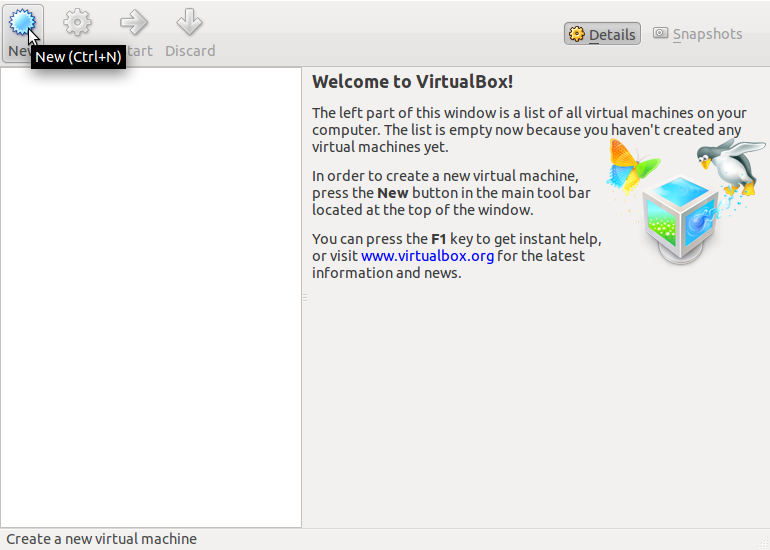
Then you can create an empty virtual machine image.
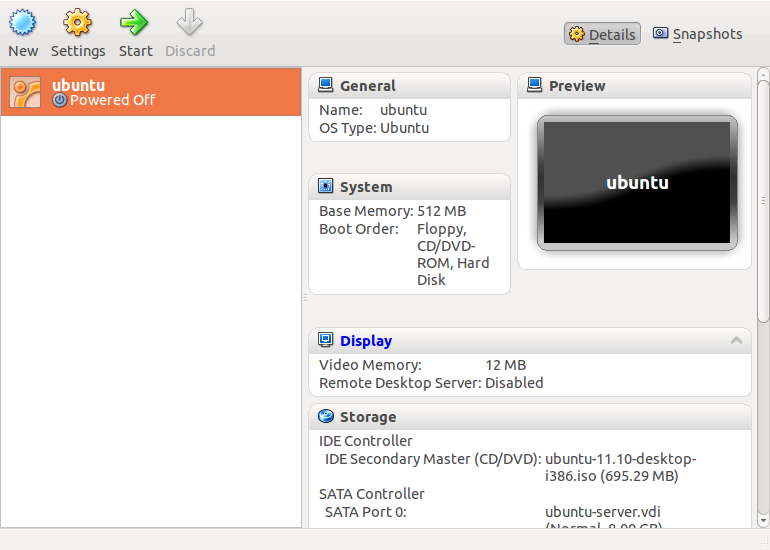
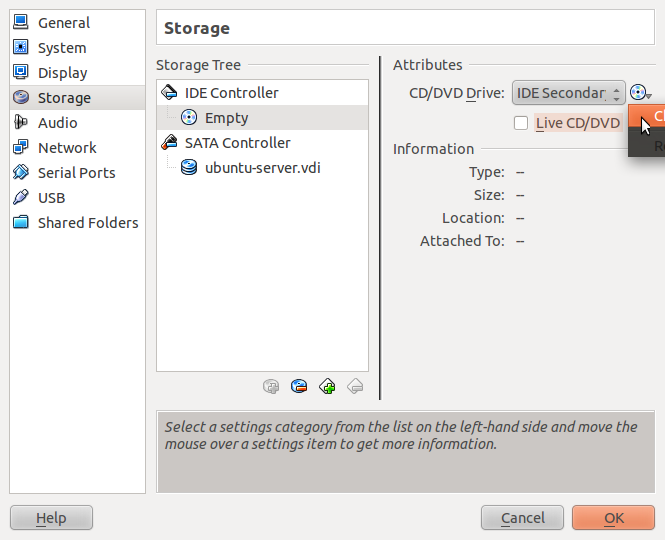
To install ubuntu server, set the install image as the virtual CD device from Settings -> Storage, and click 'OK'.
Start the virtual machine, then the installation of Ubuntu linux will start.
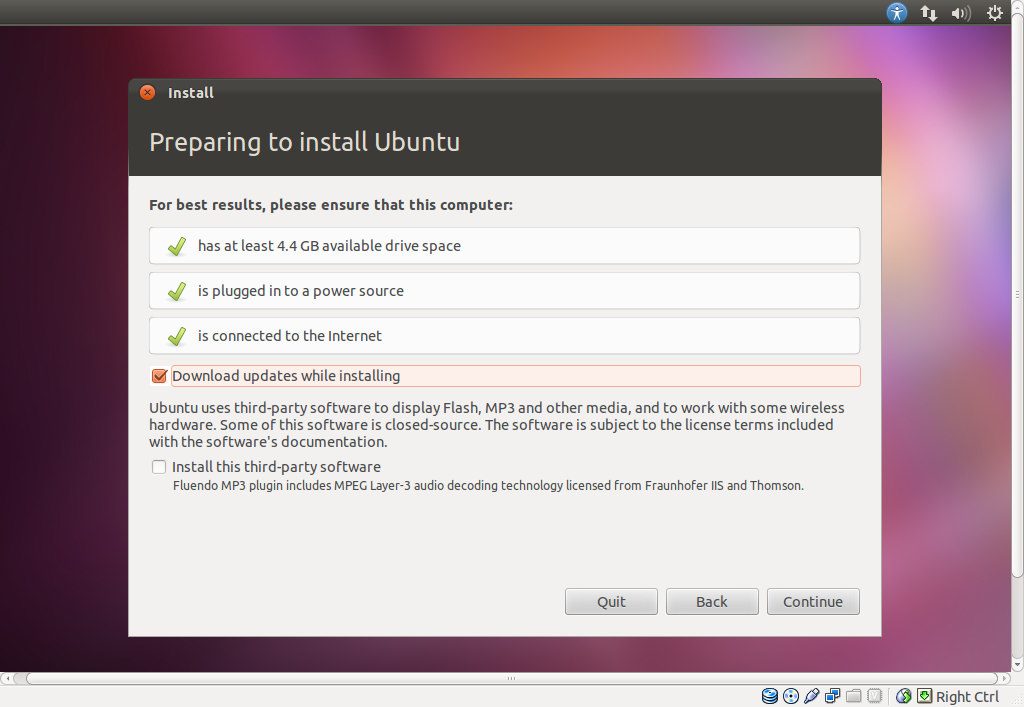
In the install process, you may just click 'continue', ..., 'install', etc. The computer's name and user name are set as you like.
System setting of the virtual machine
Boot the virtual machine and login to the ubuntu linux with the user name and password.
The terminal emulator is opened by 'Alt' + 'Ctrl' + 'T' or from the top-left corner seraching 'terminal'. What has to do first is update the system by:
% sudo apt-get update
% sudo apt-get upgrade
Some packages are to be installed for convenience:
% sudo apt-get install openssh-server
'vim', 'zsh', 'screen', 'aptitude' may be also useful. Then install phonopy following :ref:`install`.
Using phonopy from the host computer of the virtual machine
Phonopy can be used from the host computer (the machine where VirtualBox was installed).
First, the network device of the virtual machine has to be modified. If NAT is used, the port-forwarding setting is required, Settings -> Network -> Port forwarding, right click, Insert new rule, Host port -> 2222, Guest port -> 22. You can login to the virtual machine, e.g., by terminal:
% ssh -l username -p 2222 localhost
(scp can be used with
-P 2222option.)If Bridged adapter is used, you have to know the IP address of the virtual machine. Login to the virtual machine and in the terminal:
% ifconfig
The IP-address is found after
inet addrof (probably) eth0. Then you can login to the virtual machine by the usual manner with the IP address.If the host computer is a usual linux or Mac (with the terminal in X11), X-forwarding is easily used by:
% ssh -X -l username -p 2222 localhost
or:
% ssh -X IPADDRESS_OF_VIRTUALMACHINE
This is very useful because the plot can be forwarded to the host computer.


