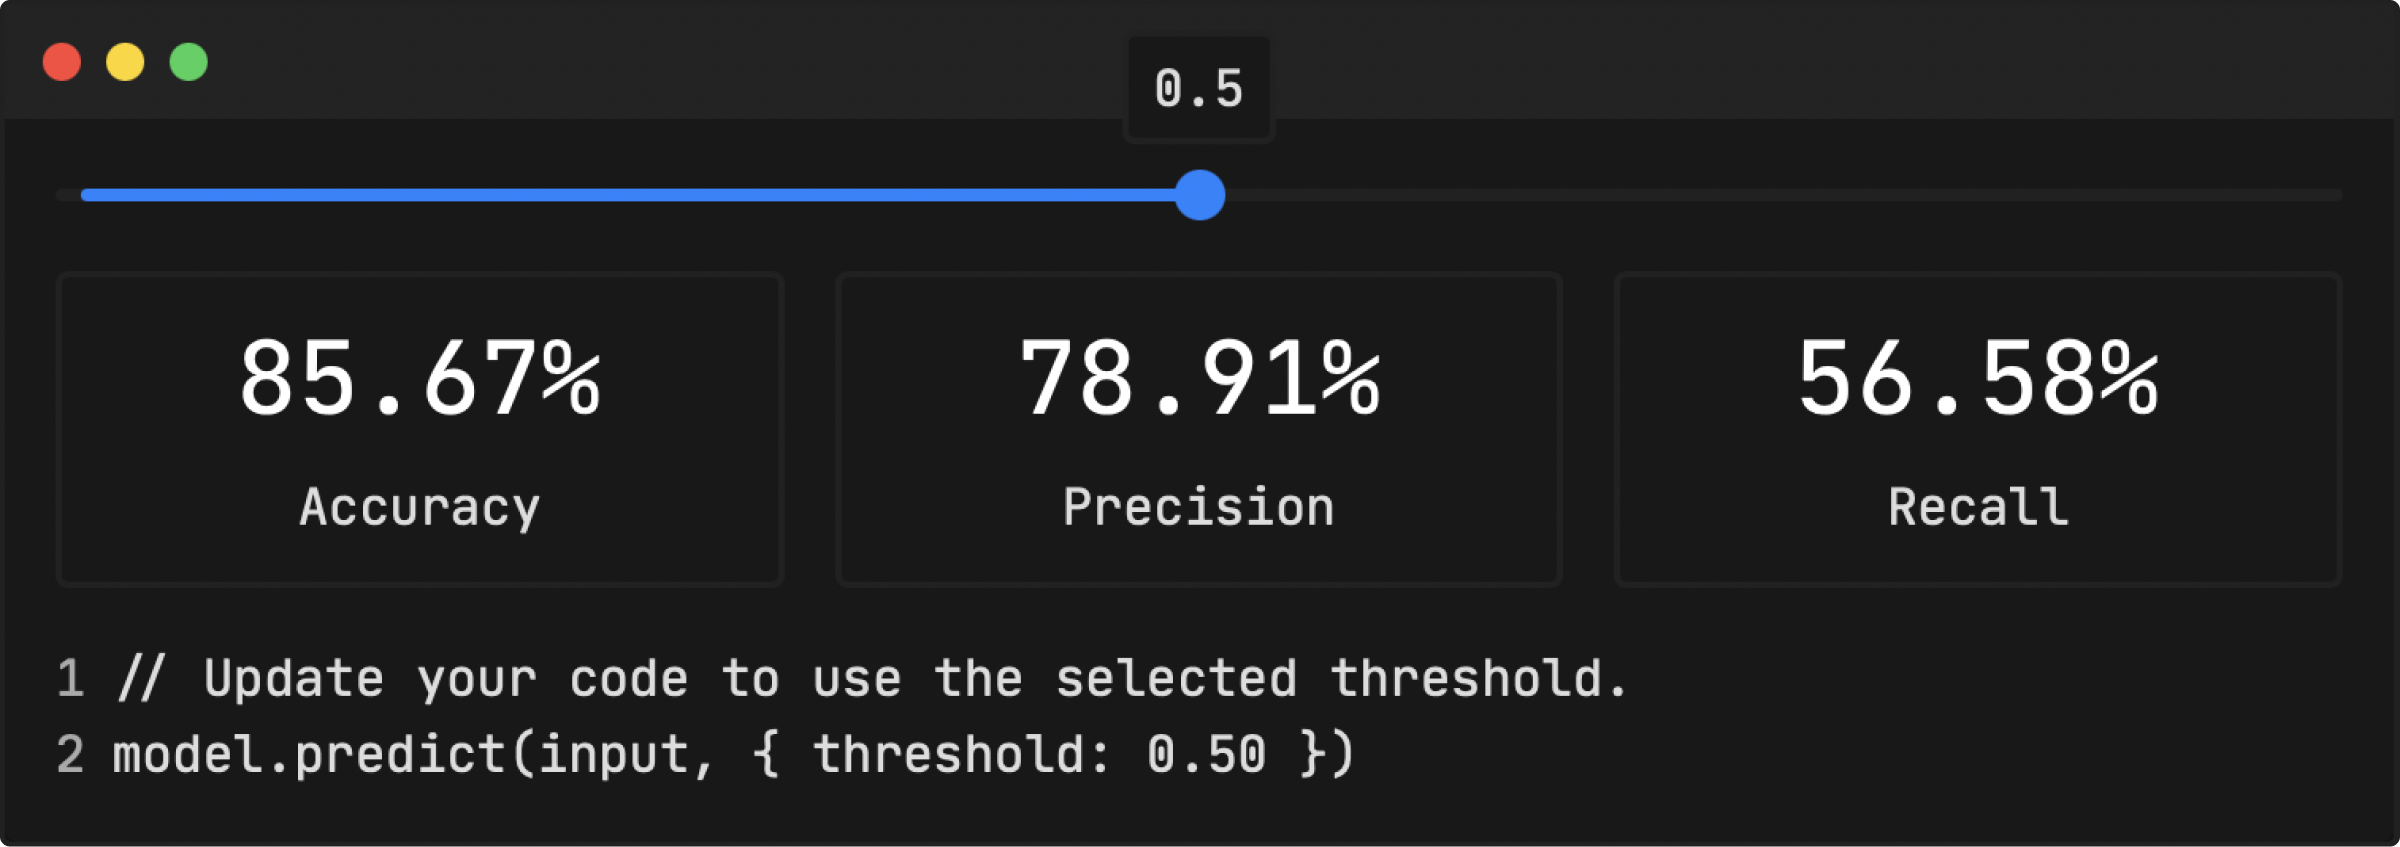
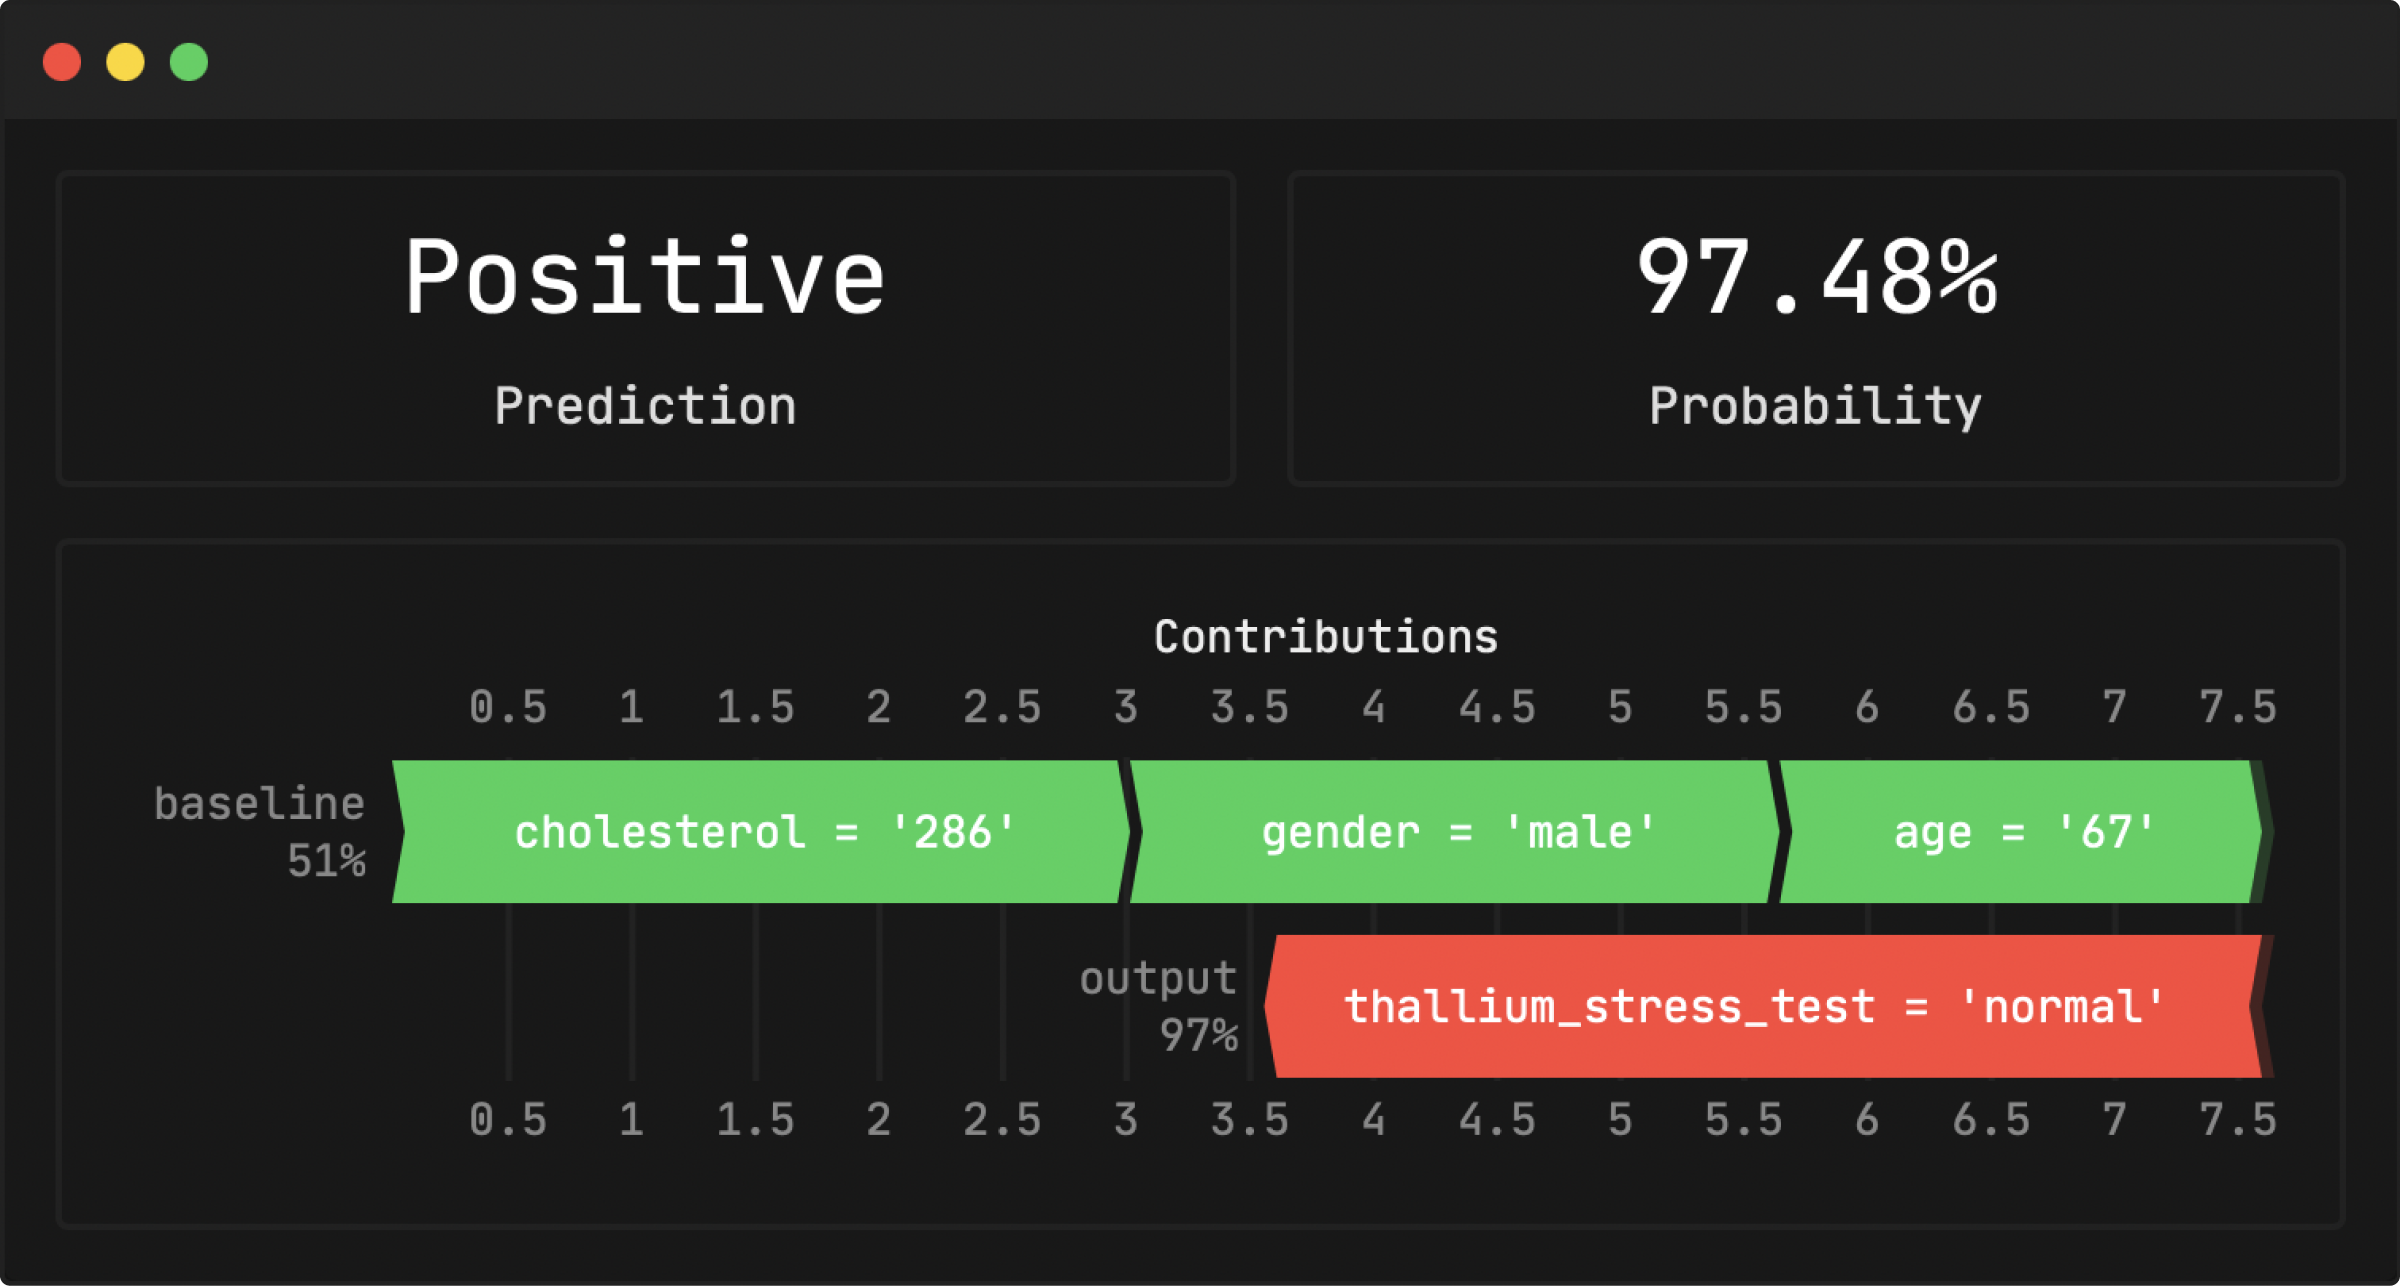
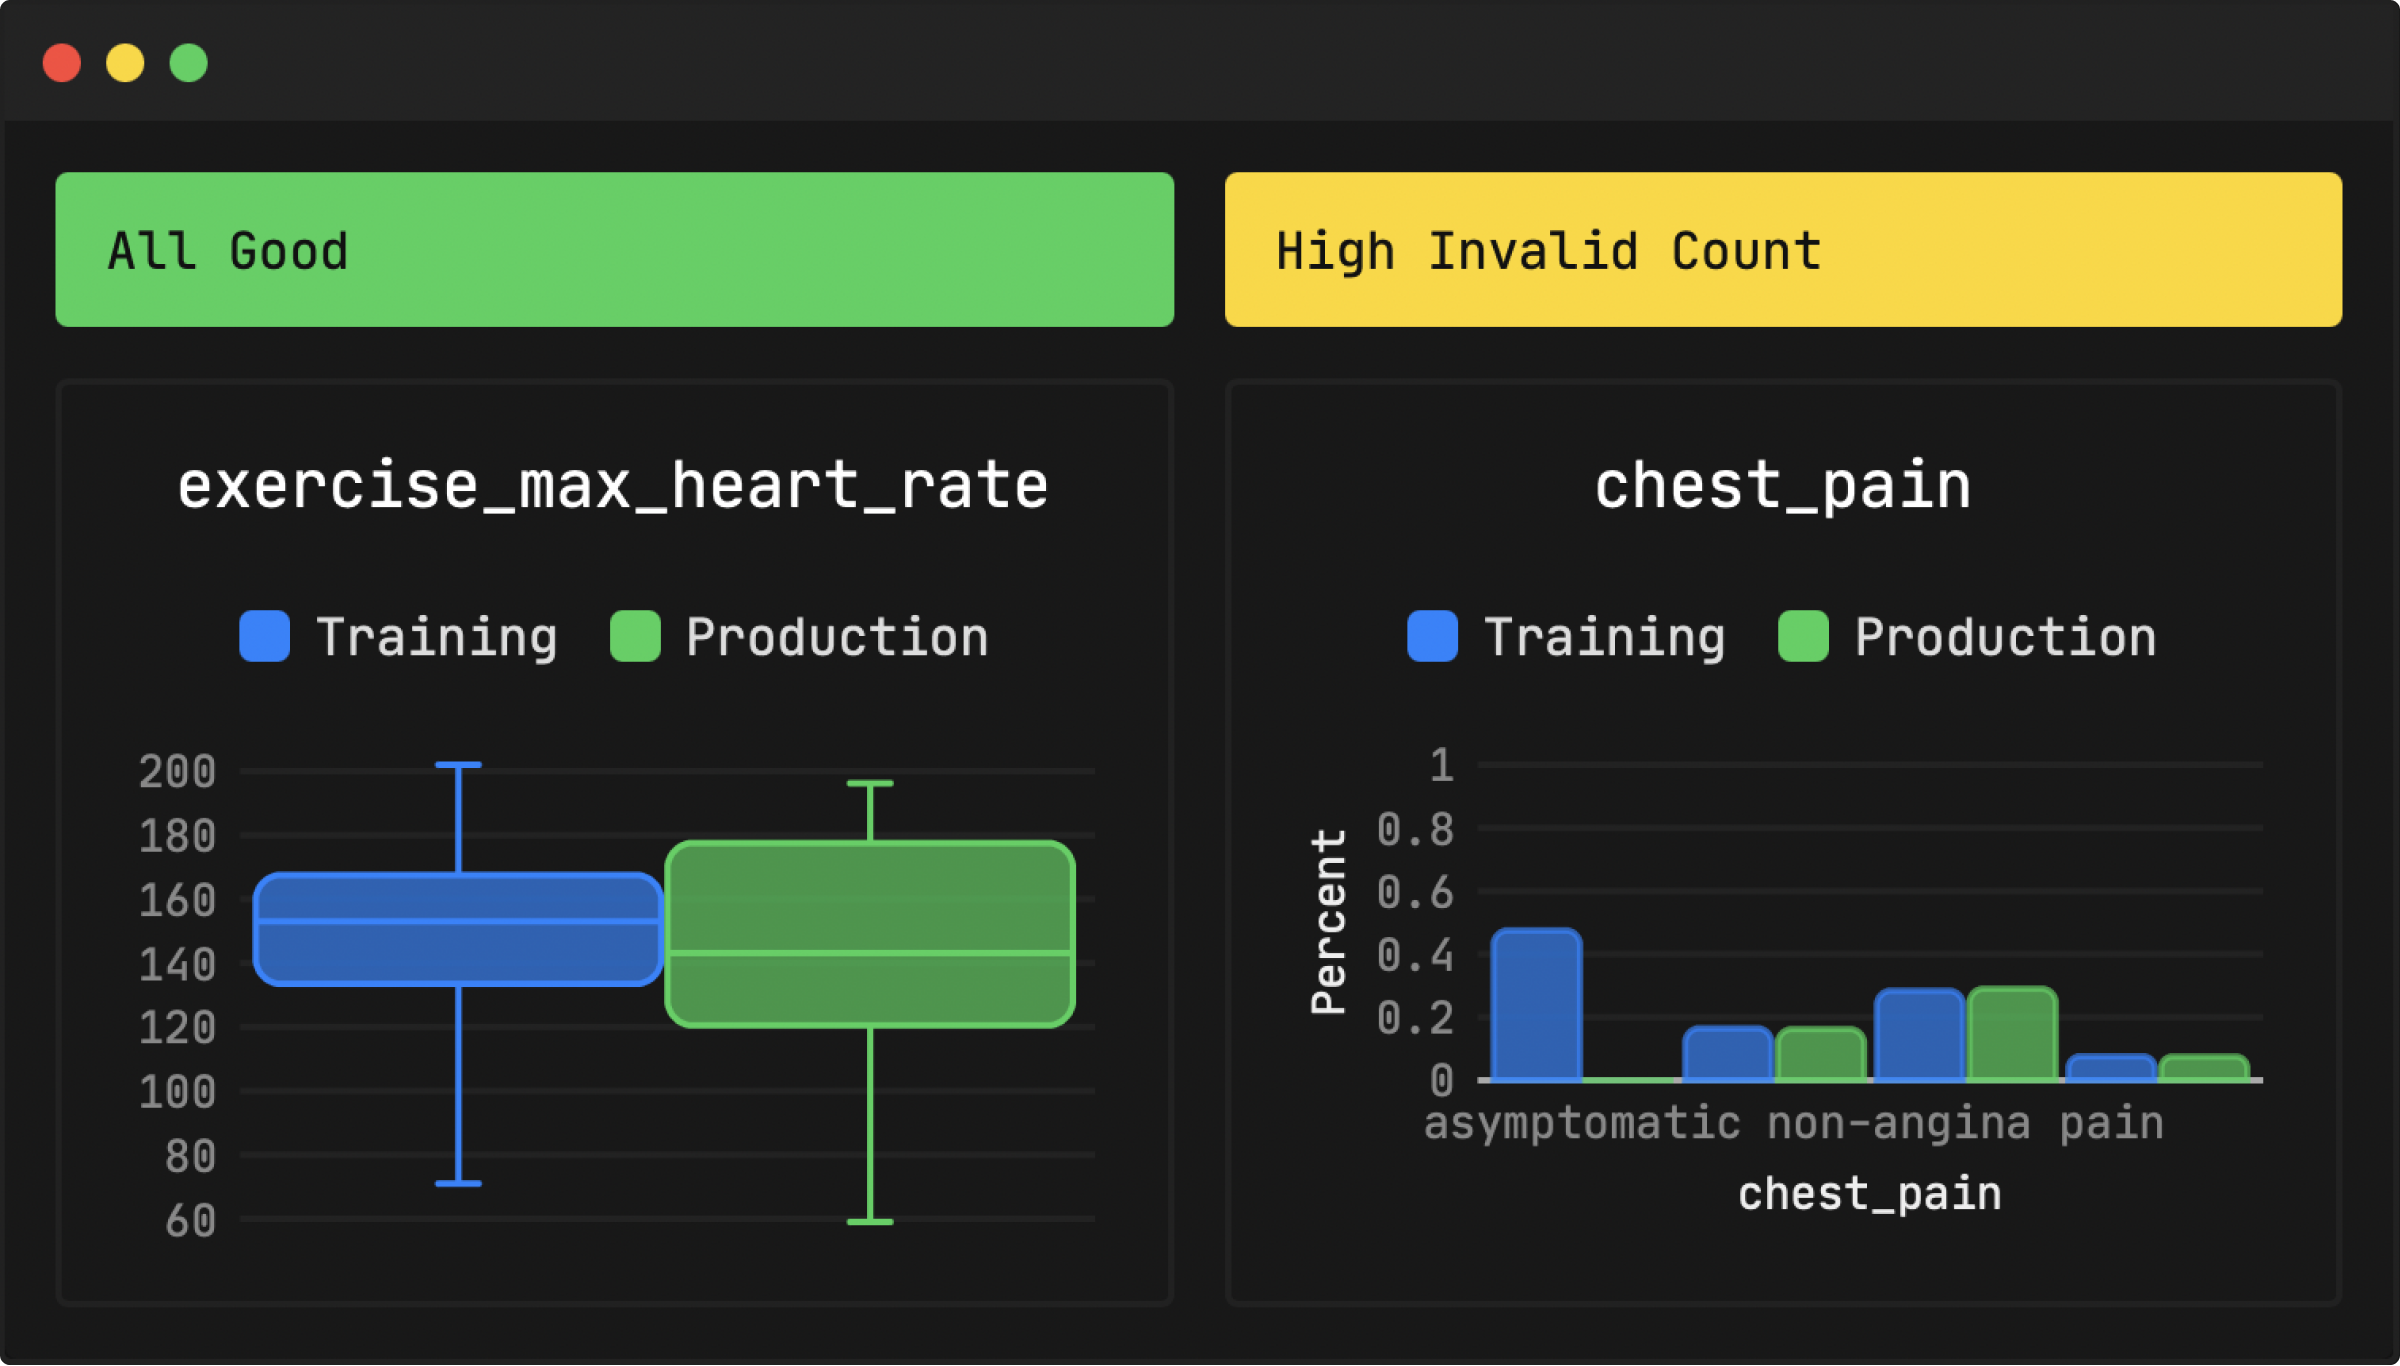
Train a model from a CSV file on the command line. Make predictions from Elixir, Go, JavaScript, PHP, Python, Ruby, or Rust. Learn about your models and monitor them in production from your browser.
ModelFox makes it easy to train, deploy, and monitor machine learning models.
- Run
modelfox trainto train a model from a CSV file on the command line. - Make predictions with libraries for Elixir, Go, JavaScript, PHP, Python, Ruby, and Rust.
- Run
modelfox appto learn more about your models and monitor them in production.
You can install the modelfox CLI by either downloading the binary from the latest github release, or by building from source.
Train a machine learning model by running modelfox train with the path to a CSV file and the name of the column you want to predict.
$ modelfox train --file heart_disease.csv --target diagnosis --output heart_disease.modelfox
✅ Loading data.
✅ Computing features.
🚂 Training model 1 of 8.
[==========================================>                         ]
The CLI automatically transforms your data into features, trains a number of linear and gradient boosted decision tree models to predict the target column, and writes the best model to a .modelfox file. If you want more control, you can provide a config file.
Make predictions with libraries for Elixir, Go, JavaScript, PHP, Python, Ruby, and Rust.
let modelfox = require("@modelfoxdotdev/modelfox")

let model = new modelfox.Model("./heart_disease.modelfox")

let input = {
	age: 63,
	gender: "male",
	// ...
}

let output = model.predict(input)
console.log(output)
{ className: 'Negative', probability: 0.9381780624389648 }Run modelfox app, open your browser to https://localhost:8080, and upload the model you trained.
- View stats and metrics.
- Tune your model to get the best performance.
- Make example predictions and get detailed explanations.
Once your model is deployed, make sure that it performs as well in production as it did in training. Opt in to logging by calling logPrediction.
// Log the prediction.
model.logPrediction({
	identifier: "6c955d4f-be61-4ca7-bba9-8fe32d03f801",
	input,
	options,
	output,
})
Later on, if you find out the true value for a prediction, call logTrueValue.
// Later on, if we get an official diagnosis for the patient, log the true value.
model.logTrueValue({
	identifier: "6c955d4f-be61-4ca7-bba9-8fe32d03f801",
	trueValue: "Positive",
})
Now you can:
- Look up any prediction by its identifier and get a detailed explanation.
- Get alerts if your data drifts or metrics dip.
- Track production accuracy, precision, recall, etc.
This repository is a Cargo workspace, and does not require anything other than the latest nightly Rust toolchain to get started with.
- Install Rust on Linux, macOS, or Windows.
- Clone this repo and
cdinto it. - Run
cargo runto run a debug build of the CLI.
If you are working on the app, run scripts/app/dev. This rebuilds and reruns the CLI with the app subcommand as you make changes.
To install all dependencies necessary to work on the language libraries and build releases, install Nix with flake support, then run nix develop or set up direnv.
If you want to submit a pull request, please run scripts/fmt and scripts/check at the root of the repository to confirm that your changes are formatted correctly and do not have any errors.
All of this repository is MIT licensed, except for the crates/app directory, which is source available and free to use for testing, but requires a paid license to use in production.


