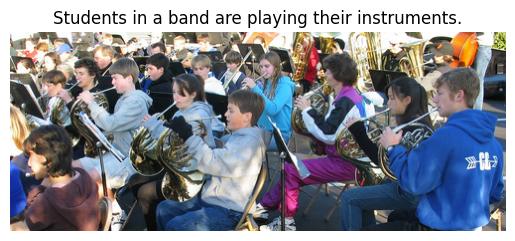
CLIPxGPT Captioner is Image Captioning Model based on OpenAI's CLIP and GPT-2. The Model uses a Mapping module to "translate" CLIP embeddings to GPT-2. The model is trained on the Flickr30k dataset, downloaded from Kaggle
The goal of the project was to find out about the possibility of CLIP + GPT-2 connection and to check whether, with a relatively short training time and a small dataset, the model will be able to recognize situations in the pictures. The model achieved satisfactory results.
The Model uses prefixes as in the ClipCap paper. In my original idea, the length of the prefix was 1, but after reading publication, the length of the prefix was changed to 4, thanks to which the performance increased.
The Model was trained with a frozen CLIP, a fully trained Mapping Module (5-6x Transformer Encoder Layers) and with partially frozen GPT-2 (the first and last 14 layers were trained).
The training process was carried out using the Kaggle P100 GPU.
Small - Download
- Text Model - GPT-2 Small - 124M parameters
- Mapping Module - 6x Transformer Encoder Layers
- CLIP Base - Patch 32 model
- 256M Parameters
Large - Download
- Text Model - GPT-2 Medium - 355M parameters
- Mapping Module - 5x Transformer Encoder Layers
- CLIP Large - Patch 14 model
- 736M Parameters
Clone repository using:
git clone https://github.com/jmisilo/clip-gpt-captioning

cd clip-gpt-captioning
Create environment and install requirements:
python -m venv venv
# for windows
.\venv\Scripts\activate
# for linux/mac
source venv/bin/activate

pip install -r requirements.txt
And run prediction:
python .\src\predict.py -I <image_path> -S <model_size [S/L]> -C <checkpoint_name>

