There are 3 ways to control VMPC2000XL:
- Keyboard
- Mouse/touchscreen
- MIDI
It is strongly recommended to get familiar with :ref:`basic keyboard shortcuts <basic_operations>` rather than relying on the mouse. The more keyboard shortcuts you use, likely the greater the sense of immersion.
The other buttons are also mapped to keyboard shortcuts, but you can pick these up as you go.
Note
The degree of MIDI controllability is the same as on the real MPC2000XL, i.e. not every button can be mapped to a MIDI control change parameter, and there's a limit to 4 mappings at a given moment.
For most controls you can display a tooltip that shows you which key on the keyboard is associated with it. In the case of the DATA wheel it's 2 keys -- one for clockwise and one for anti-clockwise. To display a control's keyboard shortcut in a tooltip hover over the control while holding one of the modifier keys on your keyboard (Shift, Control, Alt/Option, Command):
Below are the default keyboard shortcuts for most of the UI components.
Some letter keys are written in uppercase for disambiguation. For example, Record is mapped to the letter L and is written in uppercase to clarify it is not letter i or number 1, so there is no need to press Shift here.
In the same vein some special characters are clarified by appending their name in parentheses, for example ; (semicolon).
Note
The default keyboard mapping is geared towards US keyboard layout, but it's fully configurable. See :ref:`Configuring the keyboard <configuring_the_keyboard>` for instructions.
| Operation | Key(s) |
|---|---|
| Up/Down/Left/Right | Up/Down/Left/Right |
| Data wheel up/down | +/- |
| Numeric keypad | 0 ... 9 |
| Shift | Left shift |
| Record | L |
| Overdub | ; (semicolon) |
| Stop | ' (quote) |
| Play | Space |
| Play start | \ (backslash) |
| F1 ... F6 | F1 ... F6 |
| Main screen | Escape |
| Open window | i |
Hold 1 modifier (Ctrl, Alt or Shift) to increase DATA wheel by 10. Hold 2 to increase it by 100. Hold 3 to increase it by 1000. Note that increment modifiers in the TRIM, LOOP and ZONE screens are relative to the sound length: the bigger the sound length, the bigger the jumps.
| g | h | j | k |
| b | n | m | , |
| a | s | d | f |
| z | x | c | v |
| Operation | Key(s) |
|---|---|
| Bank A | Home |
| Bank B | End |
| Bank C | Insert |
| Bank D | Delete |
| Previous step/event | q |
| Next step/event | w |
| Locate/Go to | e |
| Previous bar/Start | r |
| Next bar/End | t |
| Tap tempo/Note repeat | y |
| Erase | F8 |
| Full level | o |
| 16 levels | p |
| Next seq | [ |
| Track mute | ] |
| After/Assign | F9 |
| Undo seq | F10 |
| Operation | Key(s) |
|---|---|
| Direct-to-disk recorder | Shift + Play start (defaults to L) |
The pads can be hit by by clicking them with the mouse, or, if you have a touchscreen, by touching them. The further away from the center of the pad, the lower the velocity. When a pad is hit, it will light up blue.
All buttons can be pressed by clicking them with the mouse, or, if you have a touchscreen, by touching them.
The data wheel can be turned by dragging or scrolling. Precise, single-step changes can be performed by holding any of the modifier keys (Shift, Ctrl, Alt/Option) while dragging.
On iPadOS you can drag the data wheel with one finger for precise, single-step changes, or with 2 fingers for large increments.
These controls can be operated by dragging or scrolling.
Note that, like on the original MPC2000XL, you can use the slider to change many of the values in the TRIM, LOOP and ZONE screens, by holding SHIFT while moving the slider.
Note
If your mouse or touchpad emits momentum/inertia events, VMPC2000XL will process these accordingly. The data wheel, slider, rec gain and main volume controls will come to a gradual stop.
The first time you run VMPC2000XL it opens in its minimum window size, which is 649 x 497 plus the border that your operating system or DAW adds to it. This should fit on most computer screens. Then you have the option to resize it up to two times that resolution, making 1298 x 994. Resizing is done by dragging the bottom right corner of the window.
To reset the window size back to its minimum size, click the "Reset window size" button in the top-right.
Click the "Configure computer keyboard" icon in the top-right to go to the KEYBRD tab. See :ref:`Configuring the keyboard <configuring_the_keyboard>` for instructions.
Hover over the button to show an overlay with all current keyboard mappings. Every keyboard-controllable component of VMPC2000XL's UI will temporarily show a glowing square with a description of the key that is mapped to it.
Read more about MIDI control in the :ref:`MIDI control mode <midi_control_mode>` and :ref:`MIDI control <midi_control>` sections.
Importing files and folders is the process of copying files from arbitrary locations on your iPad onto VMPC2000XL's default virtual disk volume.
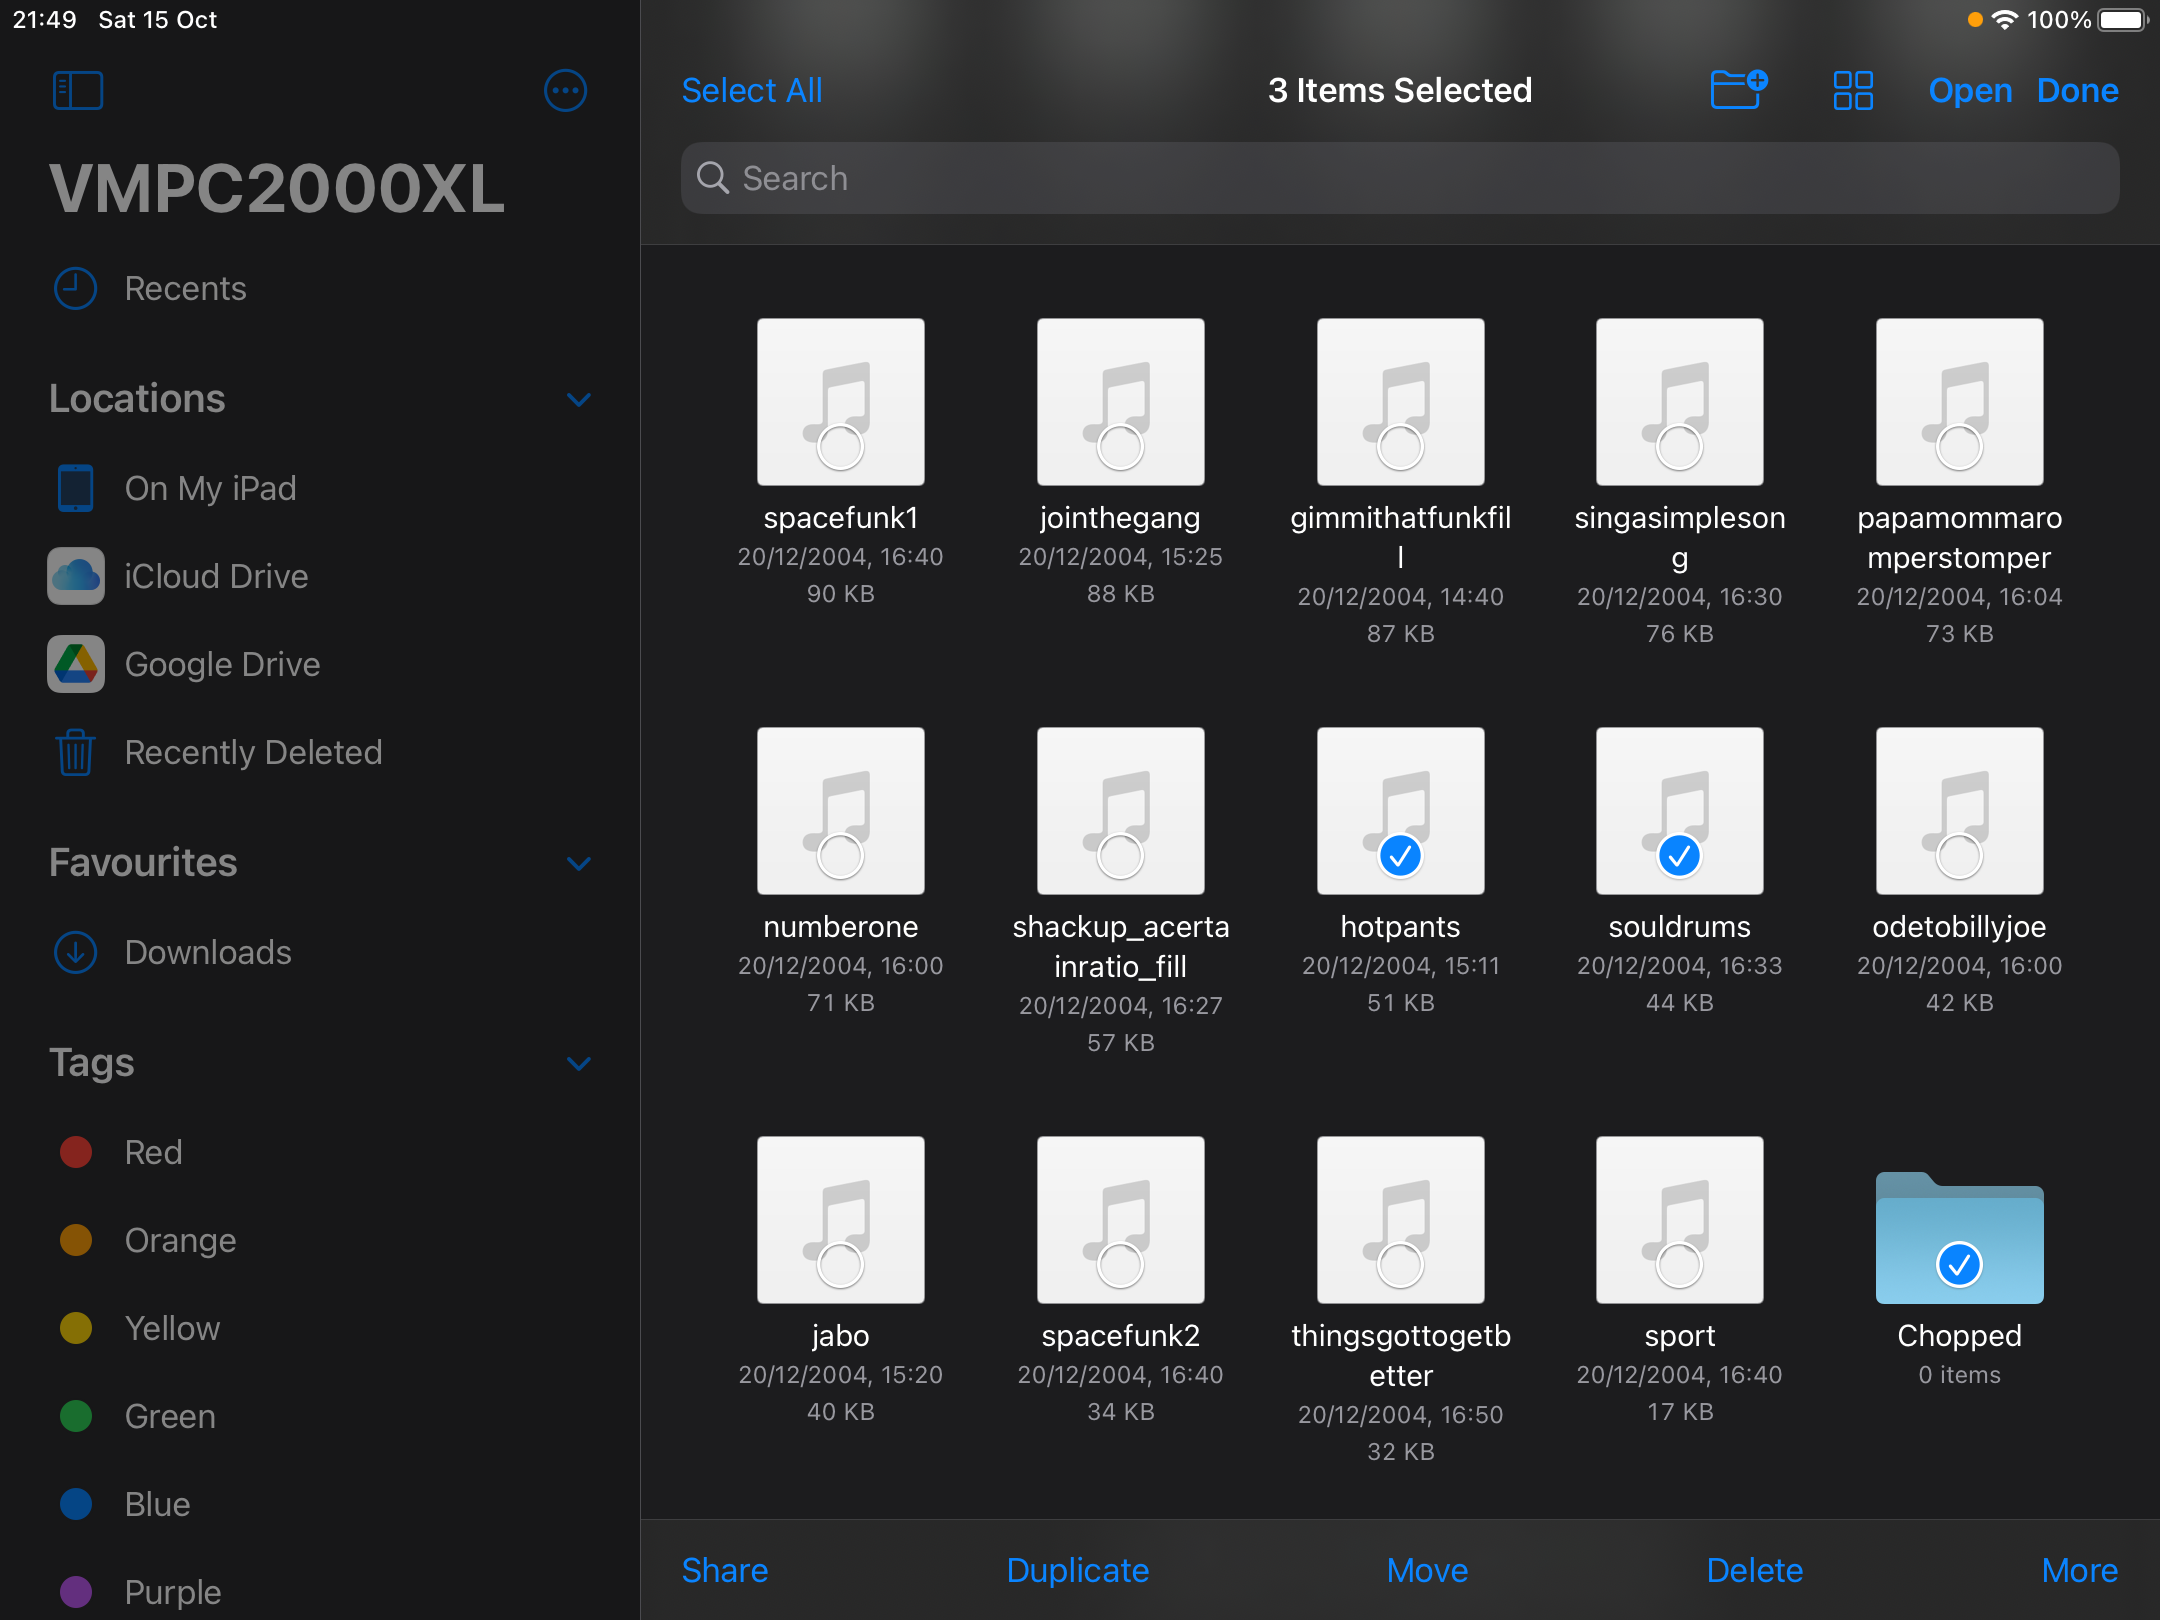
After tapping the "Import" button, a document browser opens. Tap a file or folder to import it. Alternatively tap "Select" to perform a multi-selection:
Importing files from iCloud is fully supported. Google Drive (and possibly other 3rd party cloud service providers) currently does not support importing folders.
After tapping a single file or folder, or after making a multi-selection and tapping "Open", you might see some quick graphics flashing. These are progress indicators. After each file is processed, you are back in VMPC2000XL.
When a file or folder already exists, you will be asked if you want to overwrite the existing file. You can also choose to overwrite none or all of the existing files of your selection.
The files and folders that you import are copied into the current directory as per your LOAD, SAVE and Directory screens. To check what your current directory is, press Shift + 3 to go to the LOAD screen, and your current directory is mentioned in the top-right of the LCD.
Exporting files and folders is the process of exposing files that are only accessible via VMPC2000XL. This includes any beats you made, sounds and other files in the virtual MPC2000XL volume, and direct-to-disk recordings.
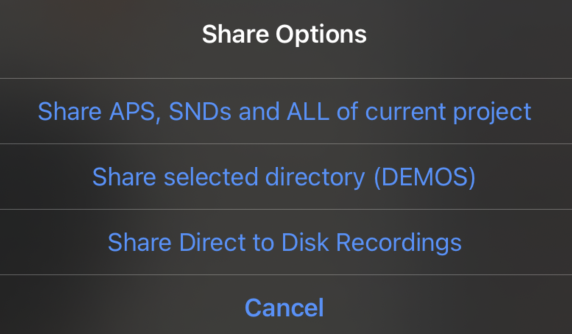
After tapping the "Export" button, you are presented with the below options:
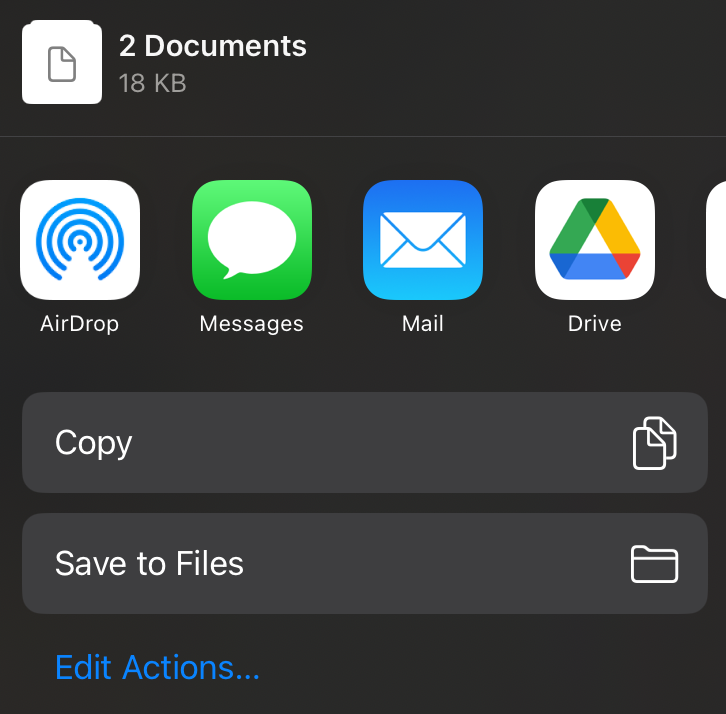
After tapping any of the options, you are greeted with the usual options when sharing things on your iPad, for example:
With this option you can export/share the complete state of VMPC2000XL, including all programs, sounds and sequences that are currently in memory.
This option will show up as "Share selected file" or "Share selected directory", depending on what is currently selected in the LOAD screen (Shift + 3). The name of the file/directory you're about to share is shown in the option. If you're sharing a directory, it will be shared as a ZIP archive.
Any bounces/direct-to-disk recordings you have made via :ref:`direct-to-disk recording <direct_to_disk_recording>` can be shared via this option. Tapping this option will show you a list of your recordings:
Tap any of the recordings to export/share it as a ZIP archive.
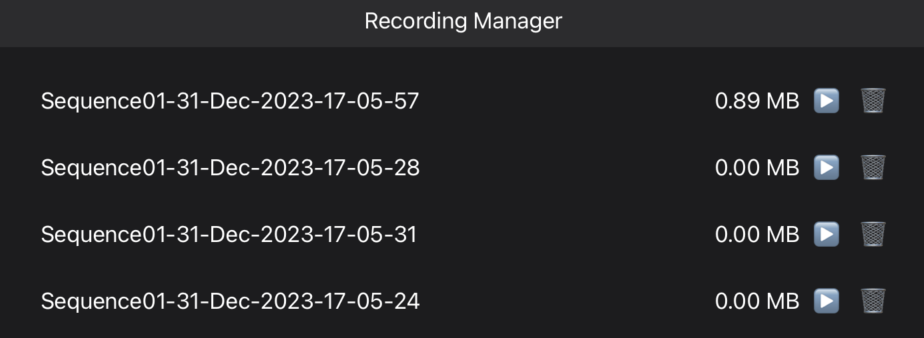
Since the direct-to-disk recordings are not visible in the LOAD, SAVE and Directory screens, we need some other way to remove them when we don't need them anymore. That's what the Recording Manager is for.
After tapping the "Recording Manager" button, you are presented with the following view:
You can listen back to a recording by pressing the play button, and delete it by pressing the trashcan button.

