This is the folder for Victoria Belle, a bot that demonstrates best practices for creating GUI in the Messenger Platform's webview.
ECMAScript™ is the standard behind JavaScript. It has had a number of very useful additions over the past several years, modernizing the syntax and providing new capabilities.
Not all browsers are able to run ES7. We use Babel to generate earlier versions of JavaScript from ES7, so that it will run on browsers that haven’t yet implemented the newer standard.
Webpack is the de facto module bundler for JavaScript development. It is highly configurable and extensible, and can even compile your other assets like images and stylesheets. This repository keeps things pretty simple as a jumping off point for your projects.
Node enables us to use c outside of a browser and directly on our machines to perform the logic necessary to determine what messages to send to the end user and when.
Express is a helpful framework built around Node.js for performing actions as a web server. e.g, Taking web page requests, responding and serving images to users.
EJS is a very simple templating language. This helps us create HTML for the pages we show in a programmatic way. Here we use it to decide whether to show the Preferences view, the Product view or the Error page.
An amazing framework that allows us to create highly interactive user interfaces. Used heavily in this example to create the Preferences view.
You can get started quickly with mobile-friendly web UI by using a library of components like the one from WeUI.
This demo bot is immediately runnable on Heroku!
Note: It is not recommended to run this bot locally on your machine. It will require extra configuration to make your local machine accessible by external Internet services. Without the extra configuration, Facebook Messenger will not be able to reach your bot.
- Node v7.4 or later (https://nodejs.org/en/download/)
- Yarn (https://yarnpkg.com/en/)
- Heroku CLI (https://devcenter.heroku.com/articles/heroku-cli)
- Facebook developers account (https://developers.facebook.com )
(Ensure the above prerequisites are installed on your machine)
$ cd /path/to/fb-chatbots

$ heroku create

# URL_TO_HEROKU_APP is the url given to you from the above command
$ heroku config:set SERVER_URL='https://{URL_TO_HEROKU_APP}'

# Note the token can be any word chosen by you and is used to by Facebook to check that they have the correct server for your Messenger Bot
$ heroku config:set WEBHOOK_TOKEN='random_demo_token_123'

# This pushes just the gui-webview folder to Heroku
$ git subtree push --prefix gui-webview heroku masterTo force push to Heroku, useful for moving your changes from your machine to Heroku, use this command:
git push --force heroku 'git subtree split --prefix gui-webview HEAD':master
- Navigate here https://developers.facebook.com/apps
- Add a new app with the category
Apps for Messenger
These are the actions we want to sign up to receive from users talking to us in Messenger.

- Go to the Messenger settings for your app and select
Setup Webhook - Insert
https://{your_heroku_app_url}/webhookinto theCallback URLfield - Insert the value you used for
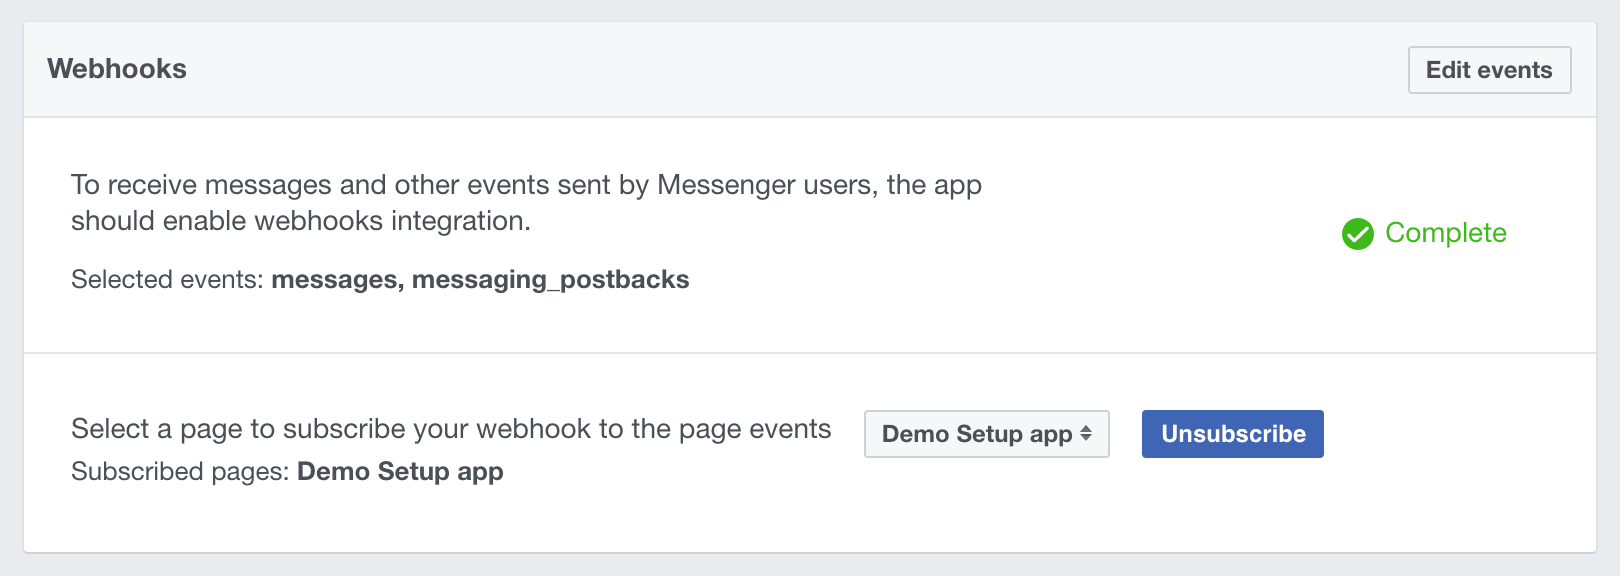
WEBHOOK_TOKENinto theVerify Tokenfield - Select the Subscription Fields
messagesmessaging_postbacks
- Select
Verify and Save - Select the Facebook Page that should subscribe to the Webhooks in the
Webhookssection of Messenger Settings
- Select or Create a page and get the page access token
- Go back to your terminal and inside the repository set the
PAGE_ACCESS_TOKENconfig on Heroku.
$ heroku config:set PAGE_ACCESS_TOKEN='your_page_access_token'Note: you will need to add testers in the development panel or have the app approved by Facebook for others to see it.
Because all the building is done locally, make sure to run:
$ yarn buildbefore you commit and push your changes.
You may want to run this bot on a platform outside of Heroku or simply have it available locally for testing purposes.
$ cd path/to/repo/gui-webview
$ yarn install
$ yarn build
$ export DEMO=true
$ yarn start$ cd path/to/repo/gui-webview
$ yarn quality


