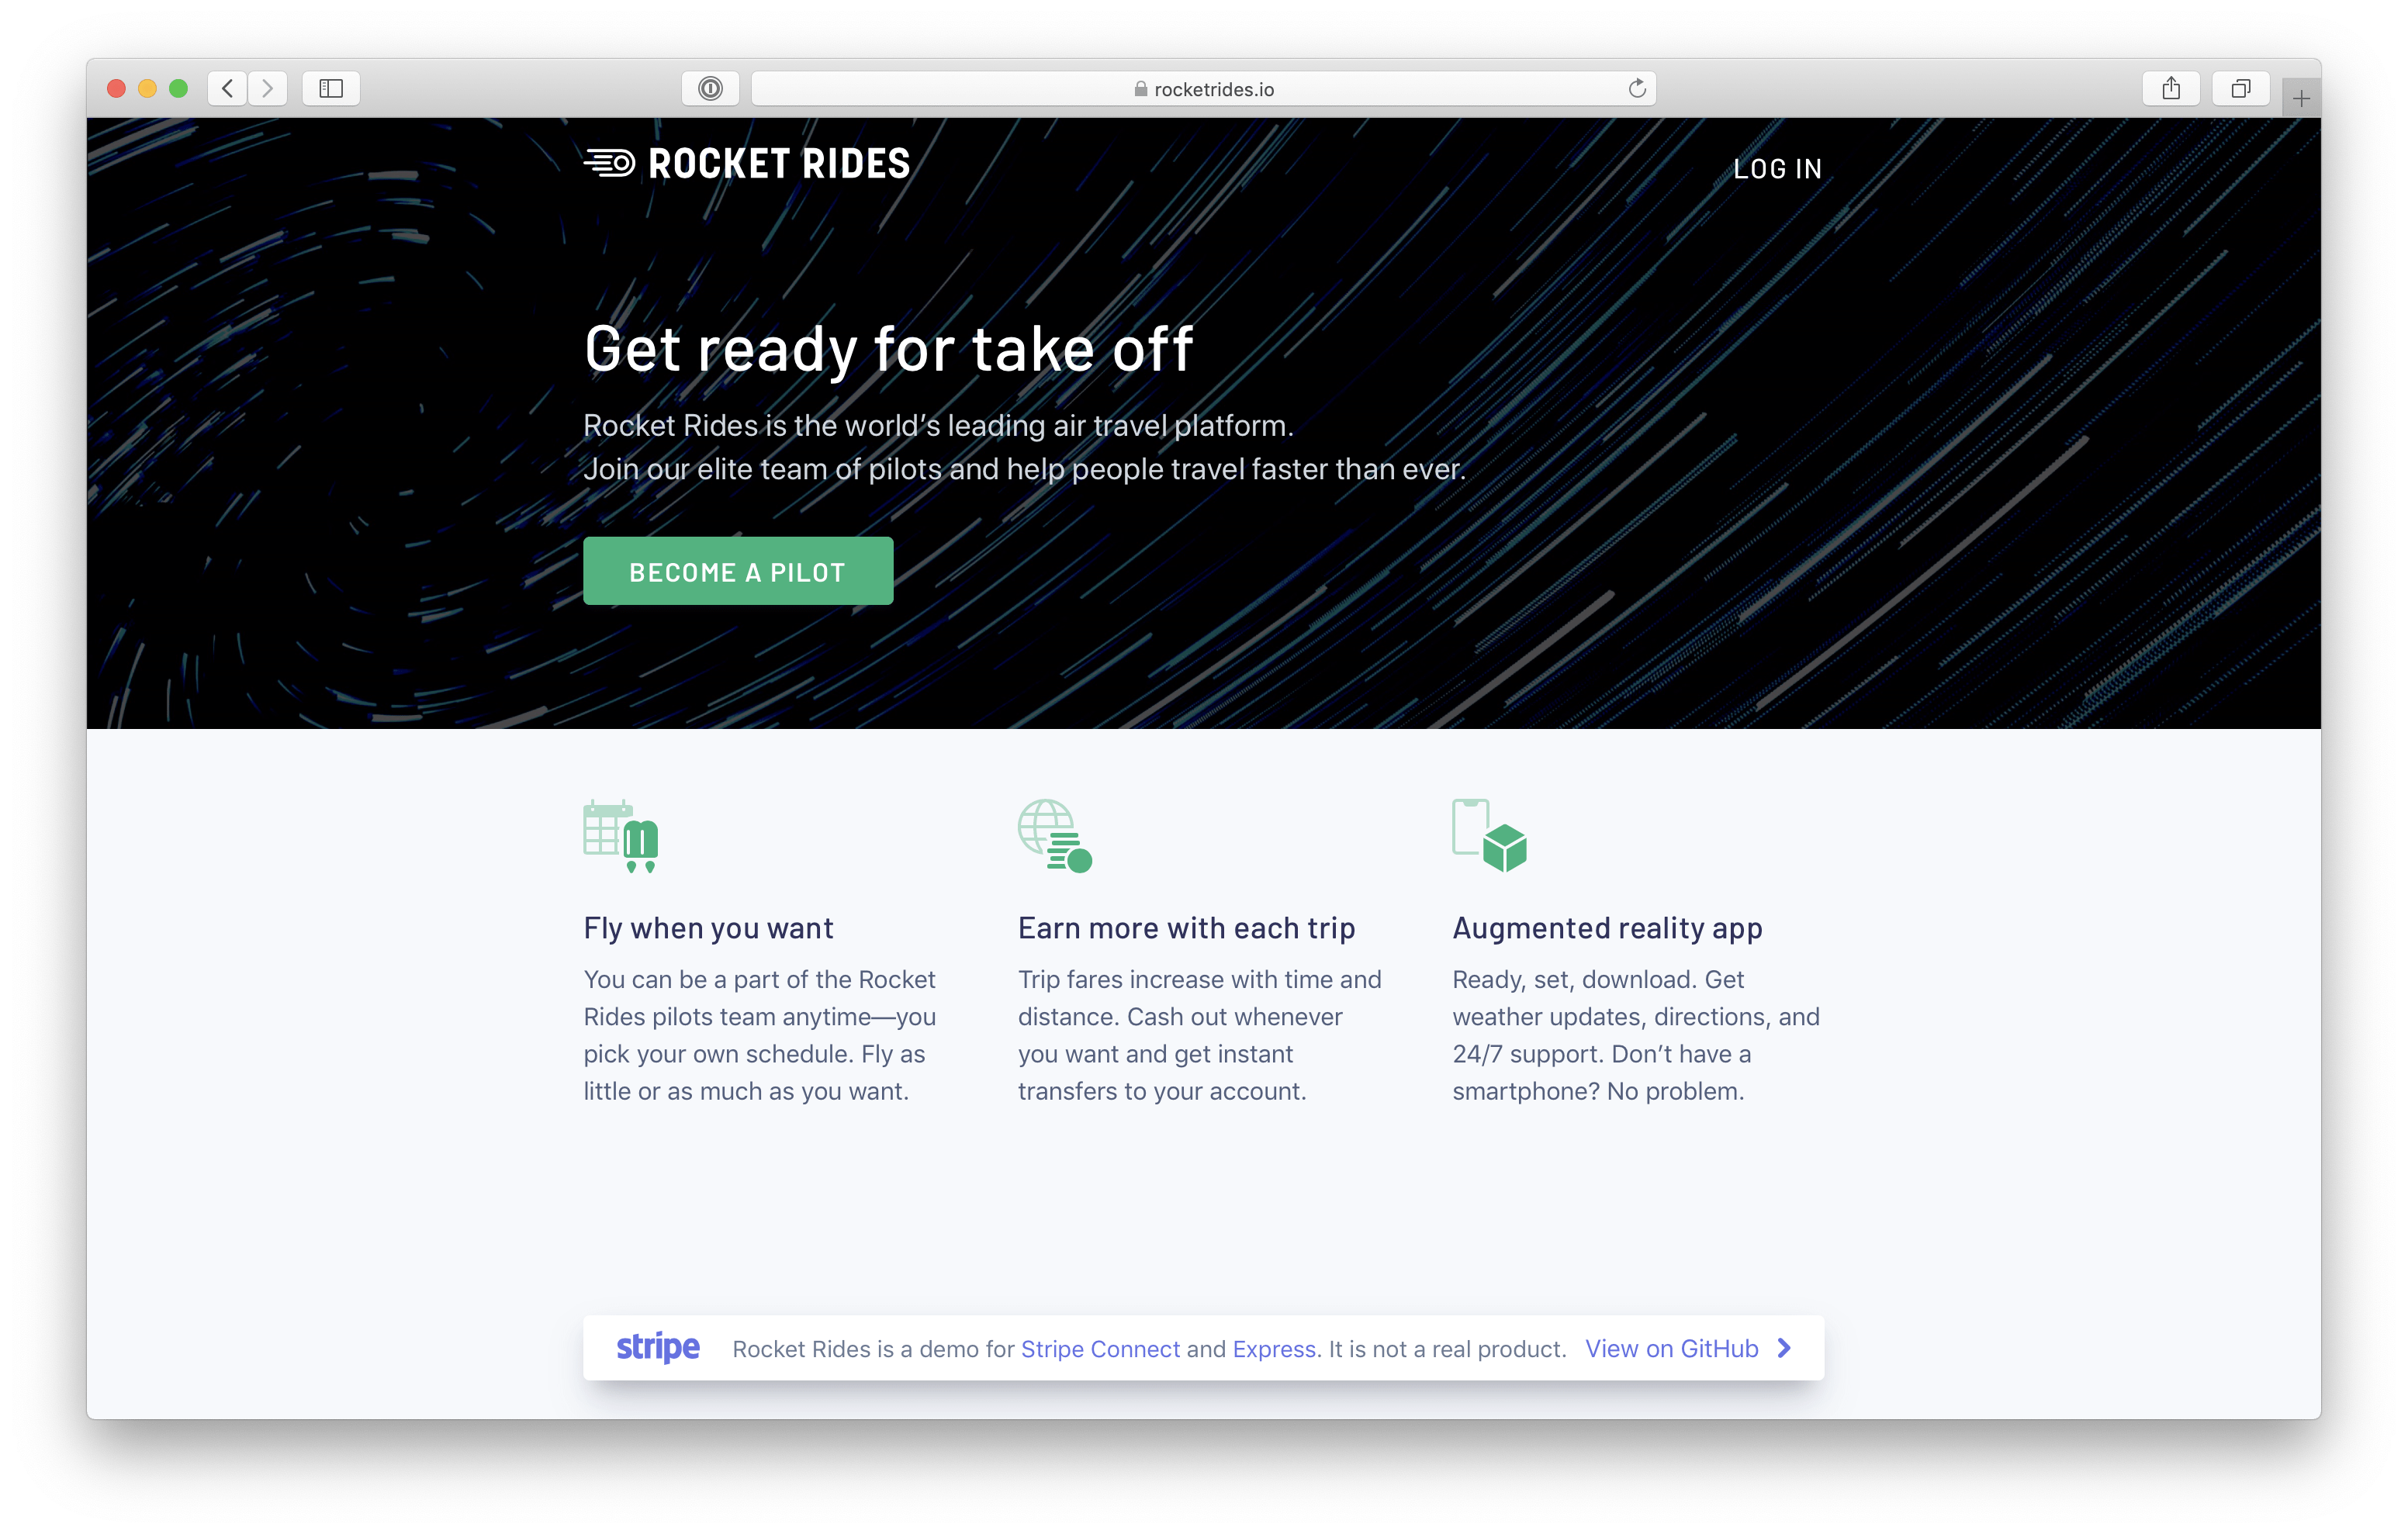
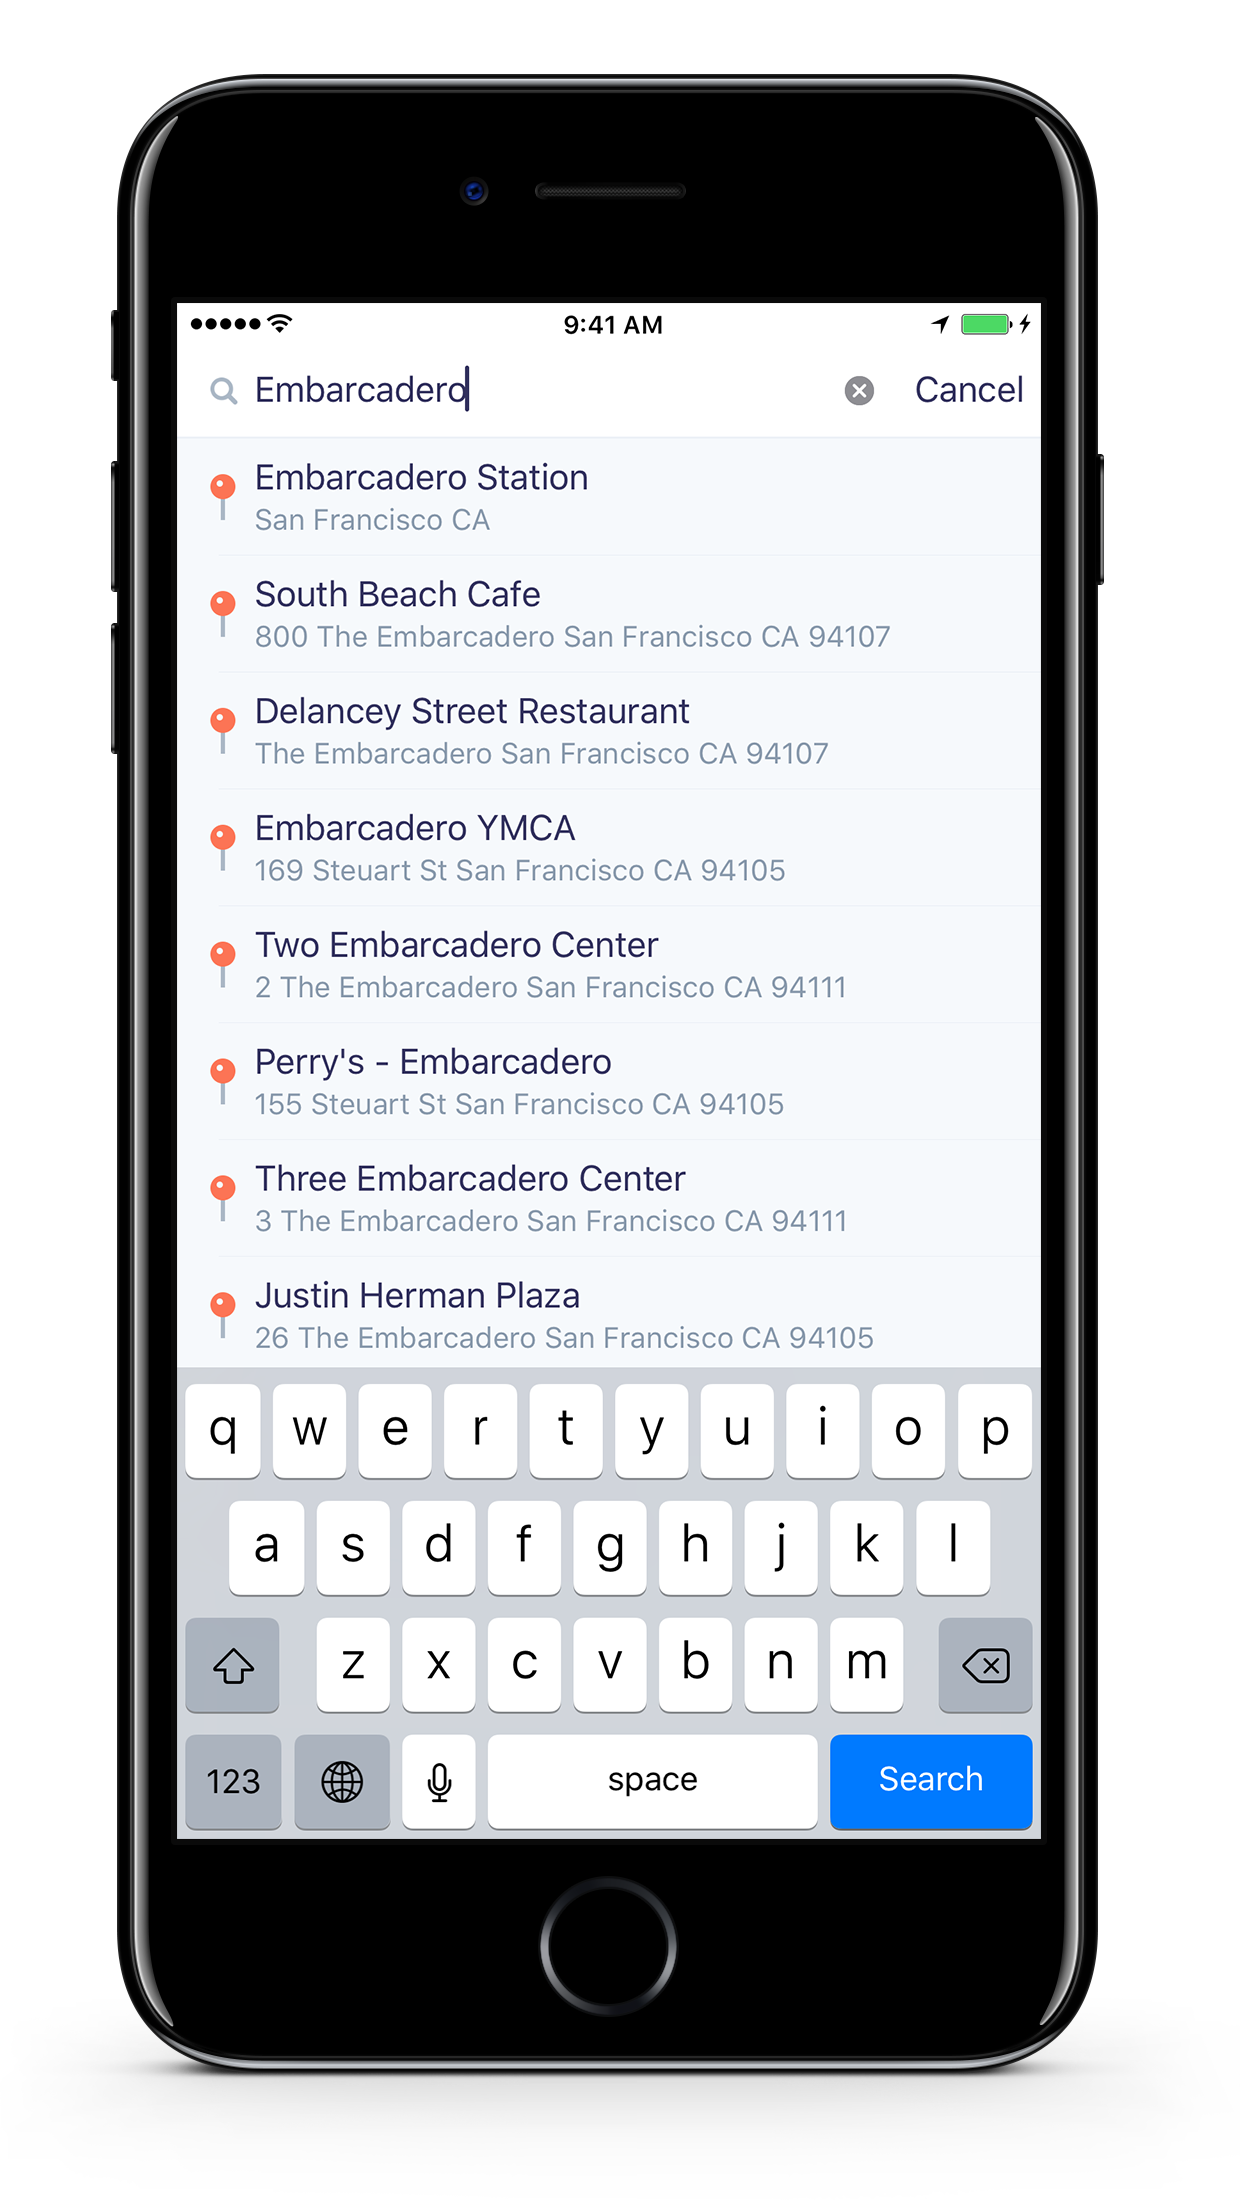
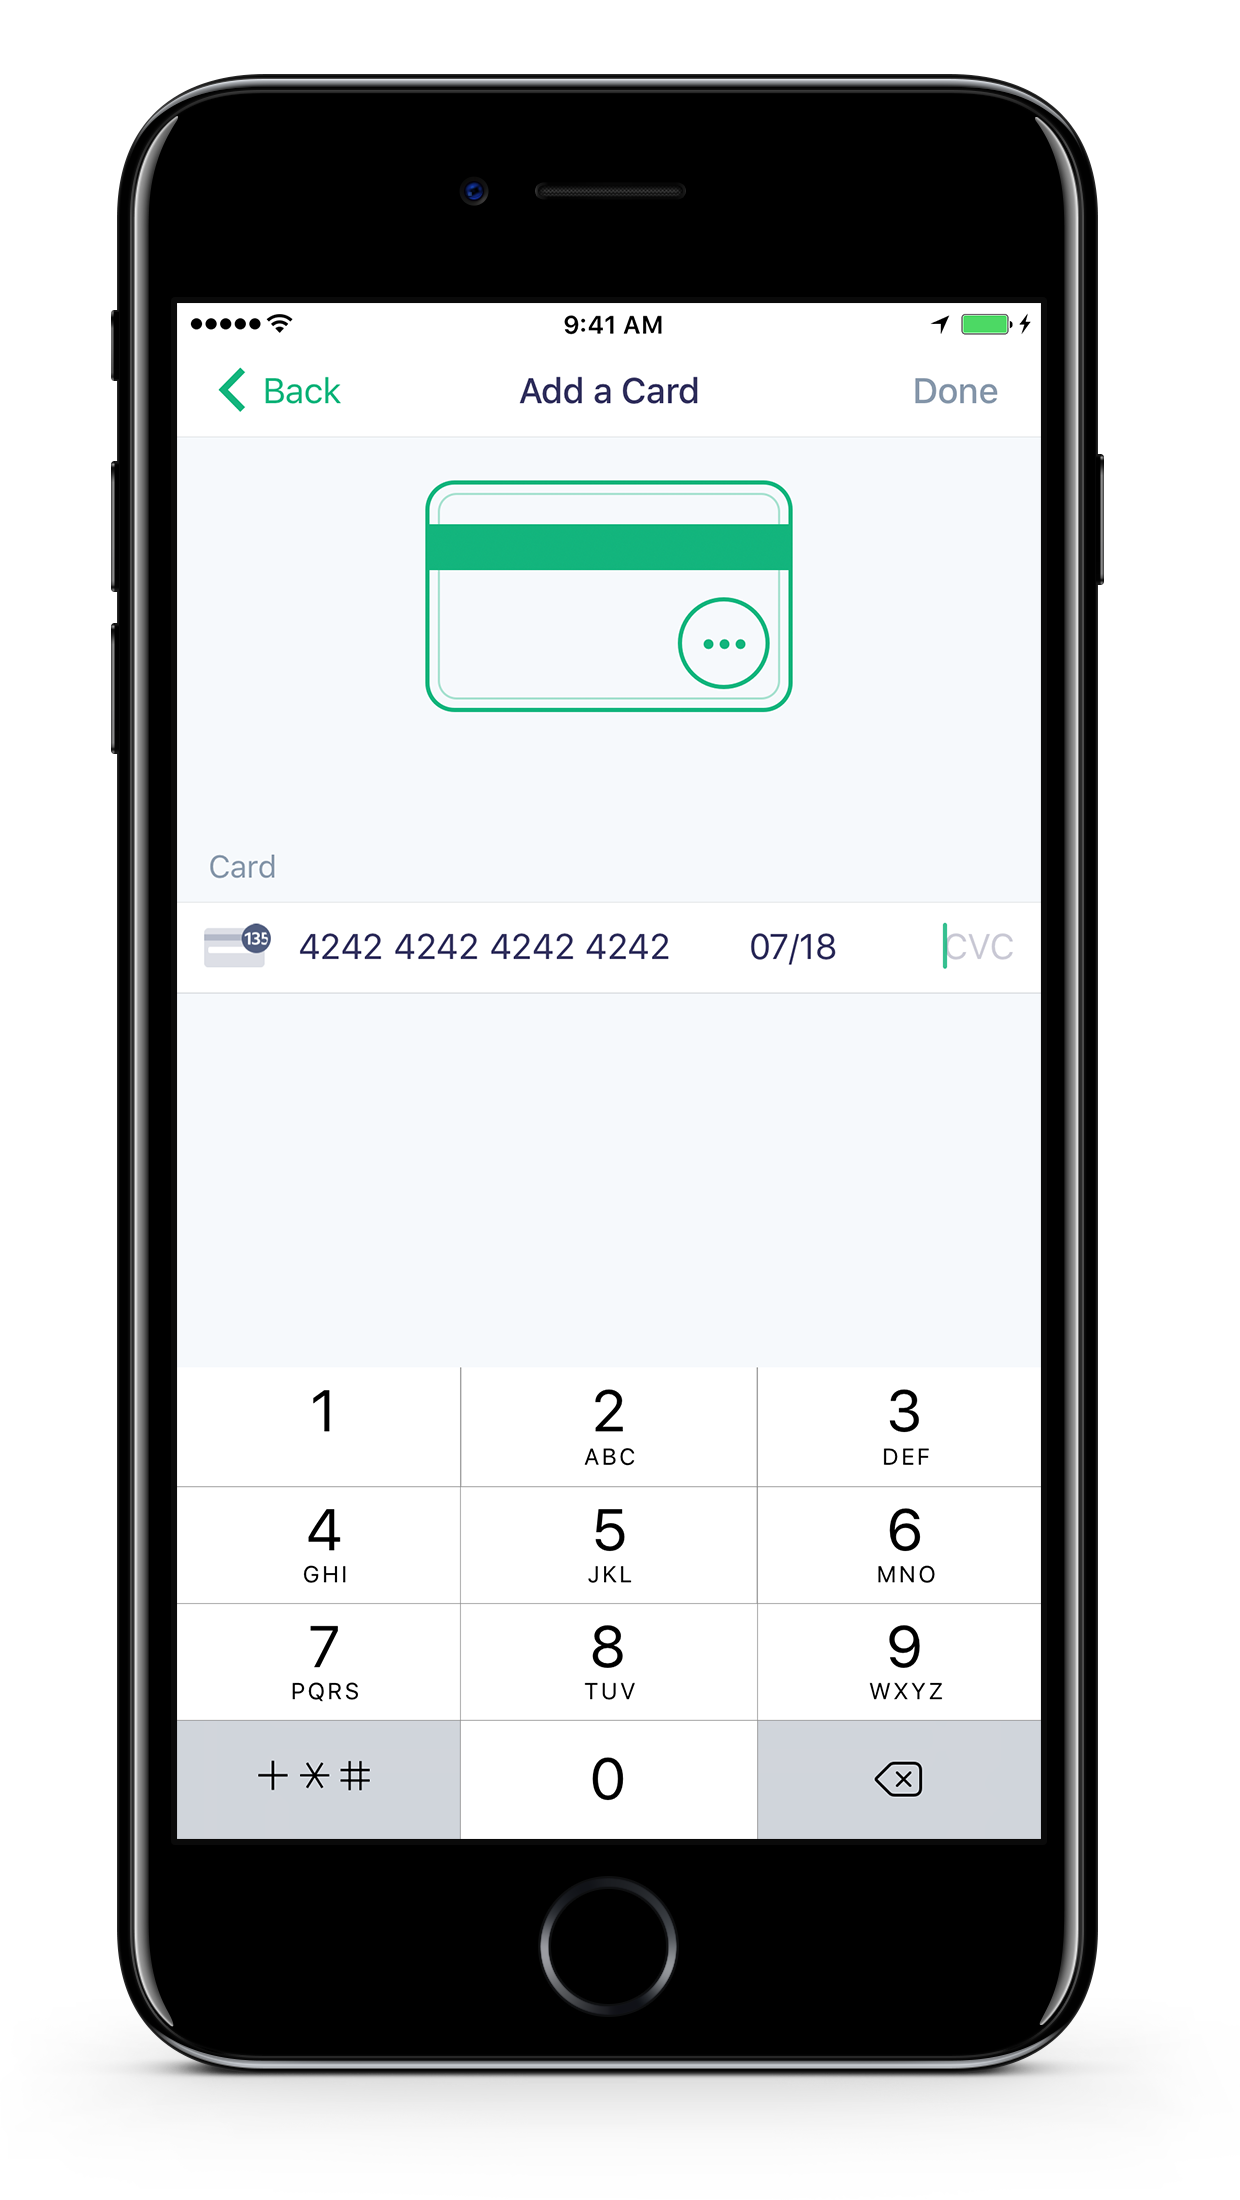
Rocket Rides is a sample on-demand platform that offers passengers rides with pilots, built on top of Stripe Connect, Connect Express, and the Stripe iOS SDK.
You can try the web app live on rocketrides.io.
This repository contains two components:
- Web server in Node.js to onboard pilots on the web and get them paid
- iOS app in Swift for passengers to request and pay for rides
Rocket Rides showcases how to sign up pilots and use Connect Express accounts to get them paid. Express provides onboarding, account management, an account dashboard, and identity verification for your platform, and we've customized Express with Rocket Rides branding.
This platform also uses the Stripe API to create payments for pilots, fetch their available and pending balance, and let them view transfers. It also creates Payouts for pilots who use a debit card as their payout account.
To integrate Stripe Connect in your own app, check out these two files in particular:
server/routes/pilots/stripe.jsshows how to easily create Connect Express accounts and interact with the Stripe API.server/routes/pilots/pilots.jsshows how to create payments and transfer funds to recipient pilots.
You'll need a Stripe account to manage pilot onboarding and payments:
- Sign up for free, then enable Connect by filling in your Connect settings.
- Fill in the necessary information in the Branding section in Connect settings.
- Under the Express account type, click Manage to choose from which countries users can sign up. Where possible, choose the capability to just receive Transfers.
You'll need to have Node.js >= 7.x and MongoDB installed to run this app.
Install dependencies using npm (or yarn):
cd server
npm install
Copy the configuration file and add your own Stripe API keys and client ID:
cp config.default.js config.js
Make sure MongoDB is running. If you're using Homebrew on macOS:
brew services start mongodb
Run the app:
npm start
Go to https://localhost:3000 in your browser to start using the app.
The Rocket Rides iOS app is written in Swift and is built using the Stripe iOS SDK to accept both card payments and Apple Pay.
This project is written in Swift and requires Xcode 8 to build and run, and CocoaPods to install the dependencies. The app is compatible with iOS 10.0+. You can use it both the iOS Simulator or on your iPhone.
To get started, install the dependencies using CocoaPods:
cd ios
pod install
Open RocketRides.xcworkspace (not RocketRides.xcodeproj) in Xcode. Build and run the app!
To try out the full payment experience, run the server locally as described above, then follow these steps:
- Create a new pilot using the Rocket Rides web onboarding.
- Fill in the
publishableKeyproperty inAppDelegate.swift. You can find your publishable key in your Stripe Dashboard. - Fill in the
baseURLStringproperty inAppDelegate.swift. This should behttps://localhost:3000if you haven't modified the server configuration. pod deintegrate & pod updateto update the dependancies.- Relaunch the app! Tapping on "Payment" and "Price" should now work.
- Enter a destination, your payment option, and request a ride! You should see the payment in your Stripe Dashboard.
- Code: Romain Huet, Joey Dong, and Michael Glukhovsky
- Design: Wes Mitchell, Bill Labus, Melissa Cameron, and Priidu Zilmer
- Original logo: Focus Lab


