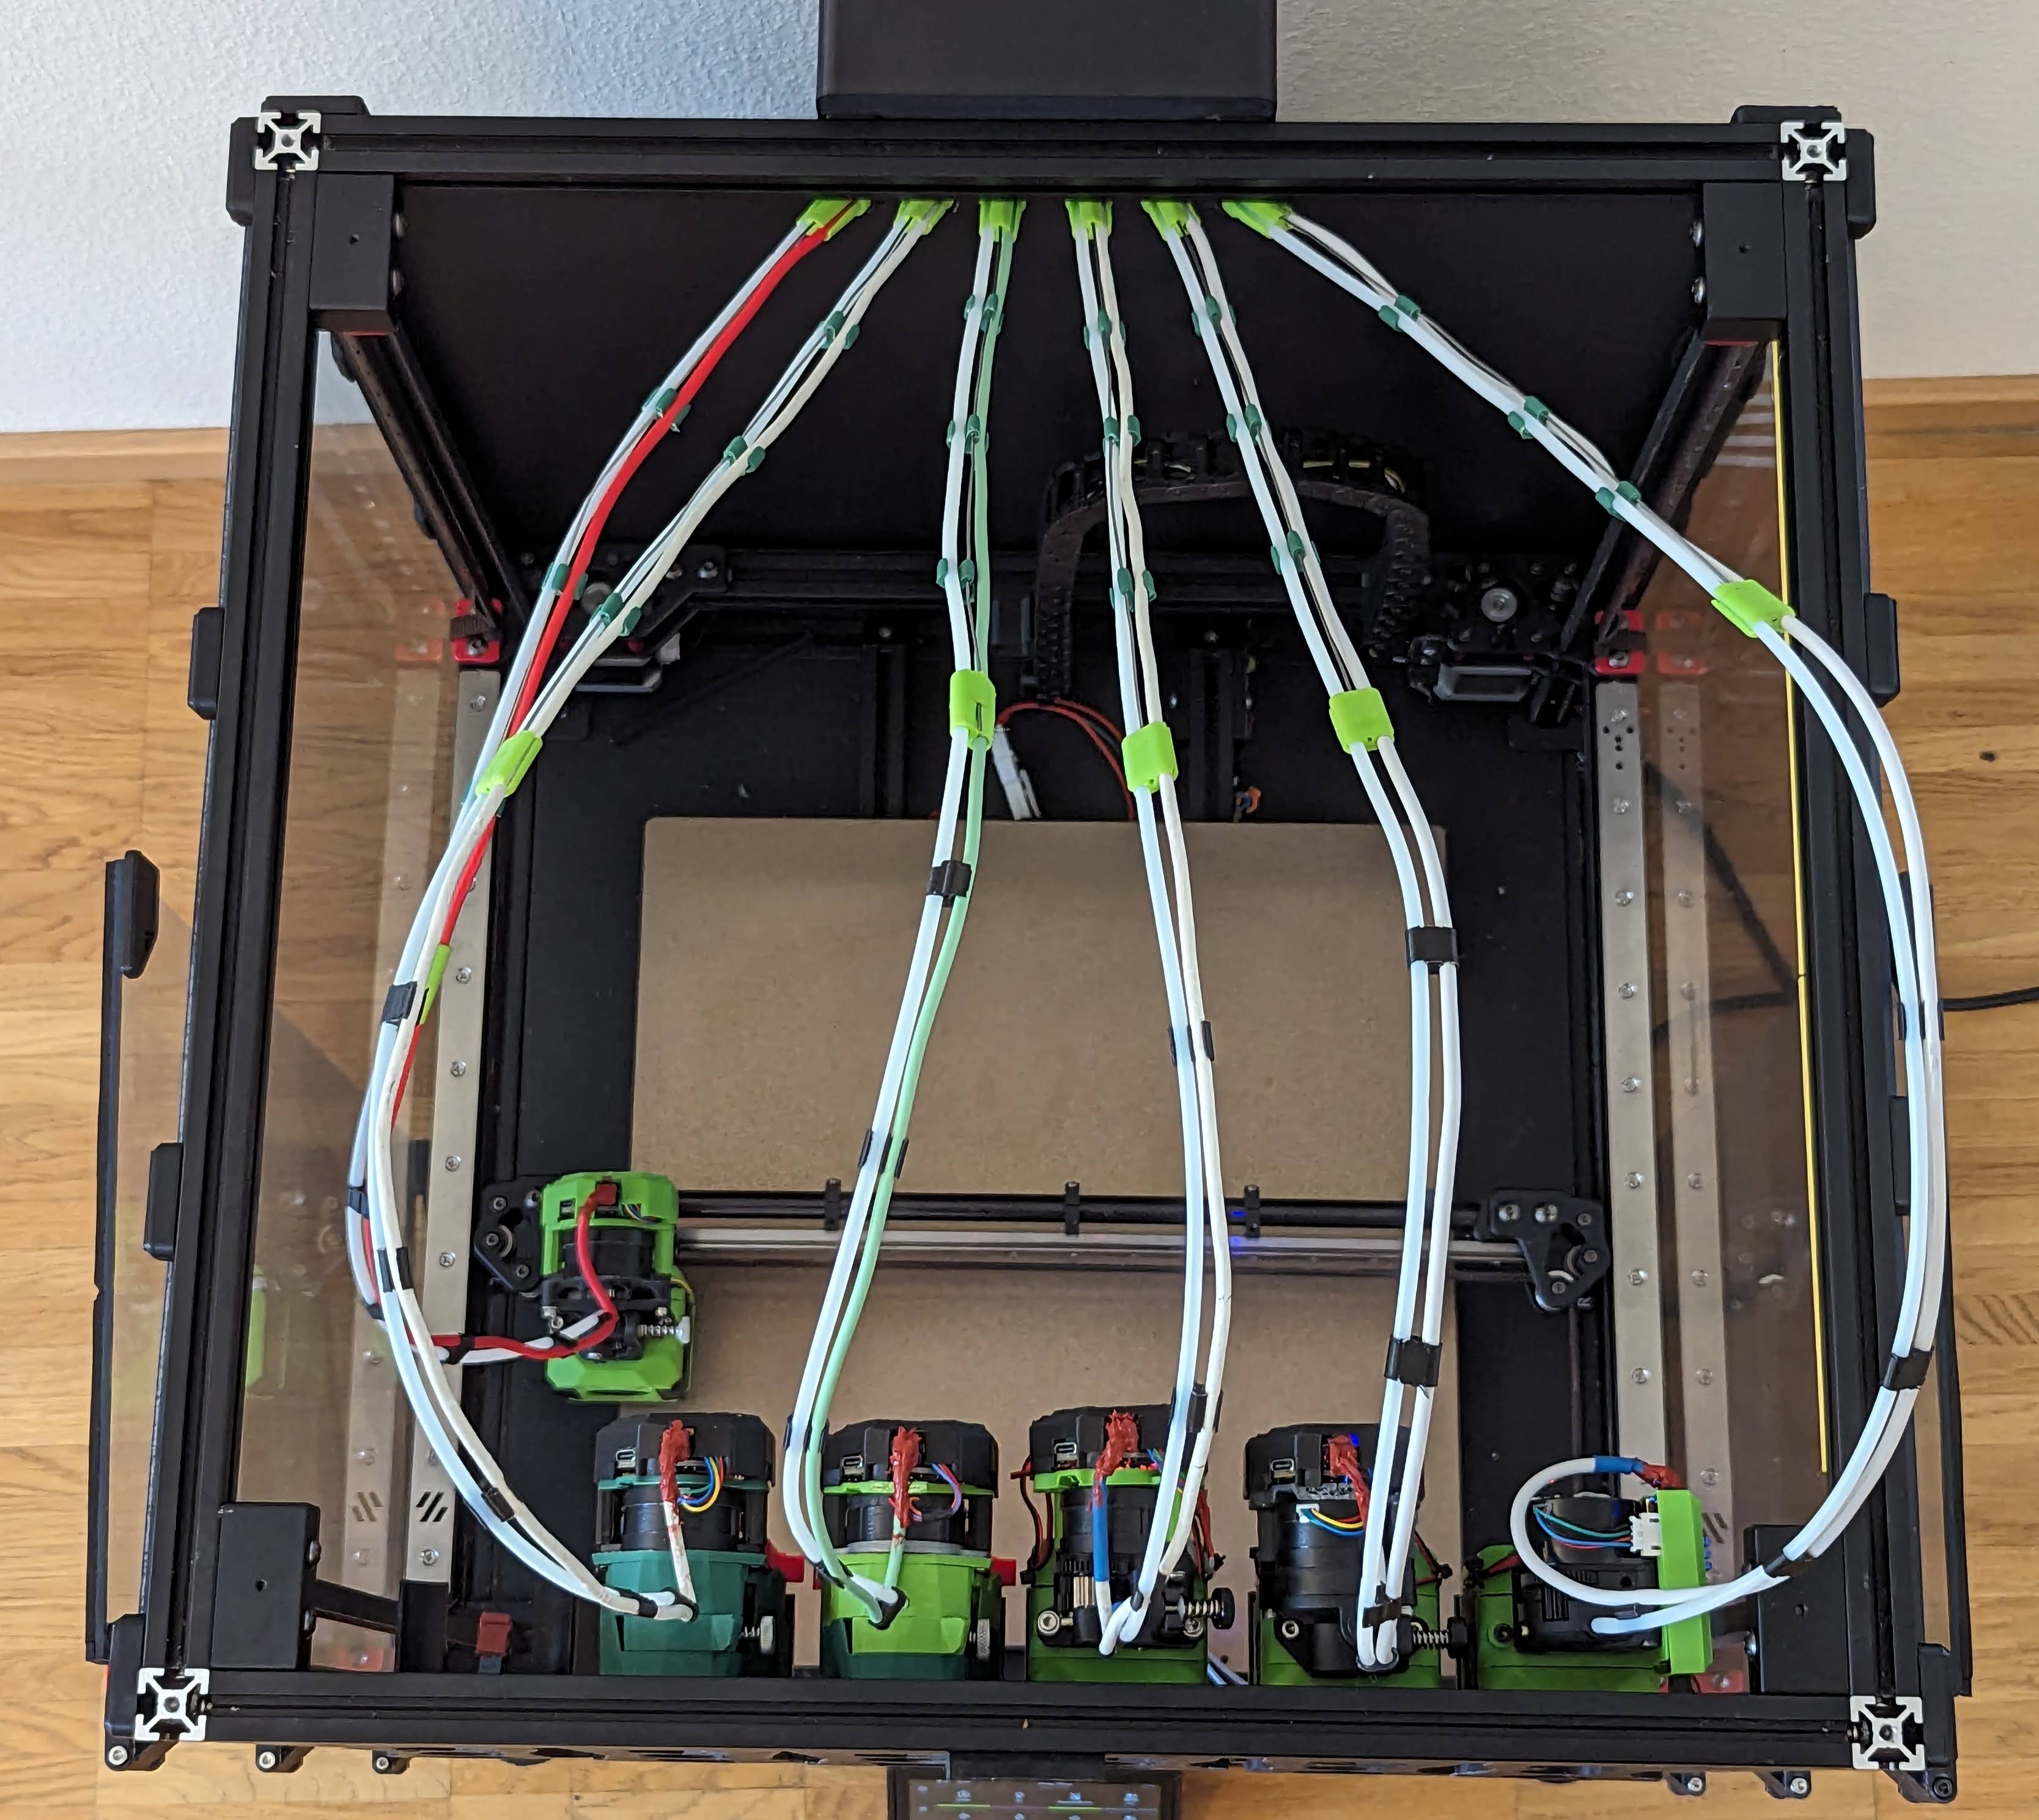
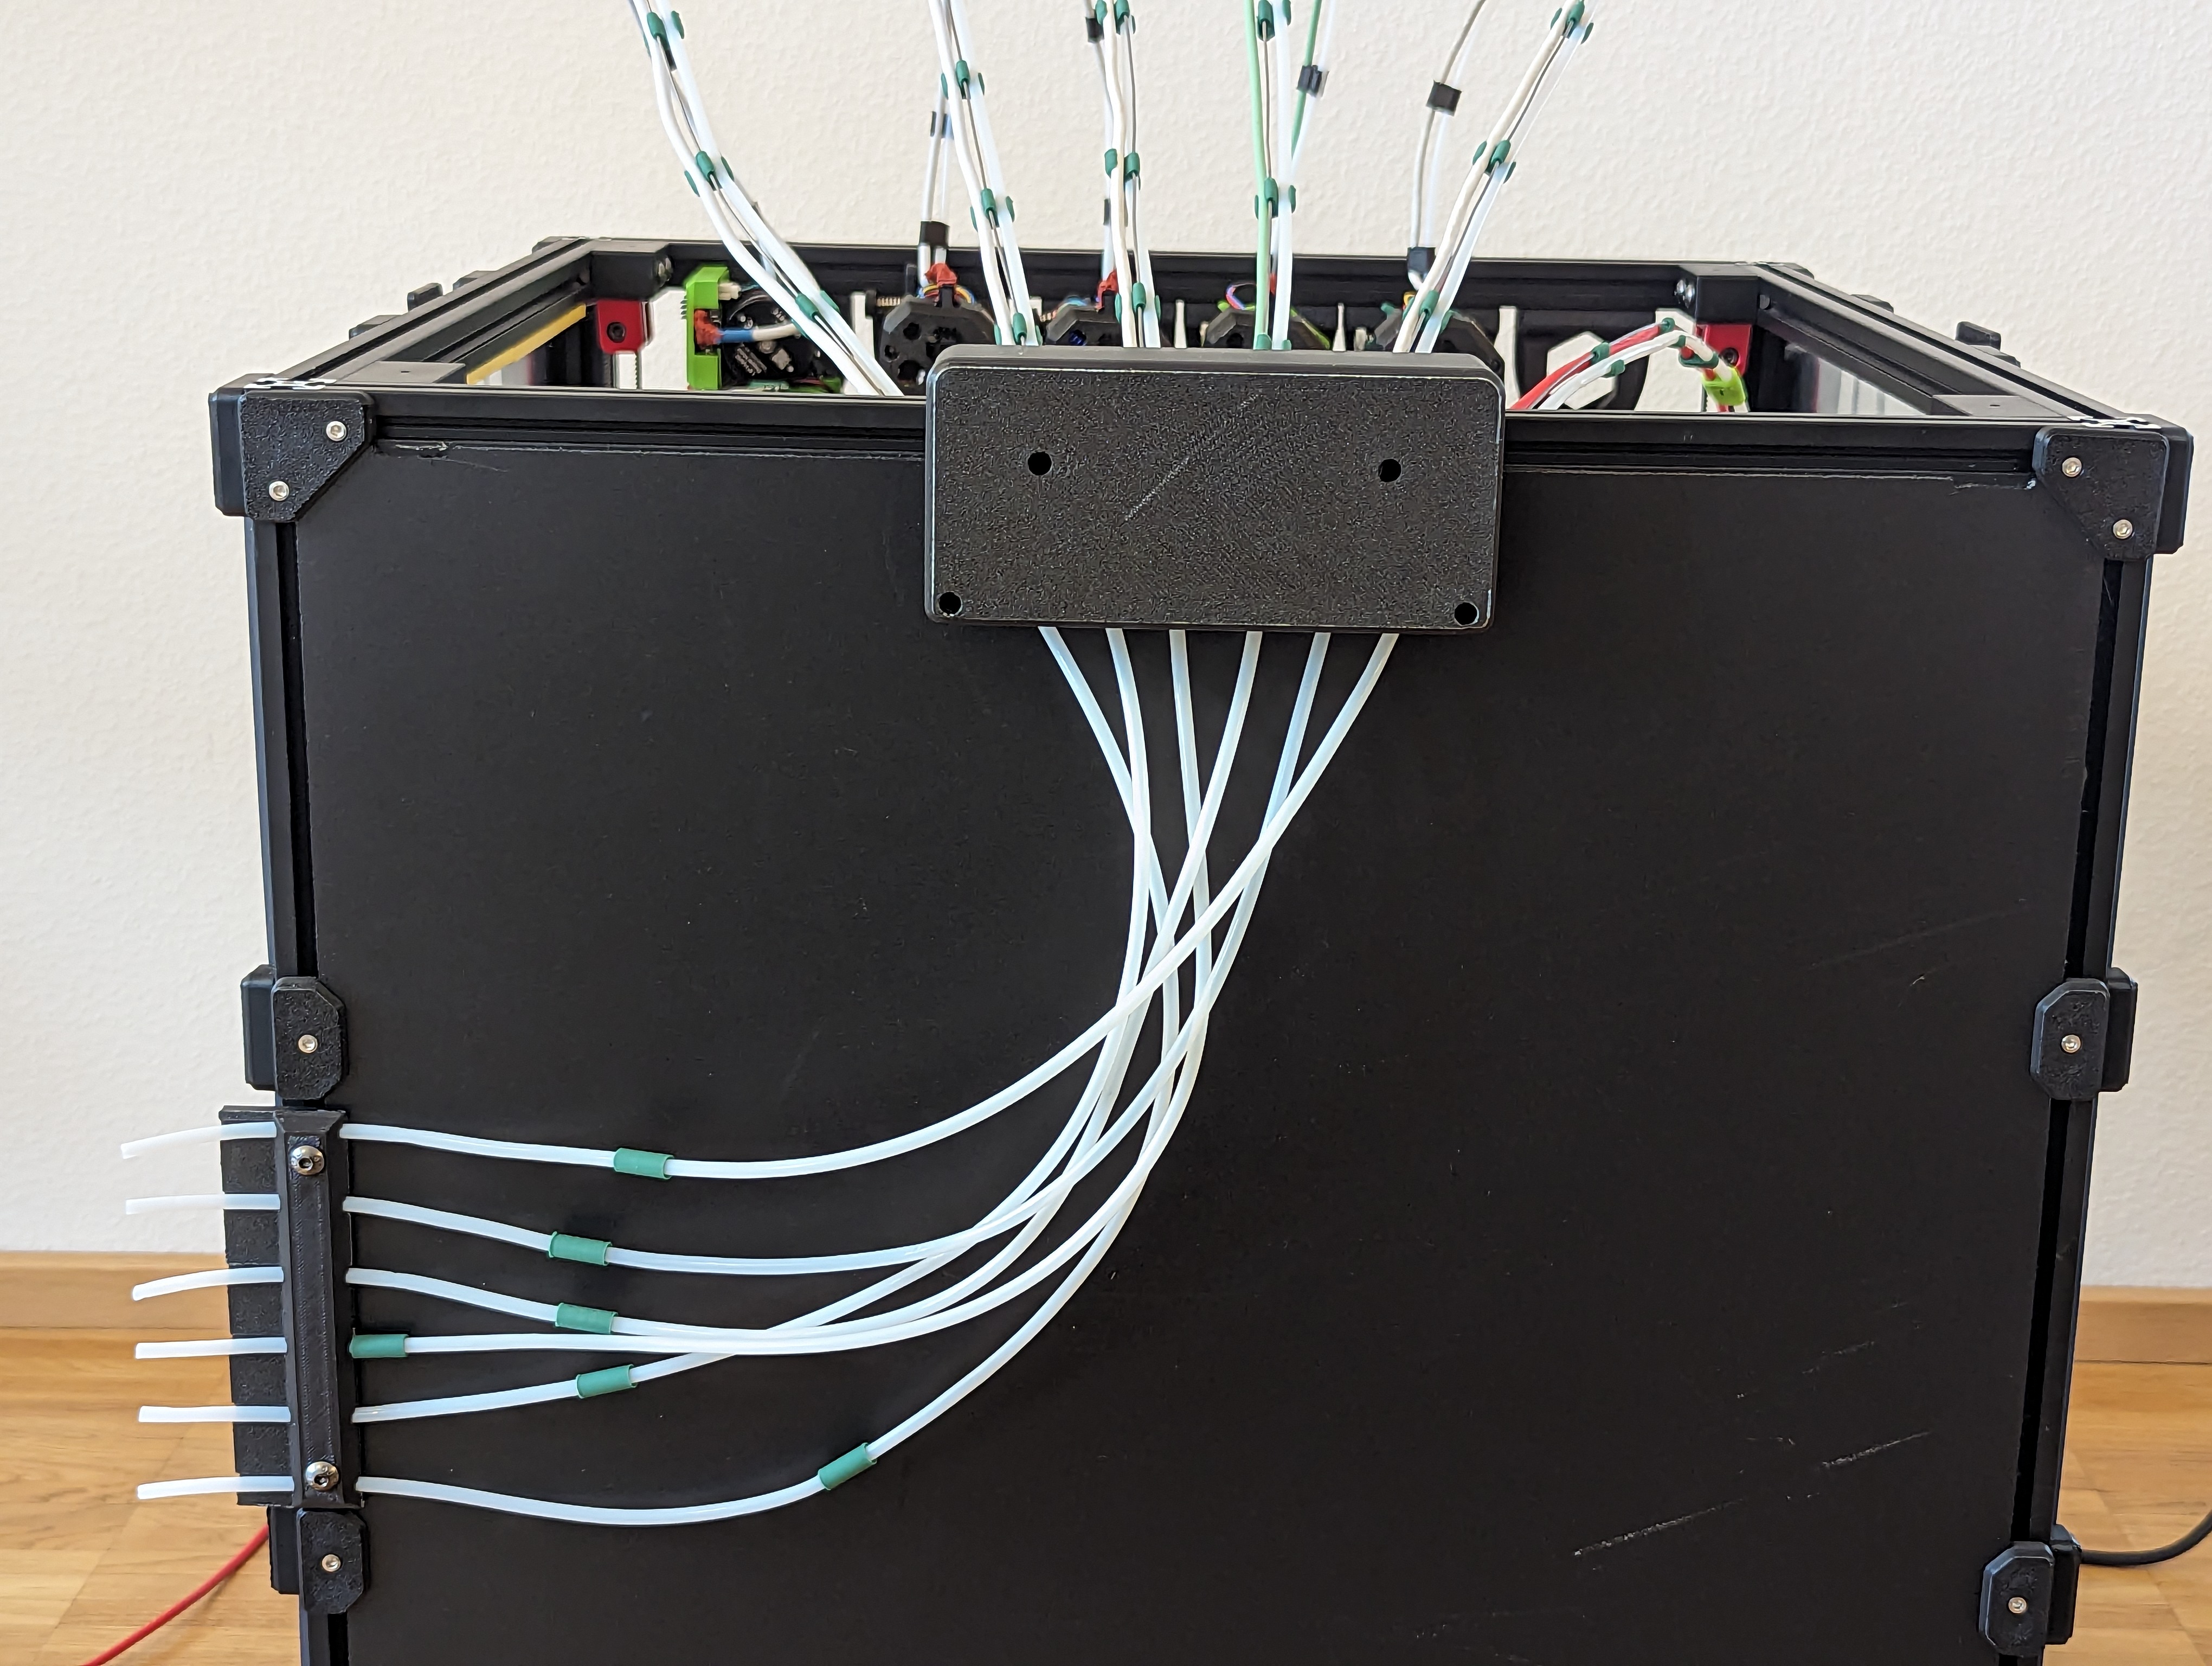
The wiring system from the main board to all the toolheads.
All lengths are for a 350mm bed build. Shorten accordingly for smaller sizes.
- Some TPU filament, I'm using 82a hardness.
- 34cm 1mm piano steel wire
- 1m USB cable, capable of 5amps
- silicone (high temp or normal)
- 130cm PTFE tube 4mm OD, 3mm ID
- Some m3 and m5 scews and heat set inserts
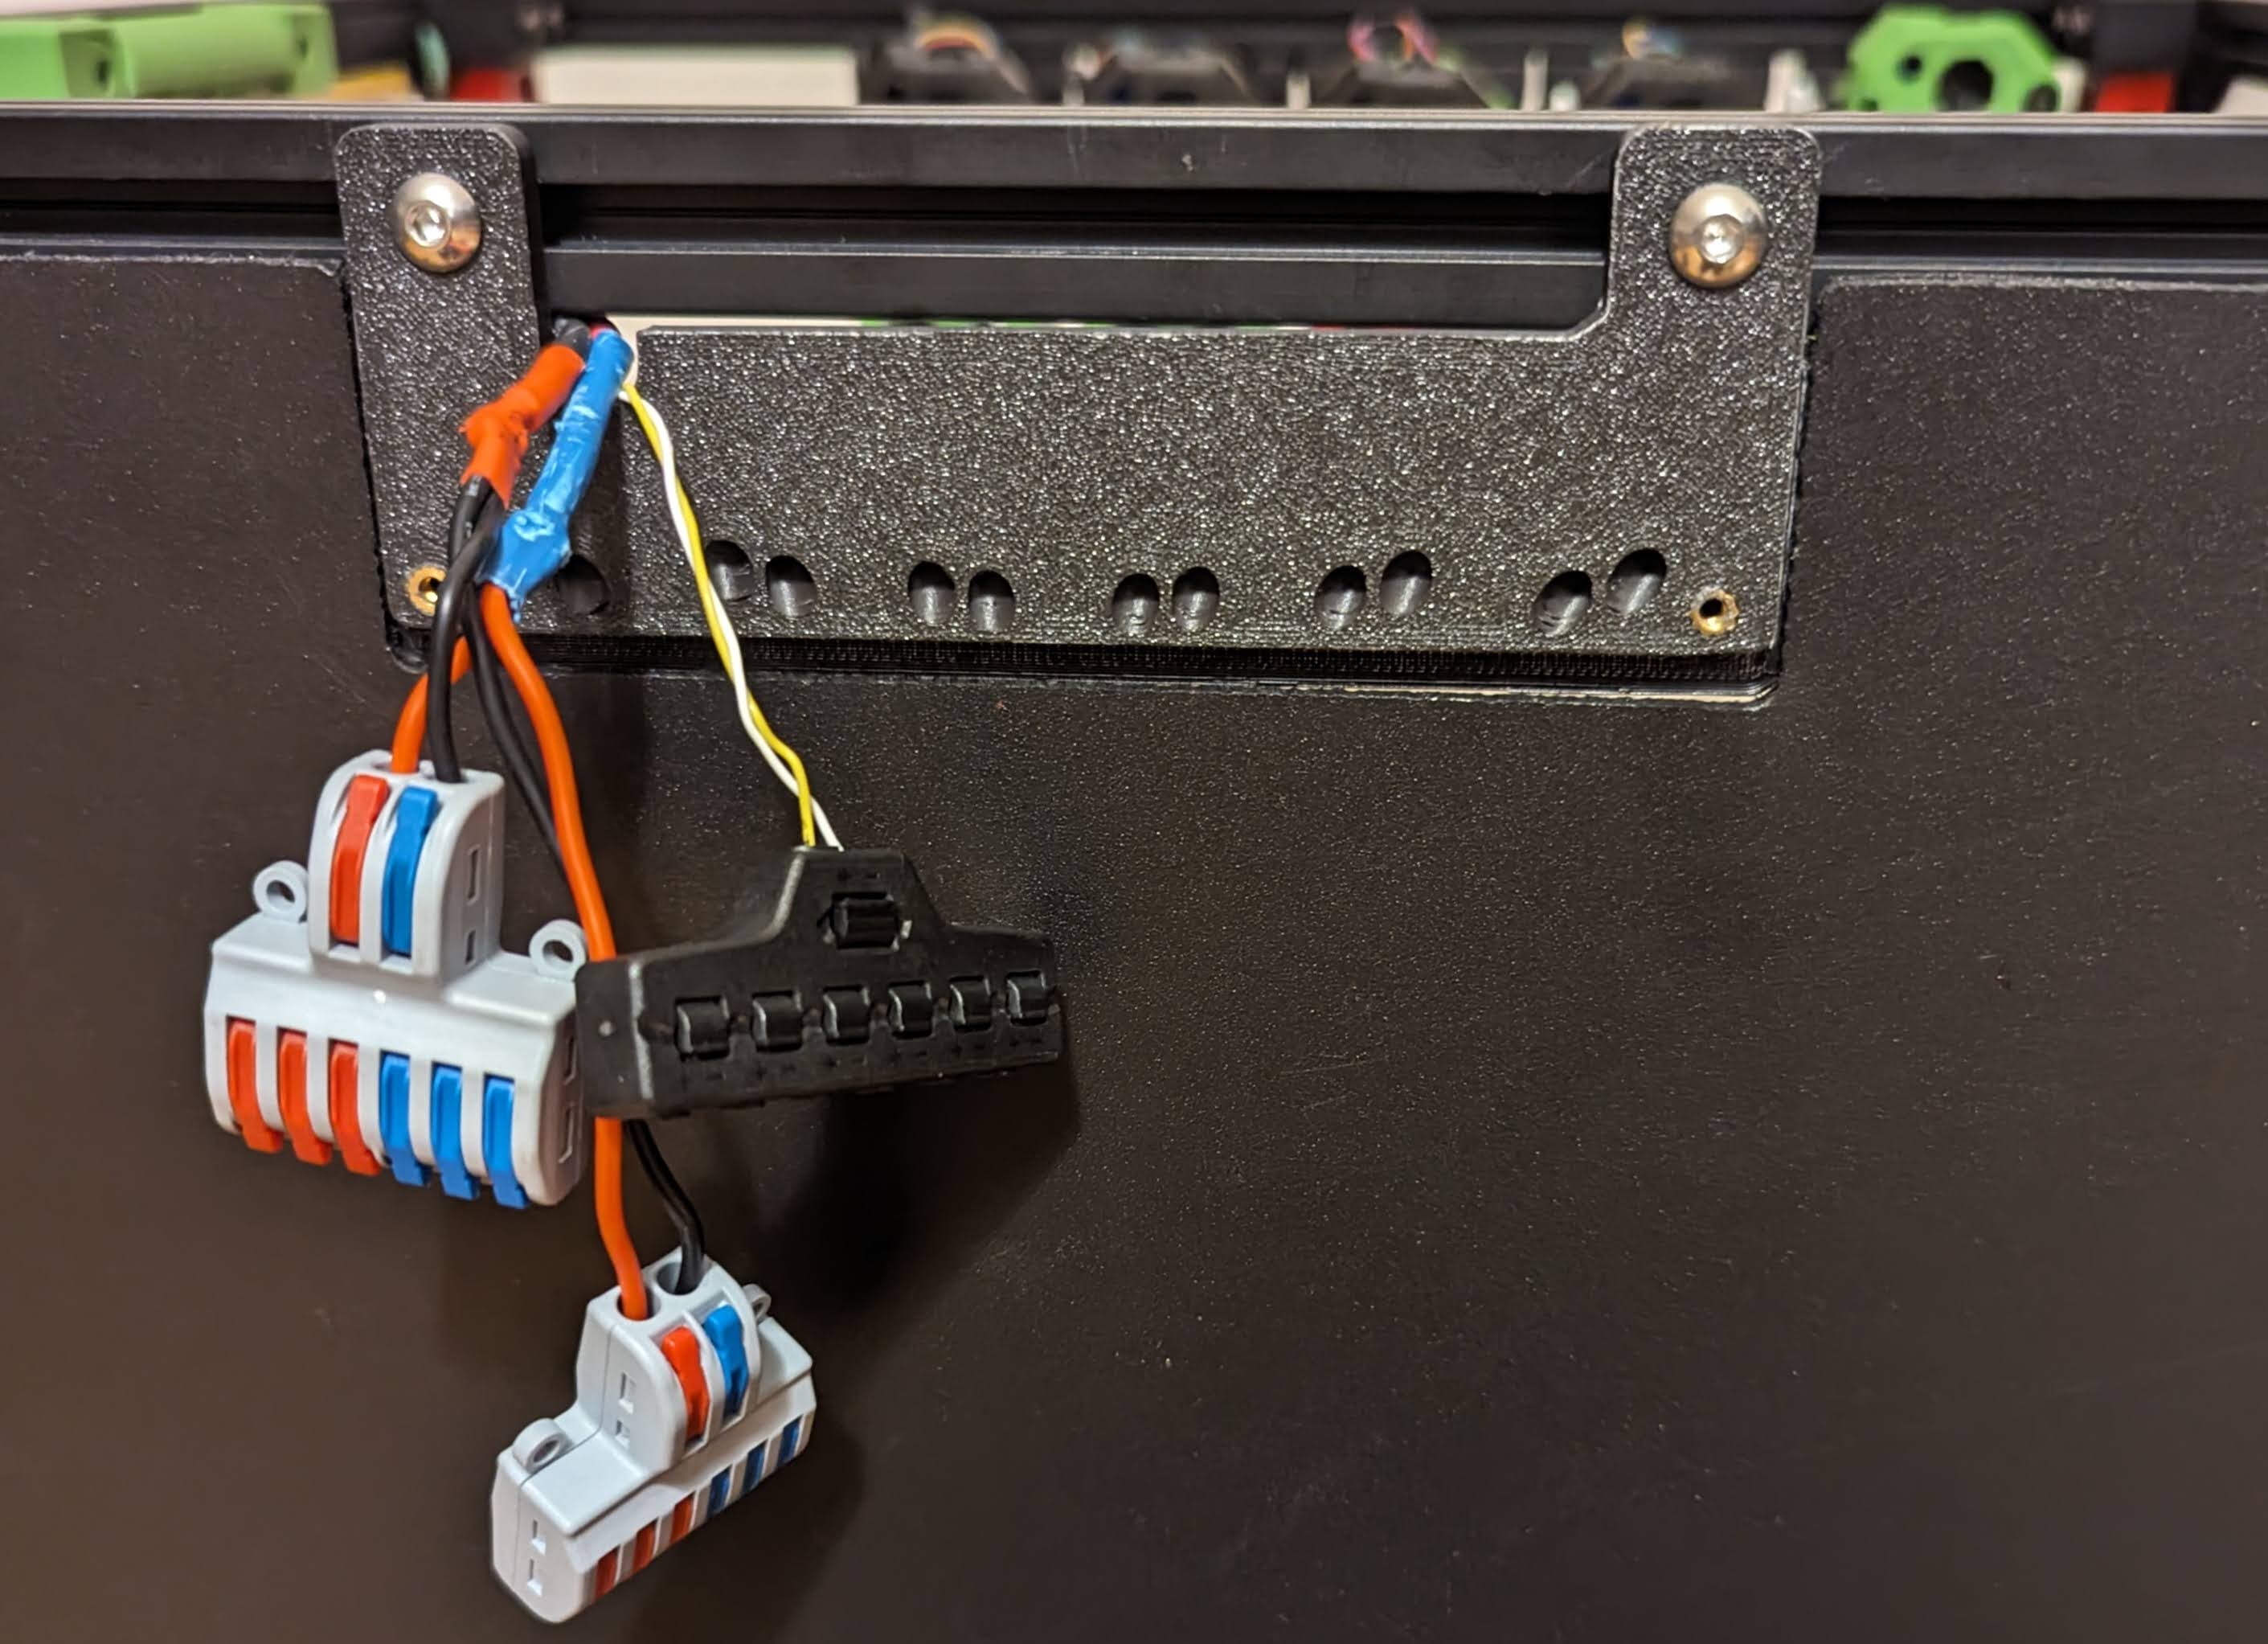
Mount the back plate at the back of the rail, it replaces the air filter. Route the canbus wires and 24v to it. They fit will in the extrusion slot. Remember to use appropraite gauge, for all 6 toolheads it can draw 20+ amps, and more if you go for Rapido for some reason.
I'm currently using Wagos to connect all the wires, but see the electronics folder for a custom PCB board.
Cut both connectors off, and solder/crimp on the hotend board connector. Then fill it up with silicone, this is high vibration connection, I had constant connection issues without this.
Leave the other end alone for now, it will make it easier to thread through the backing plate.
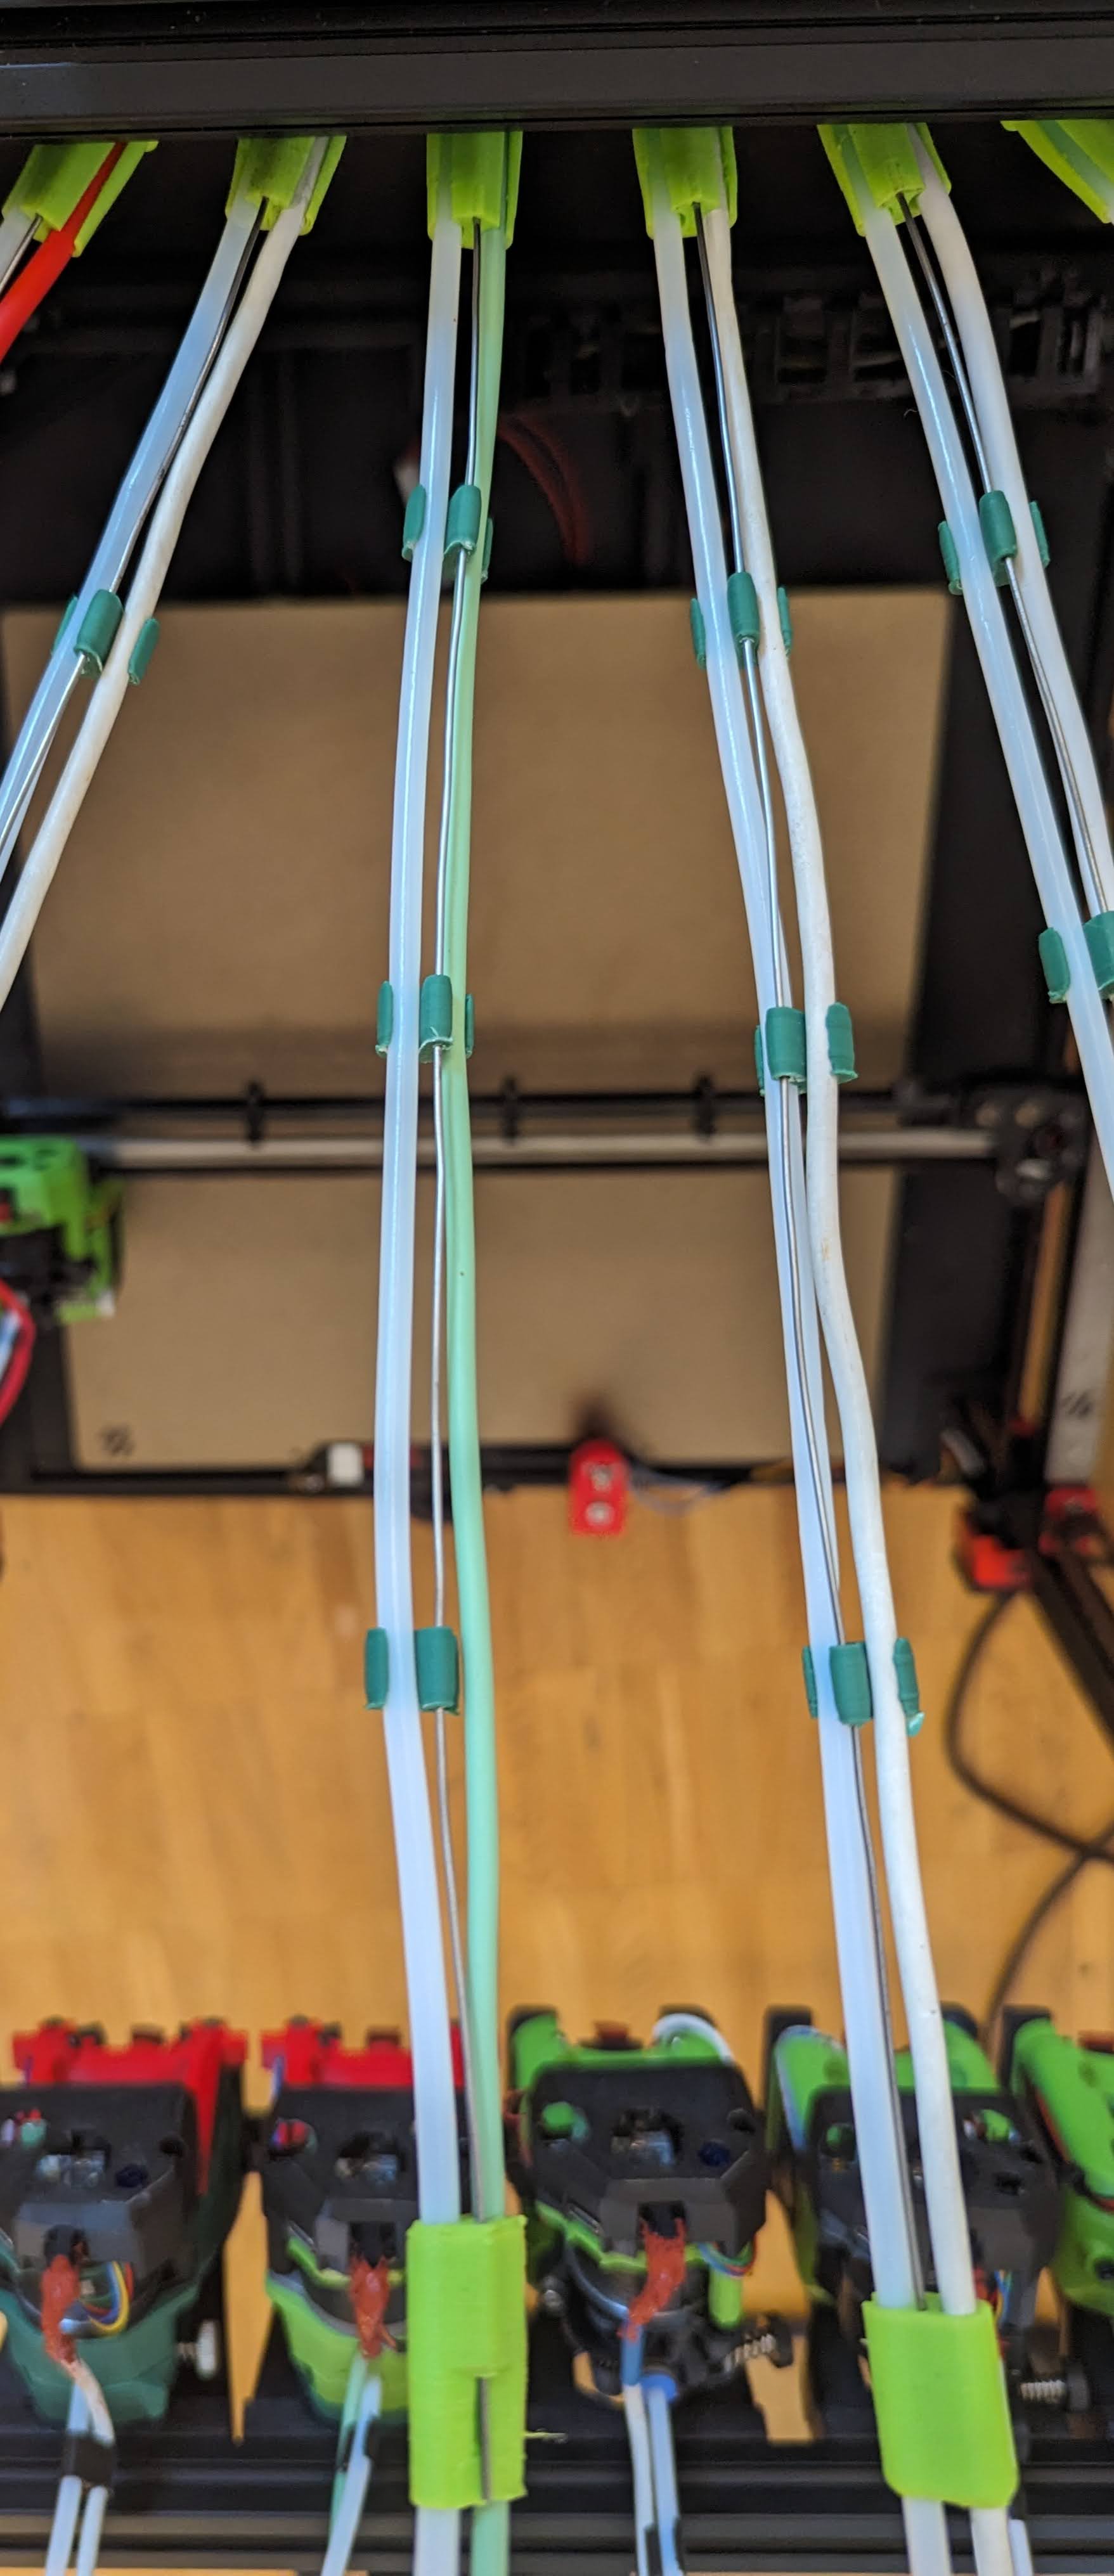
Cut the piano wire to length, straighten it out (holding with pliers and lightly bending works well). And fold a square hook at one end, you will need that to secure in the TPU plug.
Attach the both ends to the wire and put 3 wire clips in the middle. Mind the orientation - USB cable goes on the right and PFTE tube on the left side. Both the clips and the hub are designed with tube on the left. The hole sizes are different so it should be obvious that something is off.
Leave around 40 cm of the tube and 45 cm of the usb cable from end of wire to the toolhead. You will be able to adjust it later.
Plug the umbilical in a slot, it's a tight fit but should go in with some pressure applied. Attach the toolead.
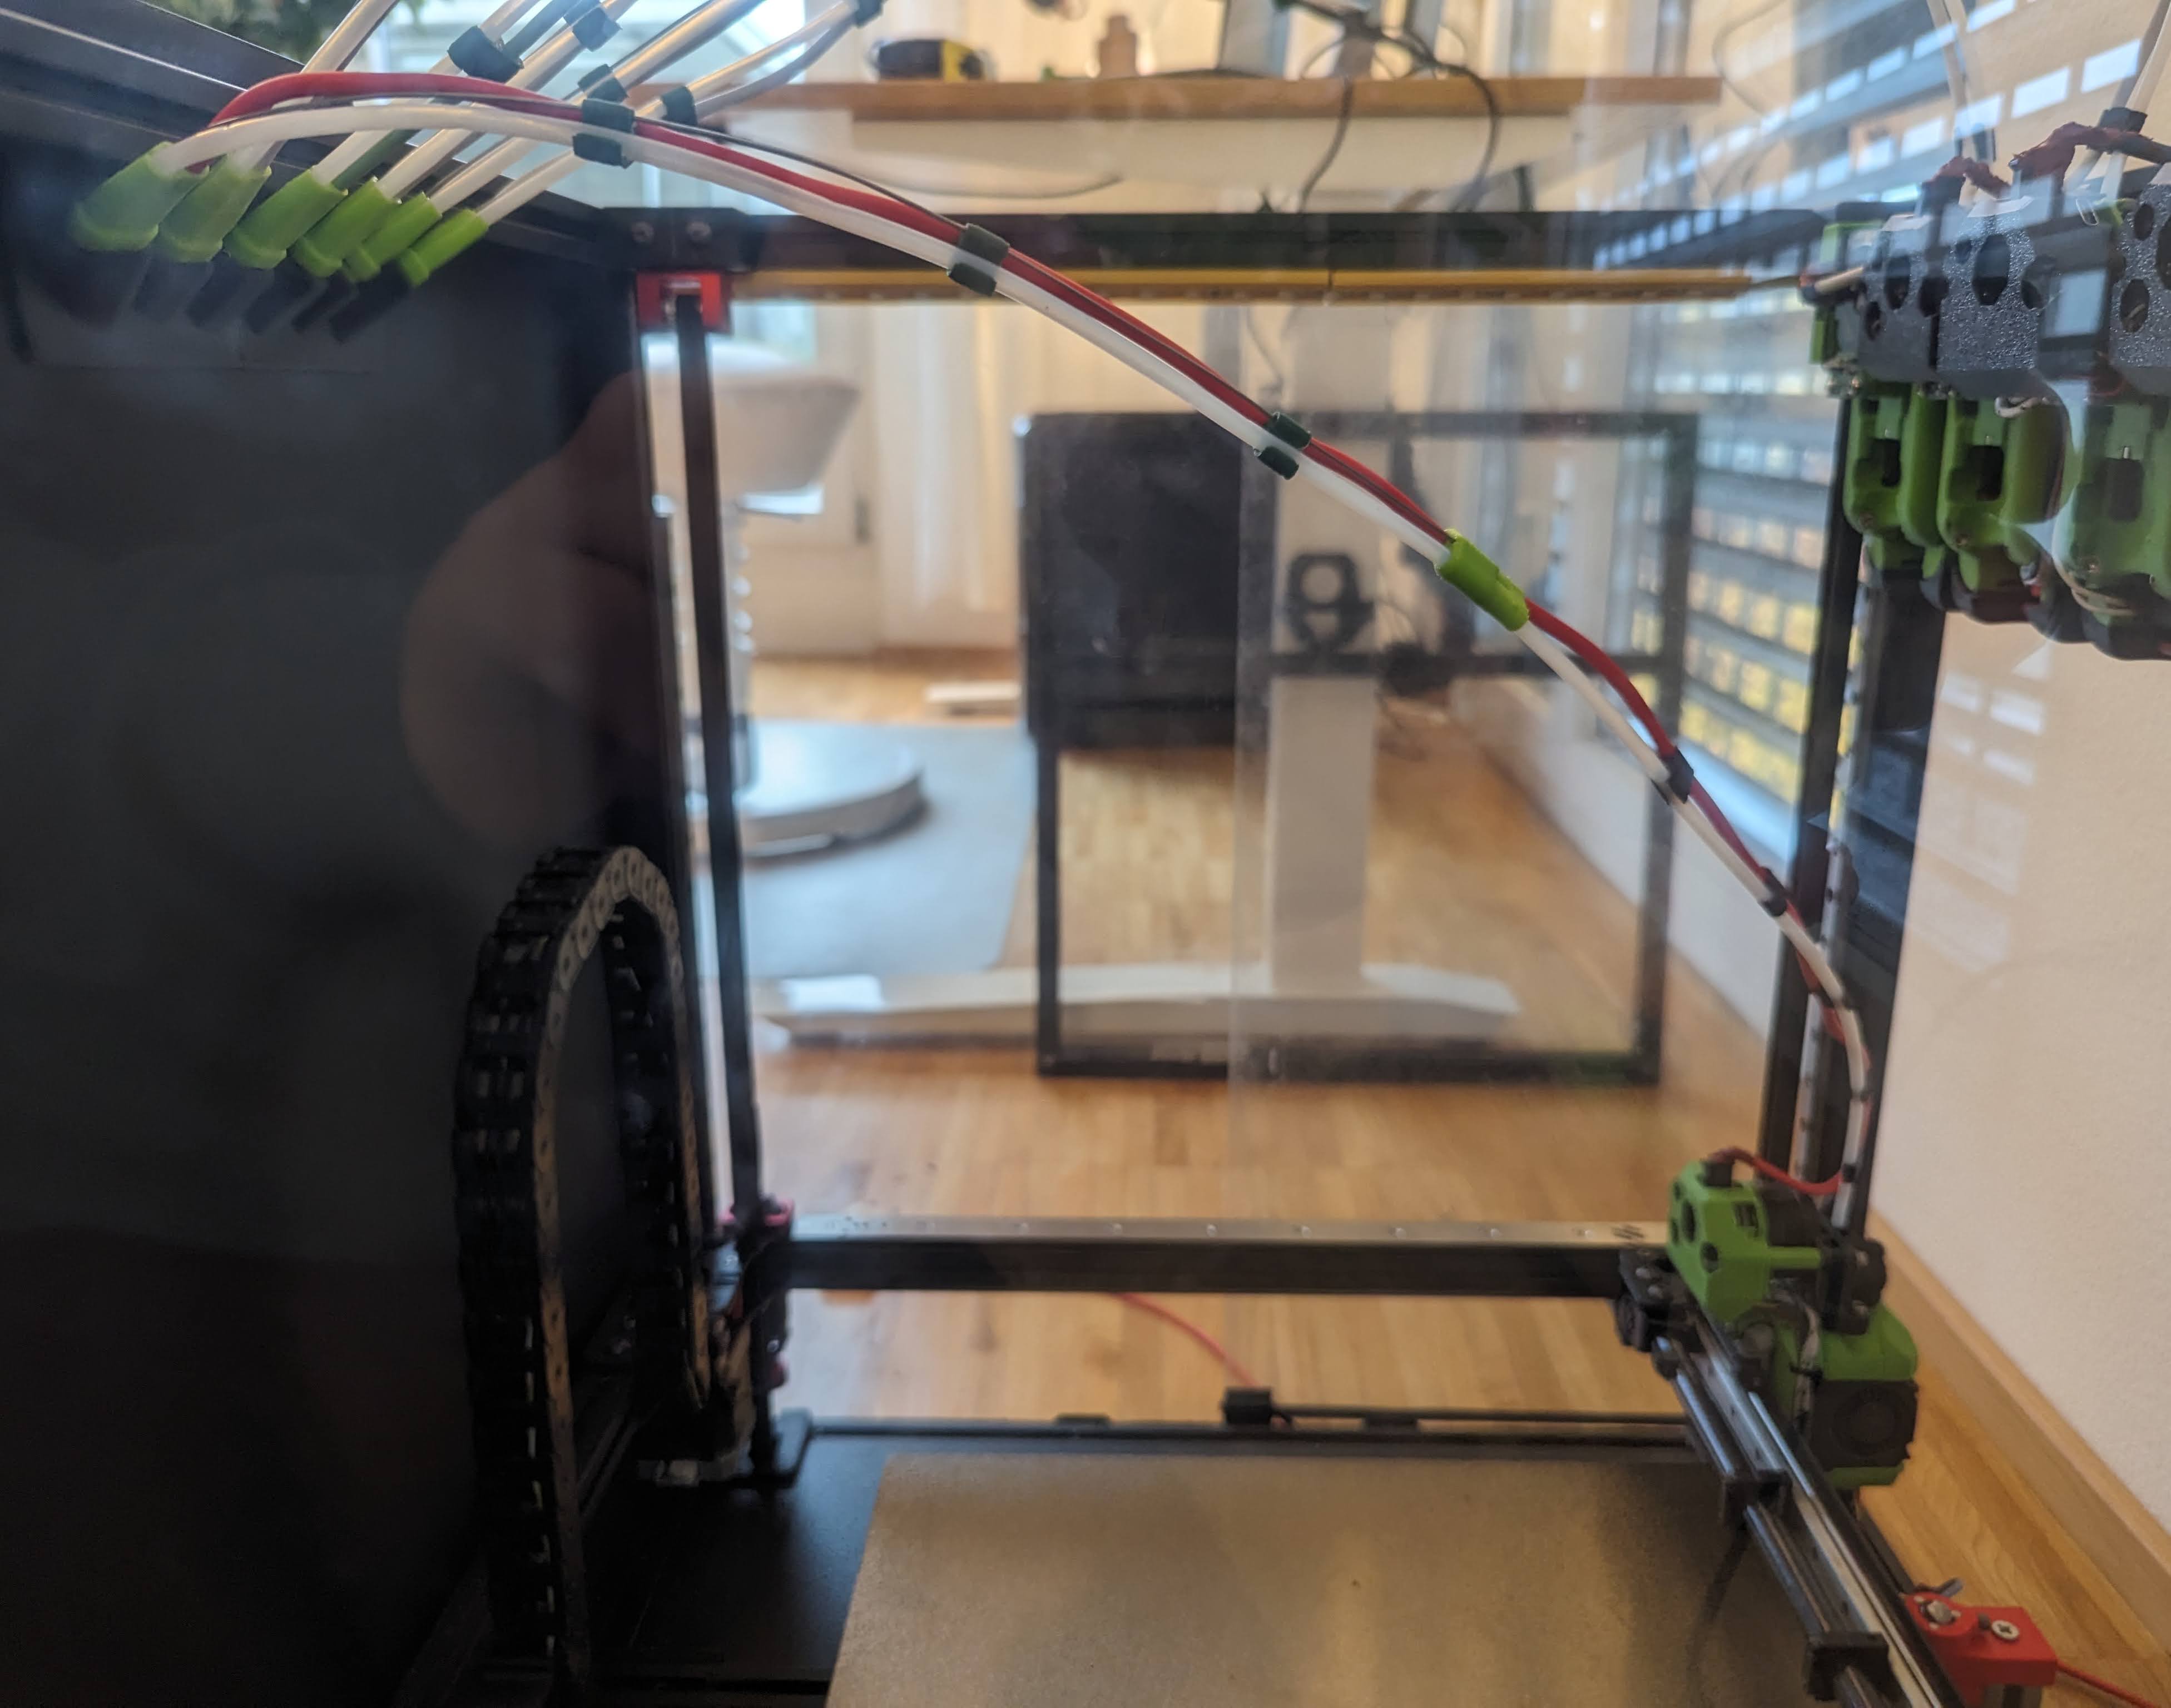
Now move the toolhead around the print area, make sure the cable is long enough to reach every corner. Adjust the length as needed.
It should be roughly like this:
Now you can cut the USB cables to length, strip and connect them.
See Canbus on how to wire it all together.
Before powering on, verify there are no shorts and the Canbus lines have 60 Ohm between them.
Attach the tube holder to the side and route all the tubes through. Mine where cut too short, so I had to improvise.
