This tutorial is loosely based on the Airflow tutorial in the official documentation. It will walk you through the basics of setting up Airflow and creating an Airflow job.
Airflow is installable with pip via a simple pip install apache-airflow.
It's prepackaged in the virtual environment defined in environment.yml or you can install it yourself.
To use the conda virtual environment as defined in environment.yml:
- Install miniconda.
- Make sure that conda is on the path:
$ which conda
~/miniconda2/bin/conda
- Install the virtual environment:
$ conda env create -f environment.yml
- Activate the virtual environment:
$ source activate airflow-tutorial
Alternatively, install Airflow yourself by running:
$ pip install apache-airflow
Airflow used to be packaged as airflow but is packaged as apache-airflow since version 1.8.1.
Make sure that you install extra packages with the right Python package: e.g. use pip install apache-airflow[dask] if you've installed apache-airflow and don't use pip install airflow[dask].
You may run into problems if you don't have the right binaries or Python packages installed for certain backends or operators.
When specifying support for a database when installing extra airflow packages, make sure it's installed.
For example, do a brew install postgresql or apt-get install postgresql before the pip install apache-airflow[postgres], and when running into HiveOperator errors, do a pip install apache-airflow[hive] and make sure you can use Hive.
Before we can use Airflow, we have to initialize its database. The database contains information about historical and running jobs, connections to external data sources, user management, etc. Once the database is set up, we'll access Airflow's UI by running a web server and we can start running jobs.
The default database is a SQLite database, which is fine for this tutorial. In a production setting you'll probably be using something like MySQL or PostgreSQL.
Airflow will use the directory set in the environment variable $AIRFLOW_HOME to store its configuration and our SQlite databse.
This directory will be used after your first Airflow command.
If you don't set the environment variable AIRFLOW_HOME, Airflow will create a directory ~/airflow to put its files in.
Set environment variable AIRFLOW_HOME to your current directory $(pwd):
$ export AIRFLOW_HOME="$(pwd)"
or any other suitable directory.
Next, initialize the database:
$ airflow initdb
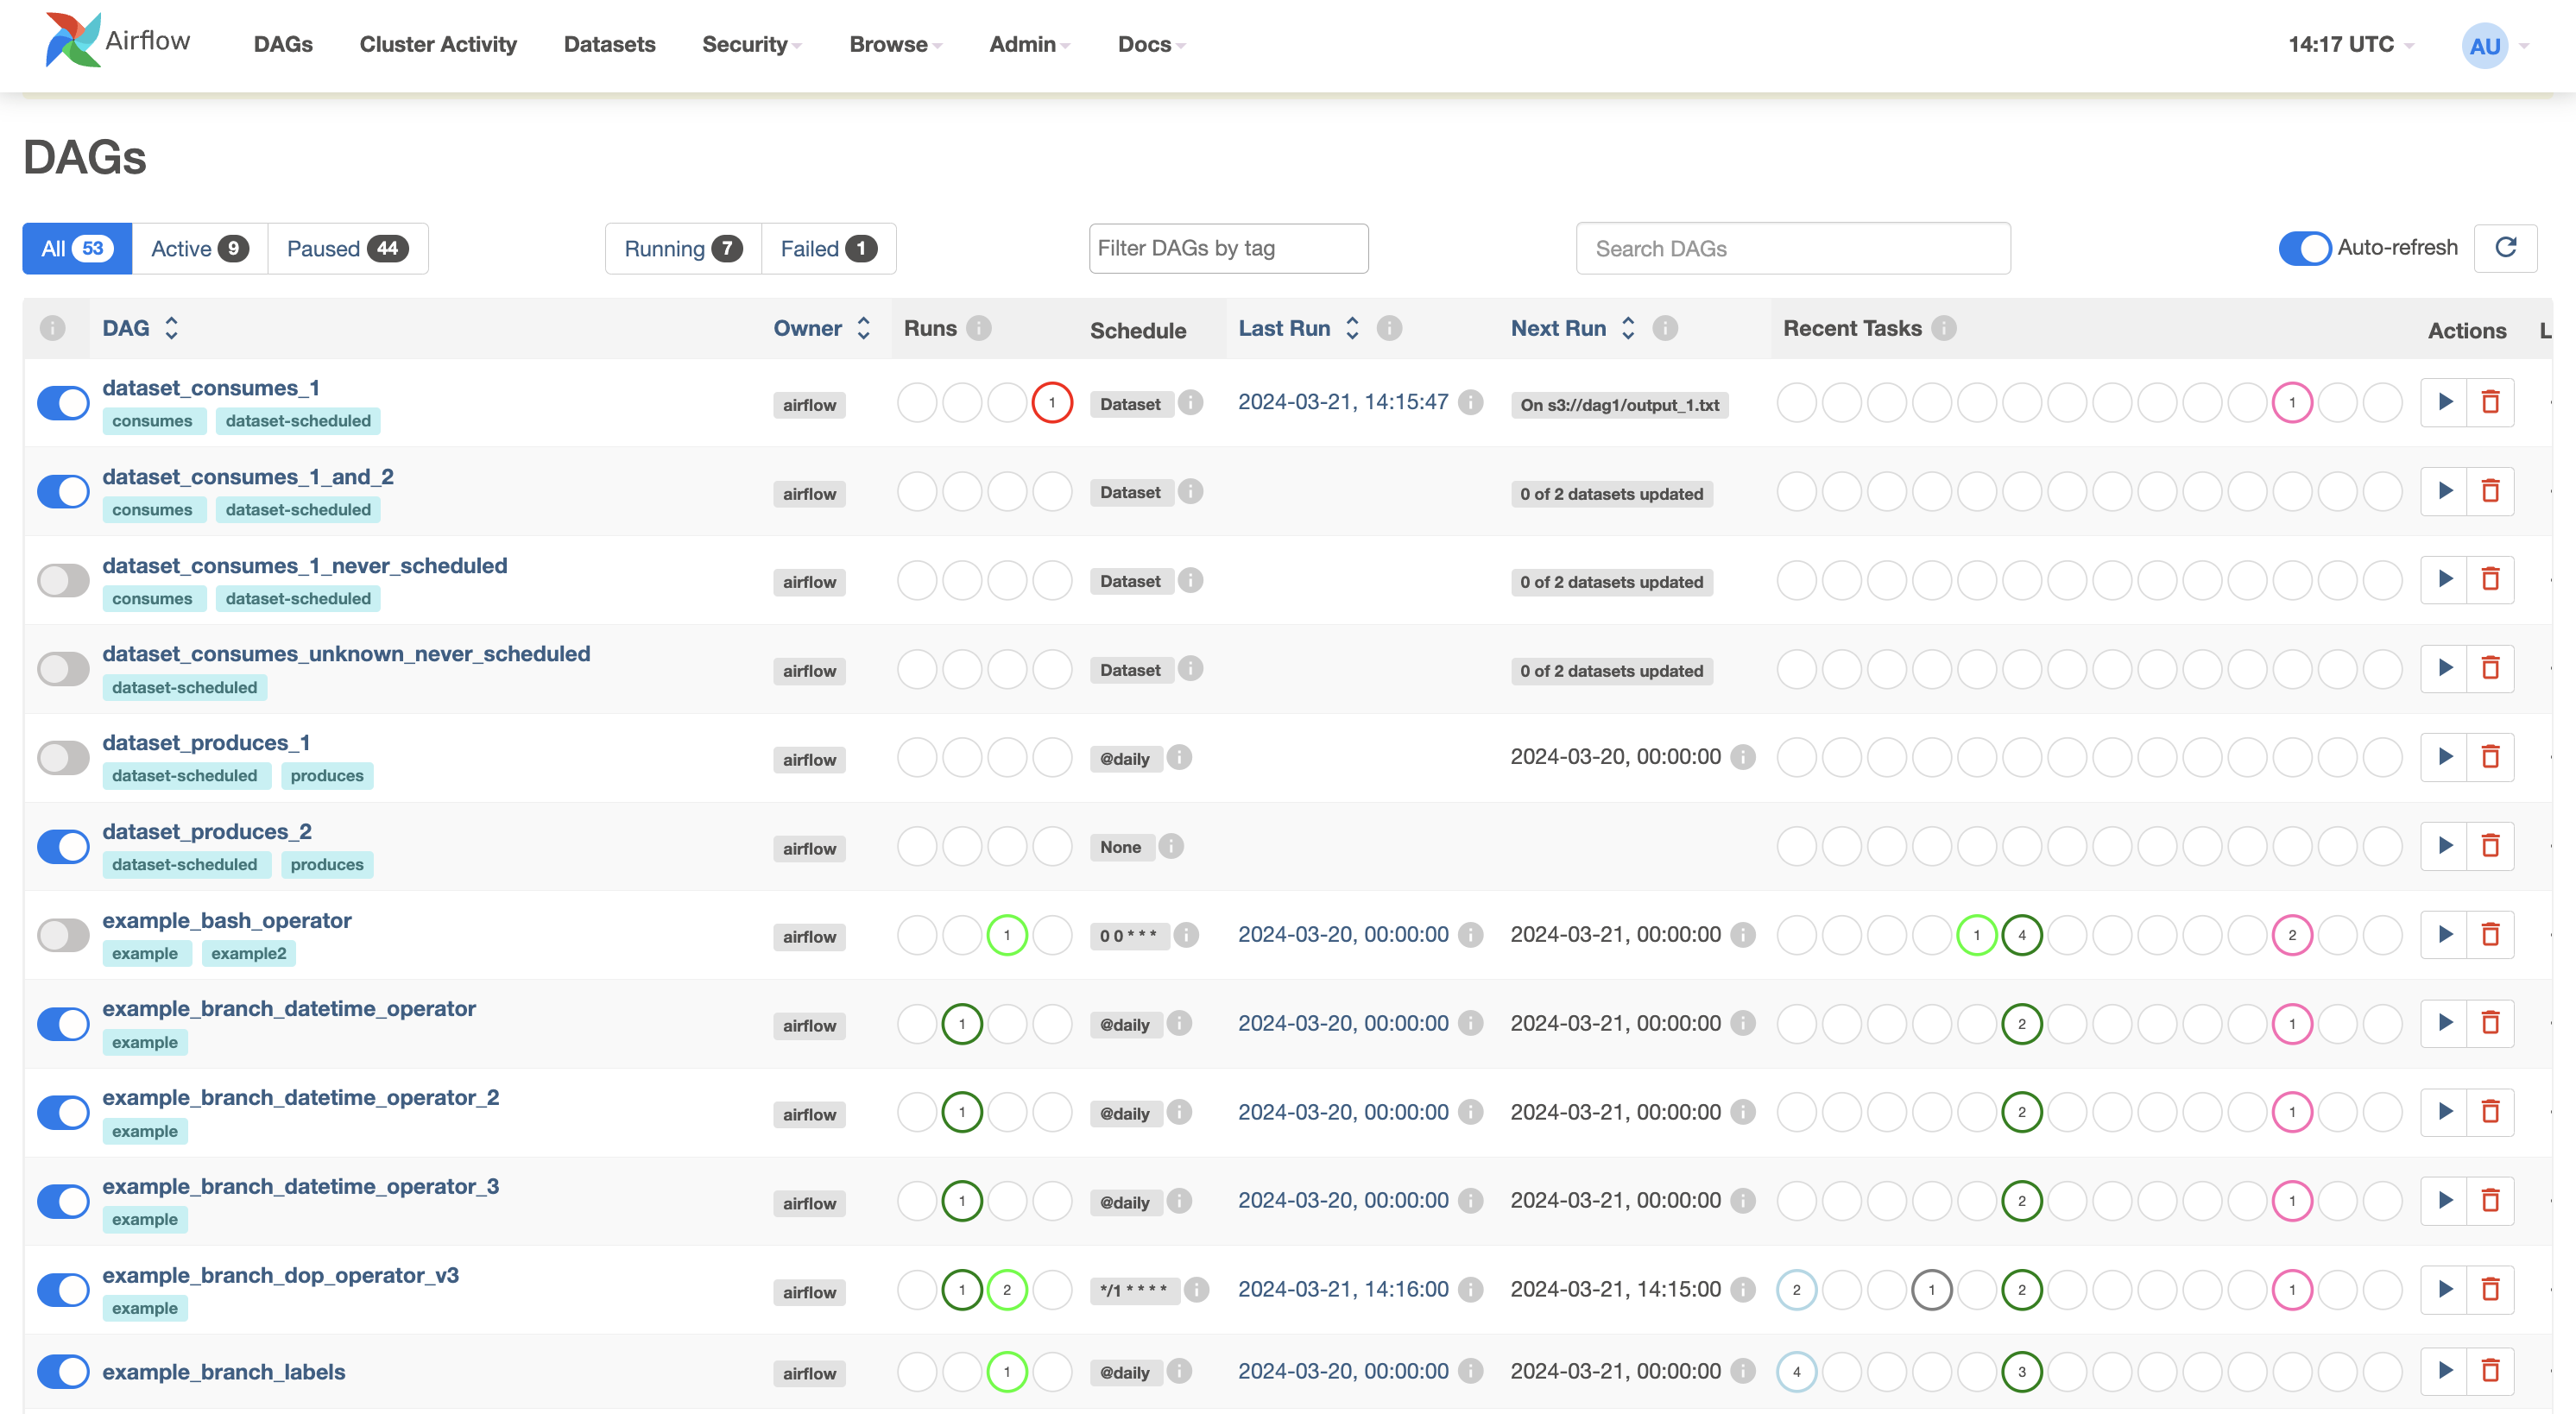
Start the web server and go to localhost:8080 to check out the UI:
$ airflow webserver --port 8080
It should look something like this:
With the web server running we'll start a job from a new terminal window.
Open a new terminal, activate the virtual environment and set the environment variable $AIRFLOW_HOME for this terminal as well:
$ source activate airflow-tutorial
$ export AIRFLOW_HOME="$(pwd)"
Run a supplied example:
$ airflow run example_bash_operator runme_0 2015-01-01
And check in the web UI that it has run by going to Browse -> Task Instances.
This concludes all the setting up that we need for this tutorial.
For more information on configuration check the sections on Configuration and Security of the Airflow documentation.
Check the Airflow repository for upstart and systemd templates.
We'll first create a job by specifying actions as a Directed Acyclic Graph (DAG) in Python and then submit it. Tasks make up a Graph; the graph is Directed because the tasks are ordered; and we don't want to get stuck in an eternal loop so the graph also has to be Acyclic.
Go to the folder that you've designated to be your AIRFLOW_HOME, go to the subfolder dags/ and open a Python file with the name airflow_tutorial.py that will contain your DAG.
We'll first configure settings that are shared by all our tasks.
Settings for tasks can be passed as arguments when creating them, but we can also pass a dictionary with default values to the DAG.
This allows us to share default arguments for multiple tasks.
Add the following import and dictionary to airflow_tutorial.py to specify the start time, email and retry settings that are shared by our tasks:
import datetime as dt

default_args = {
    'owner': 'me',
    'start_date': dt.datetime(2015, 6, 1),
    'retries': 1,
    'retry_delay': dt.timedelta(minutes=5),
}
These settings tell Airflow that this job is valid since June 1st of 2015, it should not send emails and is allowed to retry the job once if it tails.
We'll now create a DAG object that will contain our tasks:
from airflow import DAG

with DAG('airflow_tutorial_v01',
         default_args=default_args,
         schedule_interval='0 * * * *'
         ) as dag:
For our DAG we've specified a run at every hour 0 with '0 * * * *': the DAG will run each day at 00:00.
See crontab.guru if you for help deciphering a cron schedule expression.
Alternatively, you can use strings like @daily and hourly.
We've used a decorator to create a DAG (new since 1.8). All the tasks for the DAG should be indented to indicate that they are part of this DAG.
Airflow will generate DAGs runs from the start_date with the specified schedule_interval.
A run will start after the time for the run has passed; the daily job for 2016-06-02 will run after 2016-06-02 23:59 and the hourly job for 2016-07-03 01:00 will start after 2016-07-03 01:59.
Airflow continuously checks if new DAG runs should be scheduled.
When you initialize on 2016-01-04 a DAG with a start_date at 2016-01-01 and a daily schedule_interval, Airflow will schedule DAG runs for all the days between 2016-01-01 and 2016-01-04.
Because Airflow saves all the (scheduled) DAG runs in its database, you generally should not change the start_date and schedule_interval of a DAG.
Instead, up the version number of the DAG (e.g. airflow_tutorial_v02) and use the web interface of command line tools to avoid running unnecessary tasks.
Timezones and especially daylight savings can mean trouble when scheduling things, so keep your Airflow machine in UTC. You don't want to skip an hour because daylight savings kicks in (or out).
Tasks are represented by operators that either perform an action, transfer data, or sense if something has been done. Examples of actions are running a bash script or calling a Python function; of transfers are copying tables between databases or uploading a file; and of sensors are checking if a file exists or data has been added to a database.
We'll run a job consisting of three tasks: we'll print 'hello', wait for 10 seconds and finally print 'world'.
The first two are done with the BashOperator and the latter with the PythonOperator.
Give each operator an unique ID, a bash command and our dag object (the parameter retries is overwritten by 3 for the third operator).
    from airflow.operators.bash_operator import BashOperator
    from airflow.operators.python_operator import PythonOperator

    def print_world():
        print('world')

    print_hello = BashOperator(task_id='print_hello',
                               bash_command='echo "hello"')
    sleep = BashOperator(task_id='sleep', bash_command='sleep 5')
    print_world = PythonOperator(task_id='print_world',
                                 python_callable=print_world)
Dependencies in tasks are added by setting other actions as upstream (or downstream).
Link the operations in a chain so that sleep will be run after print_hellp and is followed by print_world; print_hello -> sleep -> print_world:
print_hello >> sleep >> print_world
Your final DAG should look something like:
import datetime as dt
from airflow import DAG
from airflow.operators.bash_operator import BashOperator
from airflow.operators.python_operator import PythonOperator


def print_world():
    print('world')


default_args = {
    'owner': 'me',
    'start_date': dt.datetime(2015, 6, 1),
    'retries': 1,
    'retry_delay': dt.timedelta(minutes=5),
}


with DAG('airflow_tutorial_v01',
         default_args=default_args,
         schedule_interval='0 * * * *'
         ) as dag:

    print_hello = BashOperator(task_id='print_hello',
                               bash_command='echo "hello"')
    sleep = BashOperator(task_id='sleep', bash_command='sleep 5')
    print_world = PythonOperator(task_id='print_world',
                                 python_callable=print_world)

print_hello >> sleep >> print_world
Check that the DAG is valid by executing the file with python:
$ python airflow_tutorial.py
Airflow checks for DAGs in its $AIRFLOW_HOME/dags/ folder.
Move airflow_tutorial.py to the folder dags/ (or ~/airflow/dags if you didn't set $AIRFLOW_HOME`).
Your job is automatically picked up and scheduled to run.
You can manually test a single task with airflow test:
airflow test airflow_tutorial_v01 print_world 2016-07-01
This runs the task locally as if it was for the given date, ignoring other tasks and without communication to the database. You should see
Use airflow run to manually run a task with its dependencies for a given date.
airflow run airflow_tutorial_v01 print_world 2016-07-01
You've set up Airflow, created a DAG and ran a job. Try changing the interval to every minute, implement templating as in the original tutorial and checking our more example DAGs. Read the docs before really using Airflow.