The project assumes the use of ESP-12 module either as NodeMcu 1.0 or WeMos D1 mini.
This project is based on a similar esp-rfid project by Omer Siar Baysal. I have zero experience with ESP8266 and so I had to look for some good starting point. Fortunately I found much more than that. The concept of esp-rfid was a great fit for me in all aspects, so it was possible to take a large part of the whole project and just modify it. By this I express my great thanks to the author of this project! There's another thing here. My English is very imperfect, so I'm glad I can use (without big changes) many passages from the original README.md. Once again, thank you!
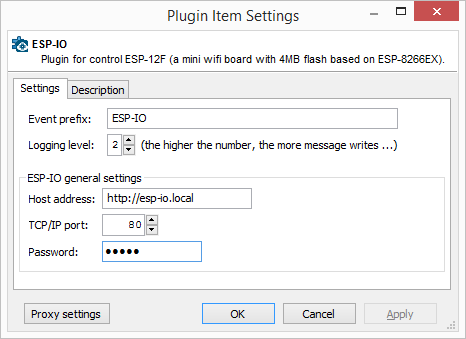
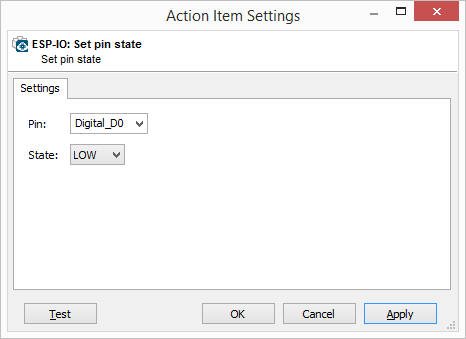
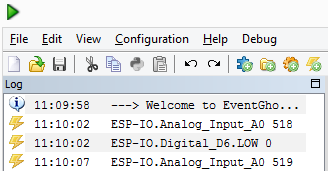
The basic requirement was a smooth collaboration with EventGhost. This means that the state of the outputs must be able to be controlled by EventGhost actions, changing the state of an input or output must trigger an EventGhost event, and it must be possible to query the state of the input or output. With a web interface, it must be possible the entire device to configure and as well as to control.

- Using WebSocket protocol to exchange data between Hardware and Web Browser and or between Hardware and EventGhost
- Data is encoded as JSON object
- Bootstrap for beautiful Web Pages for both Mobile and Desktop Screens
- Thanks to ESPAsyncWebServer Library communication is asynchronous
This project still in its development phase. Latest development version is 0.0.4
A development board like WeMos D1 mini or NodeMcu 1.0 with at least 32Mbit Flash (equals to 4MBytes).
Please install Arduino IDE if you didn't already, then add ESP8266 Core (Beware! Install Git Version) on top of it. Additional Library download links are listed below:
- Arduino IDE - The development IDE
- ESP8266 Core for Arduino IDE - ESP8266 Core
- ESPAsyncWebServer - Asyncrone Web Server with WebSocket Plug-in
- ESPAsyncTCP - Mandatory for ESPAsyncWebServer
- ArduinoJson - JSON Library for Arduino IDE
- NTPClientLib - NTP Client Library for Arduino IDE
- TimeLib - Mandatory for NTP Client Library
You also need to upload web files to your ESP with ESP8266FS Uploader.
- ESP8266FS Uploader - Arduino ESP8266 filesystem uploader
Unlisted libraries are part of ESP8266 Core for Arduino IDE, so you don't need to download them.
- First, flash firmware
- Flash webfiles data to SPIFFS either using ESP8266FS Uploader tool or with your favourite flash tool
- (optional) Fire up your serial monitor to get informed
- Power on your ESP
- Search for Wireless Network "ESP-IO" and connect to it (It should be an open network and does not reqiure password)
- Open your browser and type either "http:https://192.168.4.1" or "http:https://esp-io.local" (.local needs Bonjour installed on your computer) on address bar.
- Log on to ESP, default password is "admin"
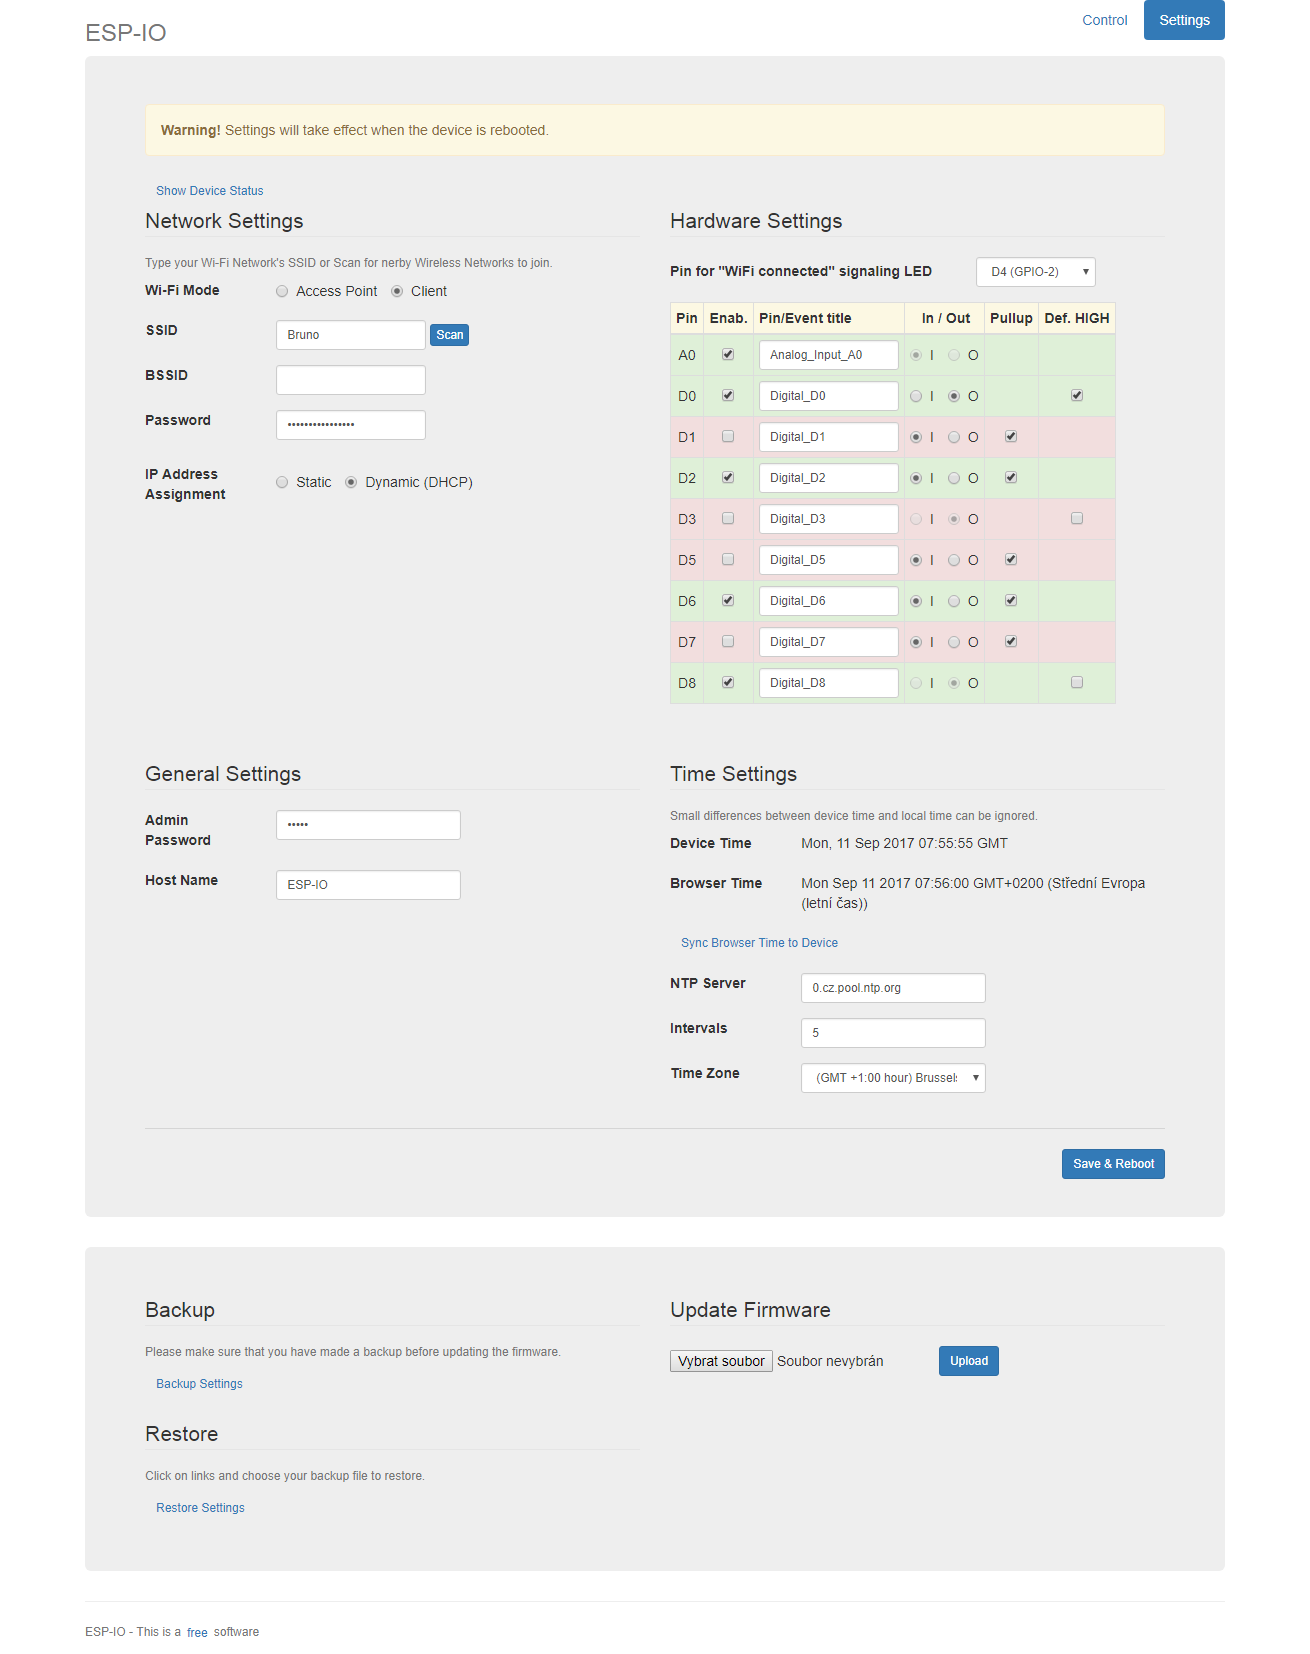
- Go to "Settings" page
- Configure your amazing access control device. Push "Scan" button to join your wireless network, configure inputs and outputs.
- Save settings, when rebooted your ESP will try to join your wireless network.
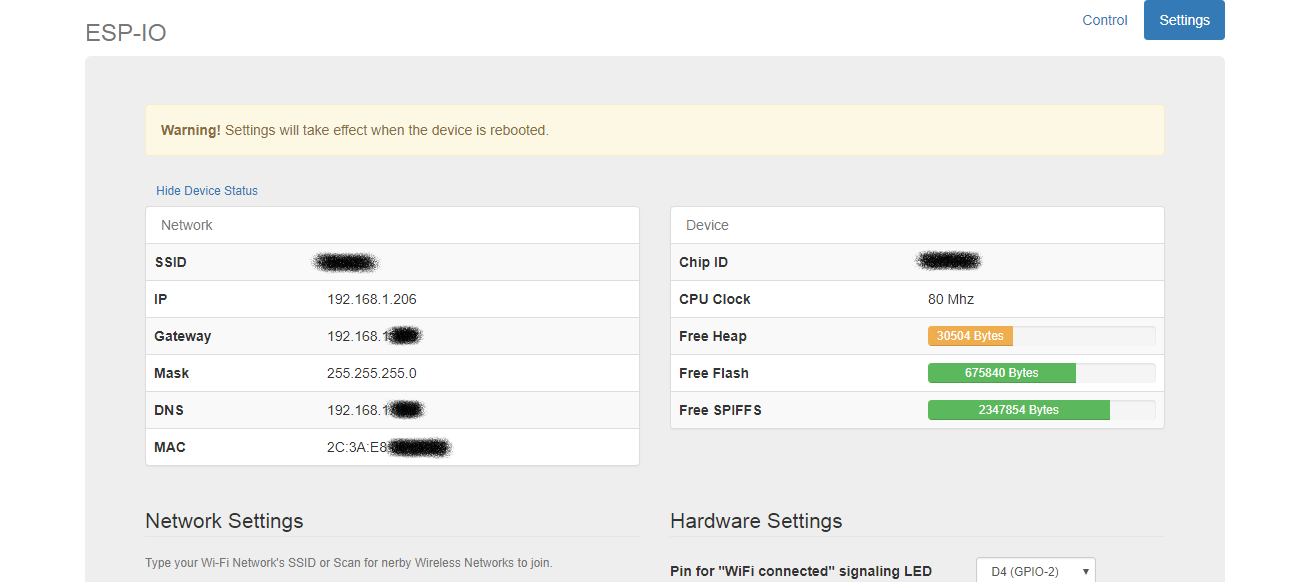
- Check your new IP address from serial monitor and connect to your ESP again. (You can also connect to "http:https://esp-io.local")
- Congratulations, everything went well, if you encounter any issue feel free to ask help on GitHub.