-
Deploy your application on Heroku and ensure it is running properly
-
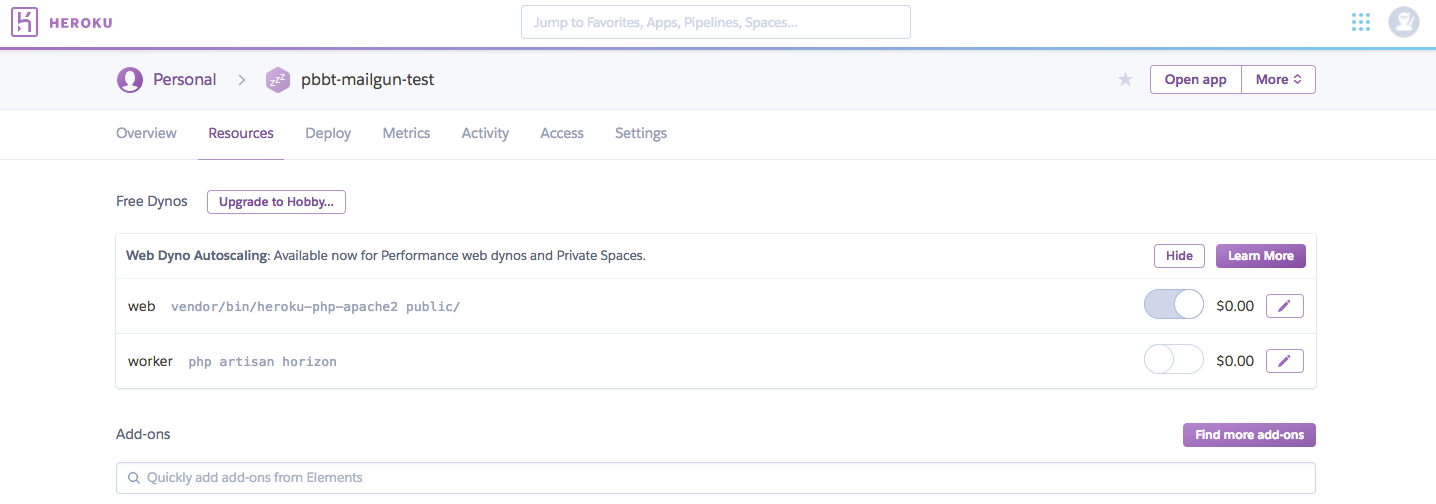
Go to Resources and click on Find More add-ons
-
Search for Mailgun from the Heroku Home Page

-
Click on the Mailgun add-on and install the extension for your application
-
To use the free plan, provided by Mailgun, credit card information must be provided on your Heroku account. (There will be no charge, but card must be added)
-
Once the Mailgun is added on Heroku, for your application, it automatically creates a test domain, called sandbox*****.mailgun.org

-
You can click on your application's mailgun add-on to see the Domain information and other configuration details.

-
Now go to your Laravel project, and open it in your preferred code editor or IDE
-
To use the mailgun driver, install Guzzle using the command, from your terminal


composer require guzzlehttp/guzzle
-
Open the
config/mail.phpfile, and change thedriveroption tomailgun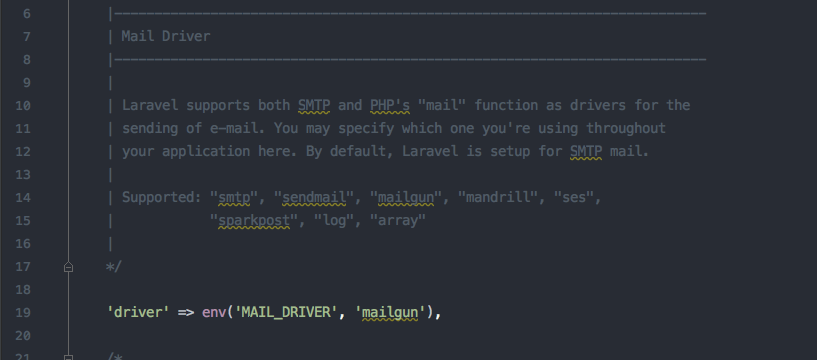
-
Next open, the
config/services.php file. Here you will find configuration option for third party services. Laravel already has configuration options for mailgun. You need to add your domain and API key from Heroku here.
-
Go to your Heroku Mailgun add-on, which we created above, and copy the domain name and API key, and add them in the
config/services.phpfile under the mailgun options
-
Once the configuration is completed, we can now send emails through our routes file or configure our routes to use controllers for sending emails.
-
Once easy way to test if it works, would be to try directly from the
routes/web.phpfile. (Example shown below)


Route::get('send_test_email', function(){
	Mail::raw('Sending emails with Mailgun and Laravel is easy!', function($message)
	{
		$message->subject('Mailgun and Laravel are awesome!');
		$message->from('no-reply@website_name.com', 'Website Name');
		$message->to('[email protected]');
	});
});
In case of using the free plan with Mailgun, you should authorize recipients to receive mail
- Go to mailgun add-on on Heroku.
- Click on your domain
- Here you will see a
Authorized Recipientssection - Add users email addresses in this section
- The added users will receive a confirmation email, which they have to accept in order to receive mails from your application via mailgun.
- Once this is completed, the added users will be able to receive emails from your application via mailgun.