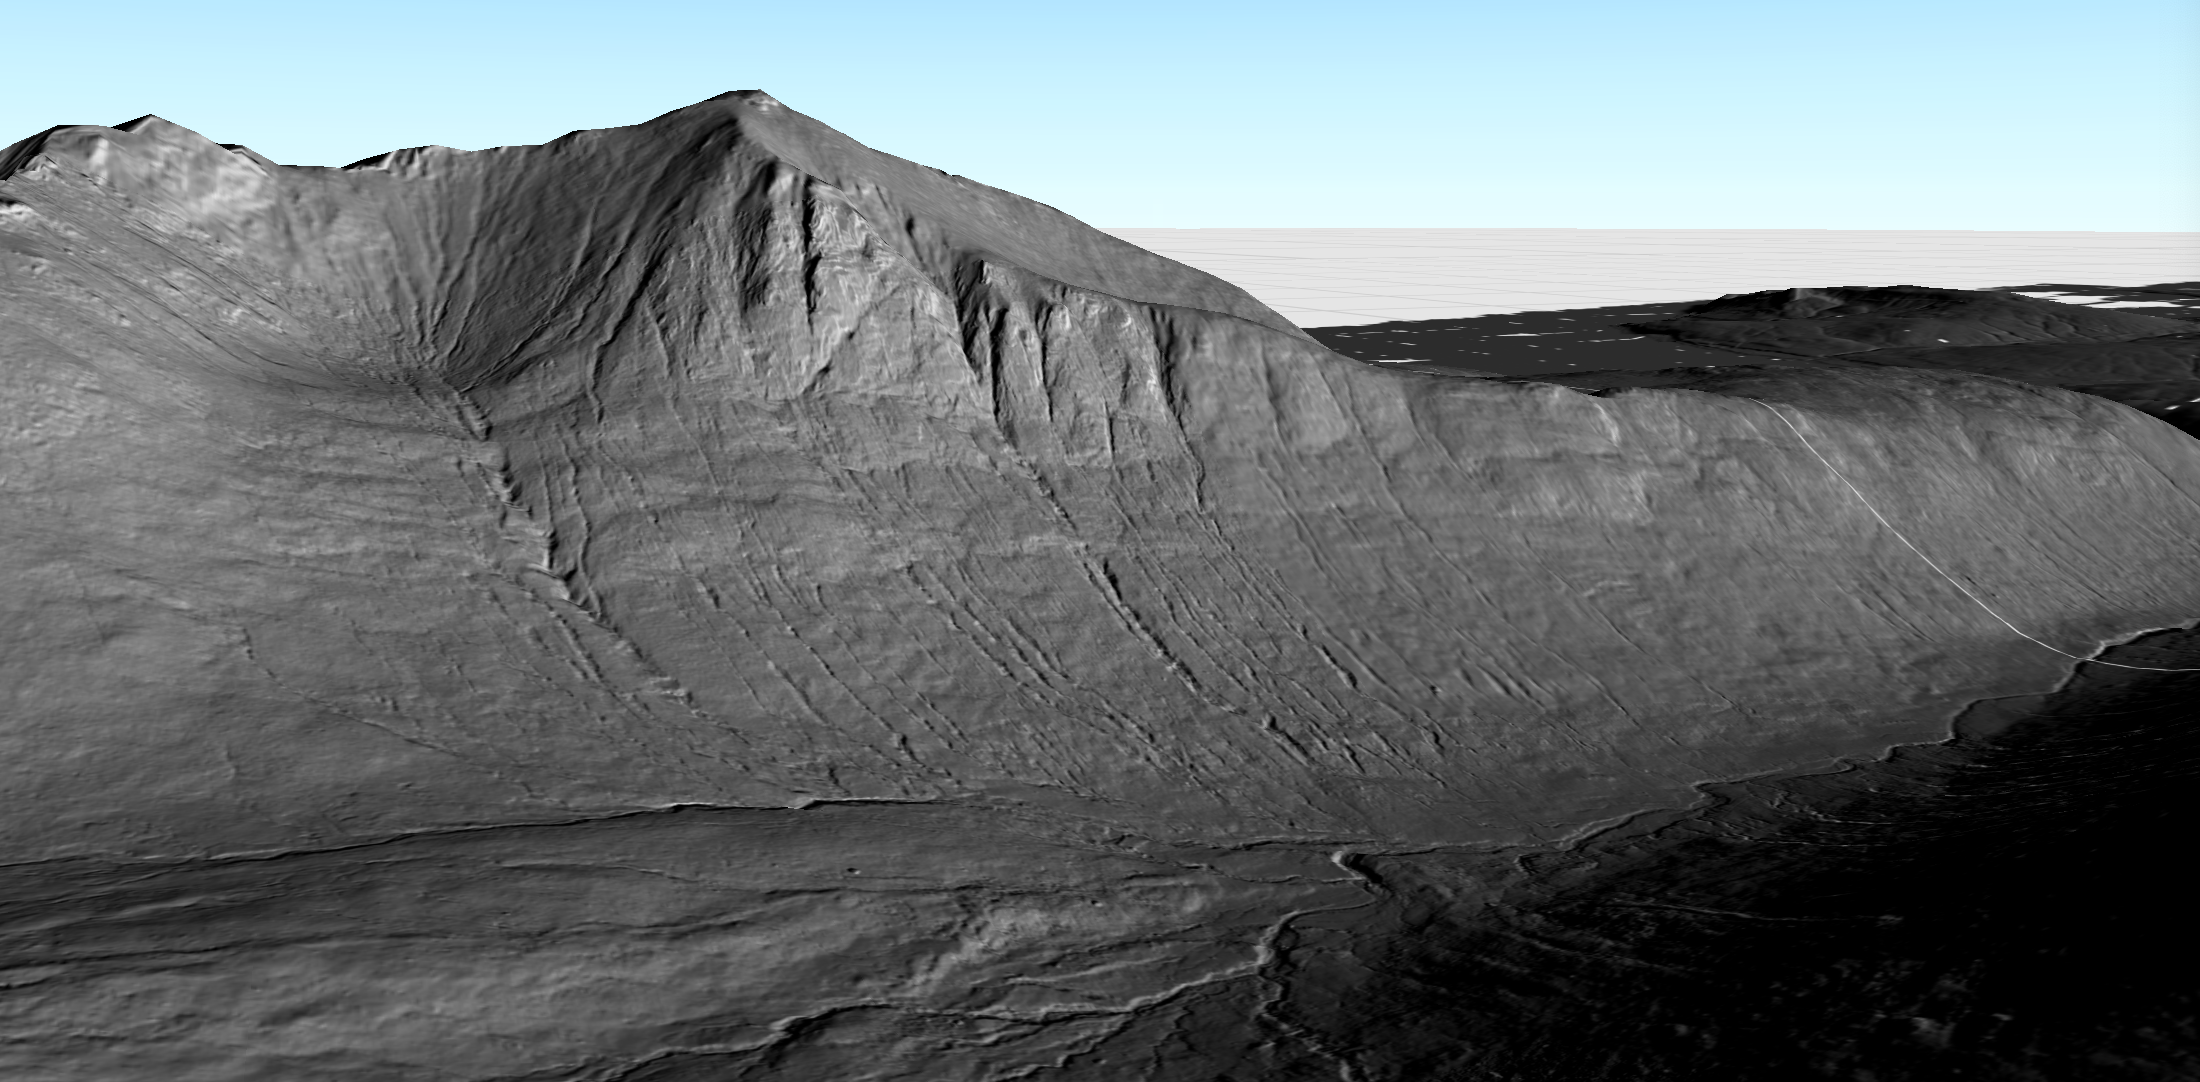
The accompanying blog for this code demo can be found on the Esri blog webpage. This demo application can be run via an IDE such as IntelliJ, please see instructions below.
When the demo application launches, simply explore the data by interacting with the scene view via the mouse or keyboard.
Please note, the data in this sample will automatically download on the first run. This may take a while depending on your internet connection speed.
- Open IntelliJ IDEA and select File > Open....
- Choose the arcgis-runtime-java-demos directory and click OK.
- Select File > Project Structure... and ensure that the Project SDK and language level are set to use Java 17.
- Open the Gradle view with View > Tool Windows > Gradle.
- In the Gradle view, double-click
copyNativesunder Tasks > build. This will unpack the native library dependencies to $USER_HOME/.arcgis. - In the Gradle view, double-click
rununder Tasks > application to run the app.
cdinto the project's root directory.- Run
./gradlew clean buildon Linux/Mac orgradlew.bat clean buildon Windows. - Run
./gradlew copyNativeson Linux/Mac orgradlew.bat copyNativeson Windows. This will unpack the native library dependencies to $USER_HOME.arcgis. - Run
./gradlew runon Linux/Mac orgradlew.bat runon Windows to run the app.
See the Runtime SDK's system requirements.
