- AWS account
- Kubernetes setup using KOPS
- Registered DNS records and name
  Name: kops
  AMI: Ubuntu 20.04
  InstanceType: t2.micro
  SecGrp: allow SSH on port 22 from MyIP
  KeyPair: create a new keypair
-
We will create an S3 bucket to store Kops state. As long as we point our s3 bucket with kops state file, we can run kops command from anywhere.
Name: barry-vprofile-kops-state
- This user will be used for AWSCLI Programmatic access.
- Name: kopsadmin Policy: AdministratorAccess (you can specifiy only necessary permissions as well for best-practice)
-
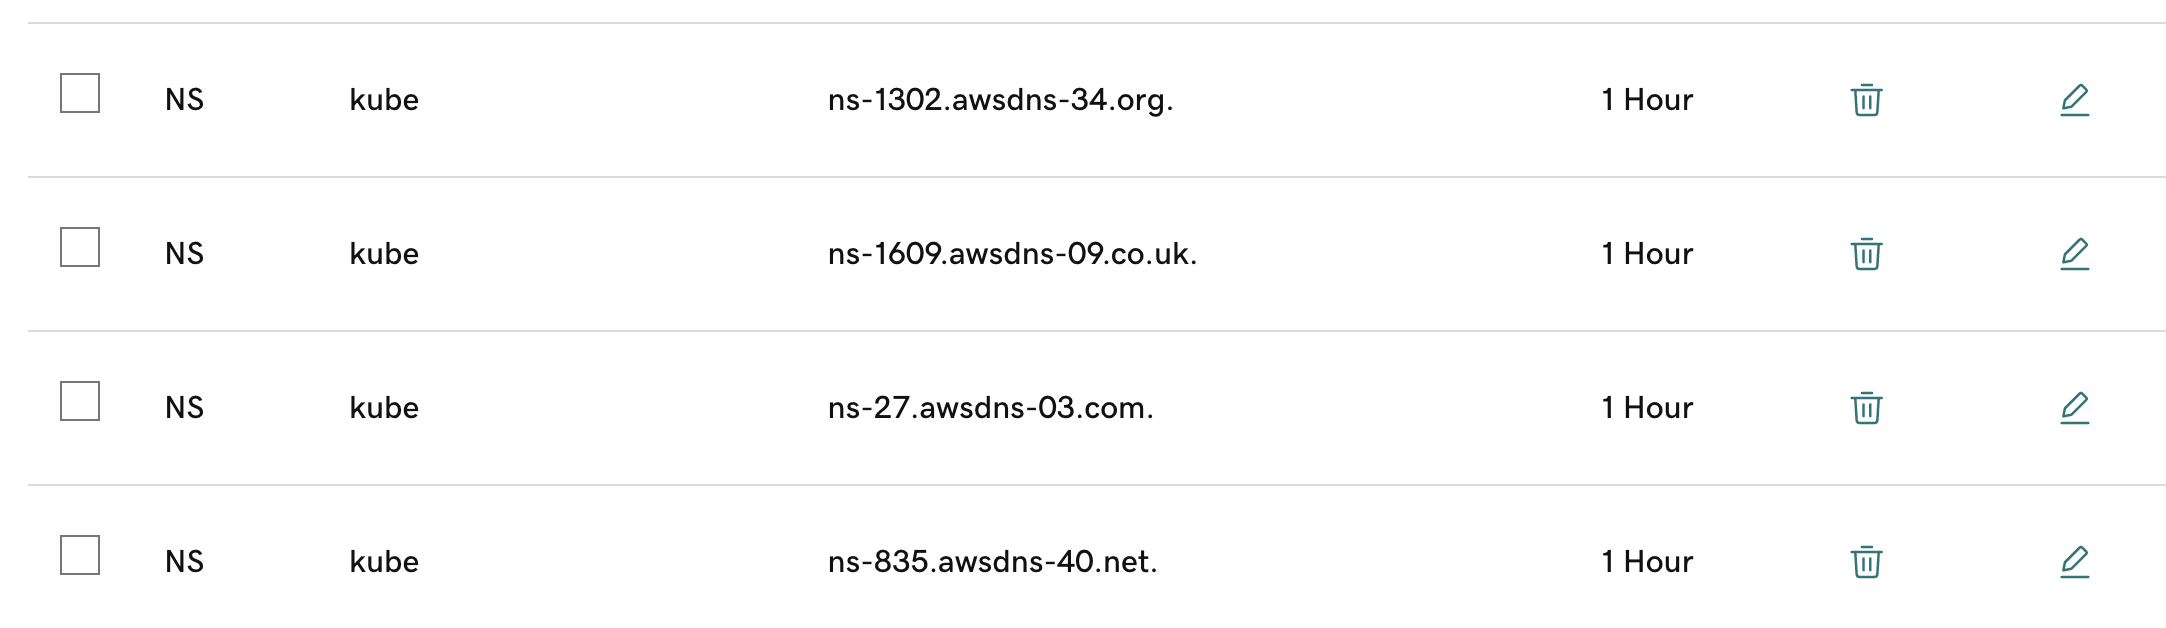
We will create a Public hosted in Route53. Then we will add its NS records to our Domain registerer. My registered domain name:
barrydevops.com. I will create a hostedzone with below name.Name: kubeapp.barrydevops.com -
We will be creating 4 NS values to our Registered domain as NS Record.

-
SSH into your kops instance with your newly created pem key.
-
First we will create an SSH-key which will be used for kops. Public key will be pushed to all other instances automatically.
ssh-keygen -
Next we will install awscli and configure it with kopsadmin access credentials.
sudo apt update && sudo apt install awscli -y
aws configure
-
As per Kubernetes official documentation, we need to install kubectl and kops. Follow steps from documentation.Once installation steps are complete, run below commands to check if they are ready to use.
kops version kubectl version --client -
Next we need to verify domain we have created in Route53.
 -
Now we will run kops command which will create kops cluster.(Note: Don't forget to replace your domain name and s3 bucket name in the command.) Below command won't create cluster, it will create configuration of cluster.
kops create cluster --name=kube.barrydevops.com \ --state=s3:https://barry-vprofile-kops-state --zones=us-east-1a,us-east-1b \ --node-count=1 --node-size=t3.small --master-size=t3.medium \ --dns-zone=kube.barrydevops.com \ --node-volume-size=8 --master-volume-size=8 -
We can create cluster with below command, we need to specify the s3 bucket we use for state config.
kops update cluster --name kube.barrydevops.com --state=s3:https://barry-vprofile-kops-state --yes --admin -
After issuing thsi command, wait 10-15 minutes before validating the cluster with below command:
kops validate cluster --state=s3:https://barry-vprofile-kops-state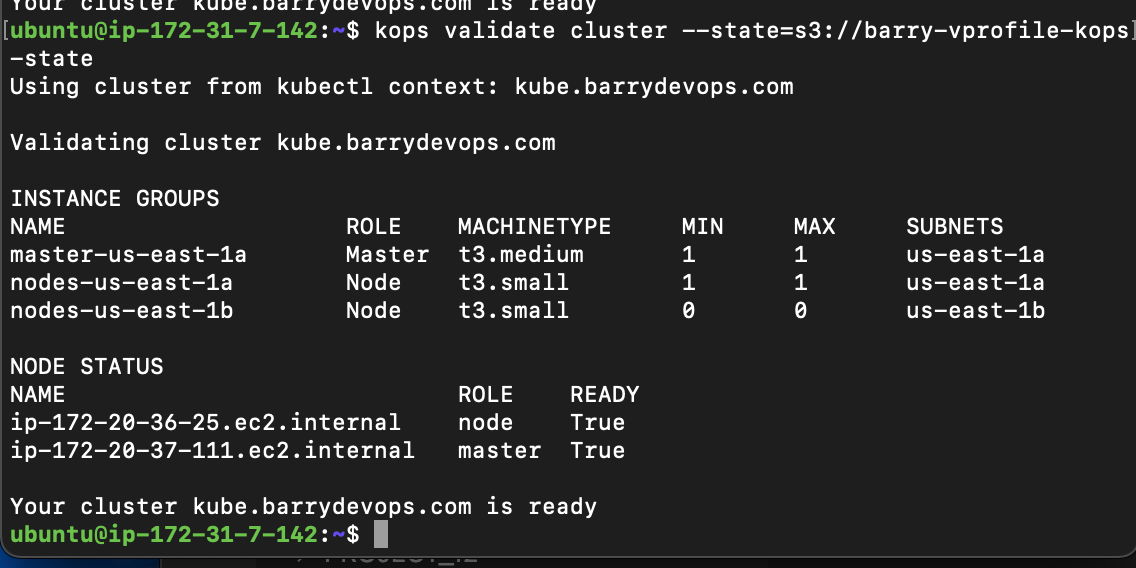
-
Validate our cluster using
kubectlcommand


-
We need to create an EBS volume to store mySQL data. Use below command to create one.
aws ec2 create-volume \
--availability-zone us-east-1a \
--size 3 \
--volume-type gp2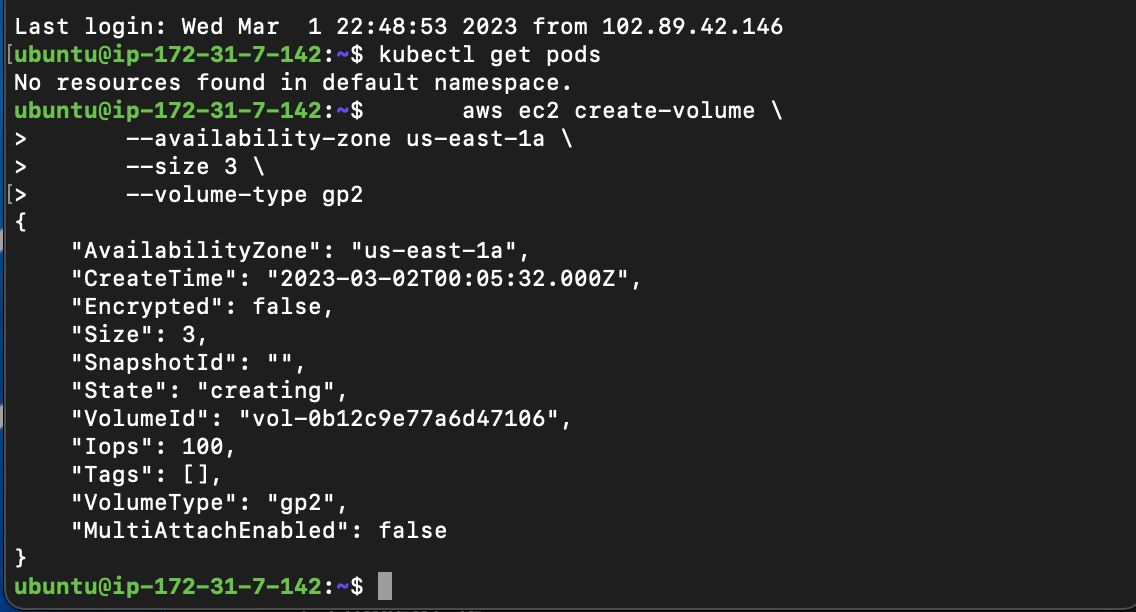
-
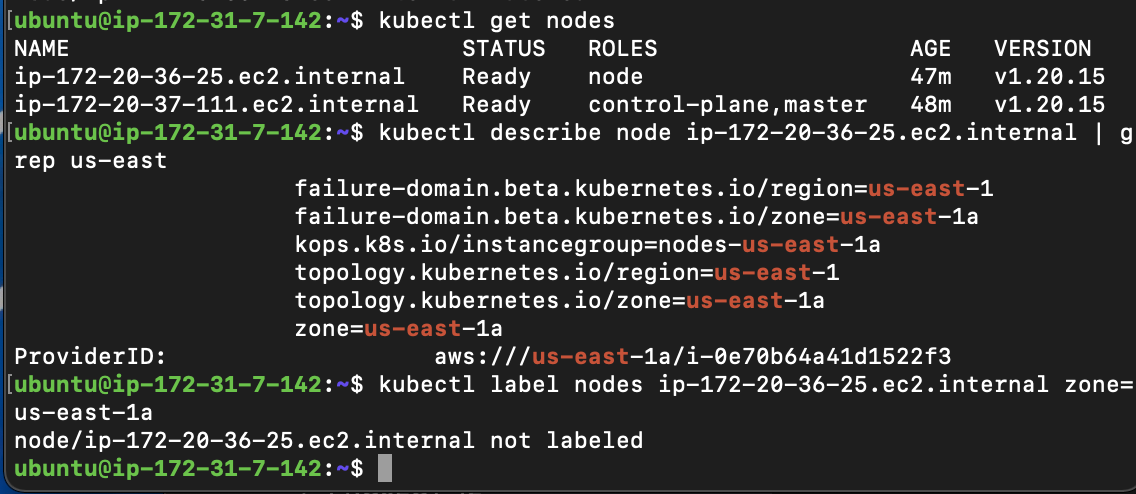
Next, I will label the nodes with zone=us-east-1a. We need to make sure that we are running our DB pod in the same zone our EBS volume created. For this reason we will create labels for our nodes.


-
You can find all kubernetes manifest files by cloning this repository.Clone this repo to your ec2. Make necessary changes in files, before applying kubectl commands.
https://github.com/apotitech/kube-app -
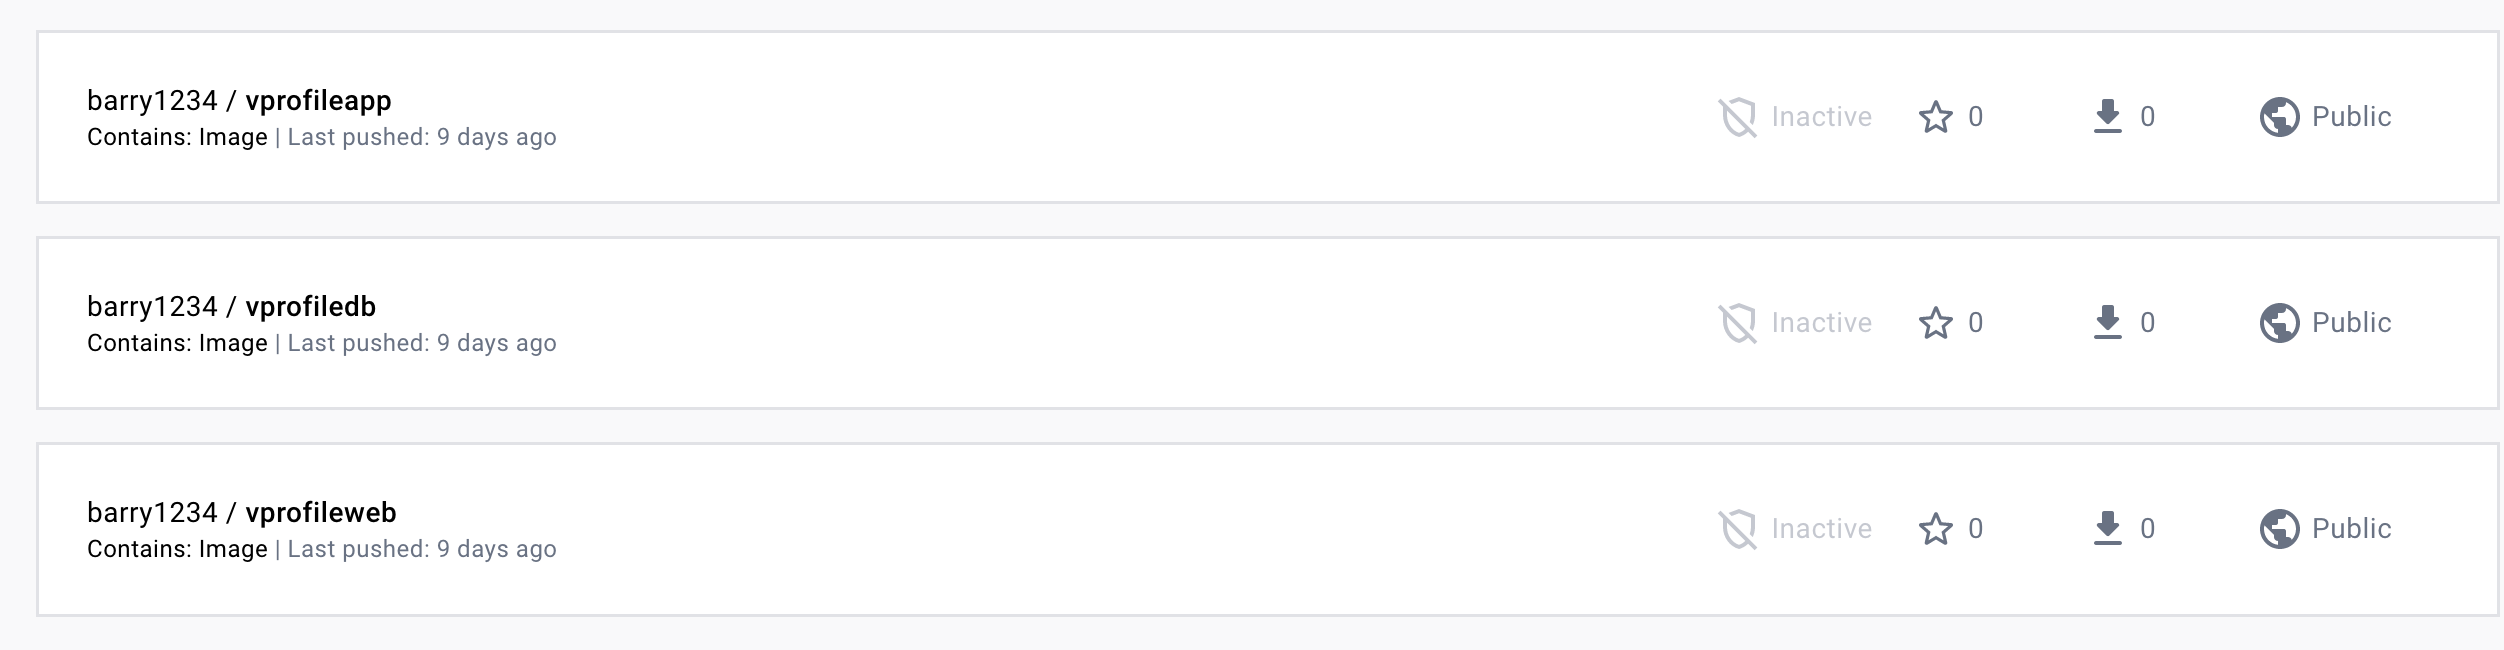
In Project-12, we have Containerized the vprofile application and push it to the DockerHub. We will use the images below with :V1 tag from DockerHub repository in our Kubernetes manifests.
-
Our vprofile application is using below application.properties file. We need to create Kubernetes services with the same name given in this file for application to connect them.
#JDBC Configutation for Database Connection
jdbc.driverClassName=com.mysql.jdbc.Driver
jdbc.url=jdbc:mysql:https://vprodb:3306/accounts?useUnicode=true&characterEncoding=UTF-8&zeroDateTimeBehavior=convertToNull
jdbc.username=root
jdbc.password=vprodbpass

#Memcached Configuration For Active and StandBy Host
#For Active Host
memcached.active.host=vprocache01
memcached.active.port=11211
#For StandBy Host
memcached.standBy.host=vprocache02
memcached.standBy.port=11211

#RabbitMq Configuration
rabbitmq.address=vpromq01
rabbitmq.port=15672
rabbitmq.username=guest
rabbitmq.password=guest

#Elasticesearch Configuration
elasticsearch.host =vprosearch01
elasticsearch.port =9300
elasticsearch.cluster=vprofile
elasticsearch.node=vprofilenode

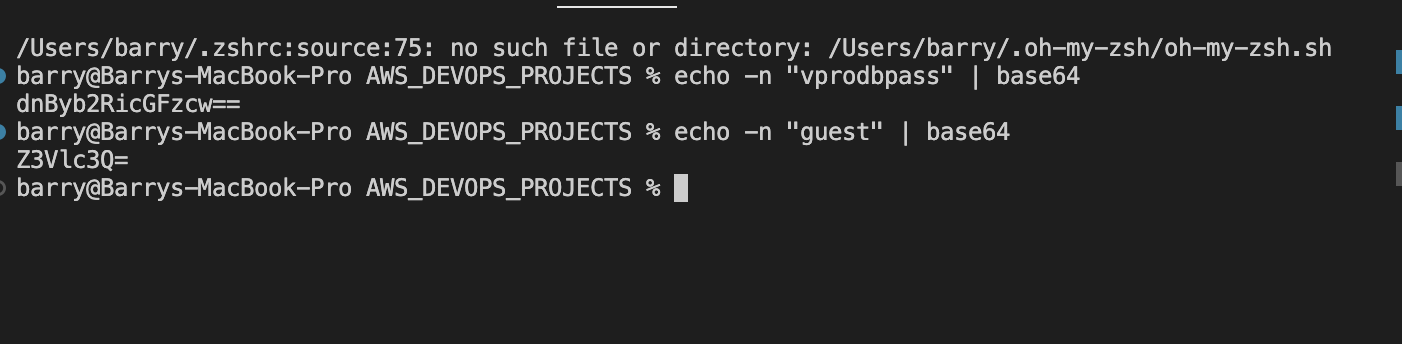
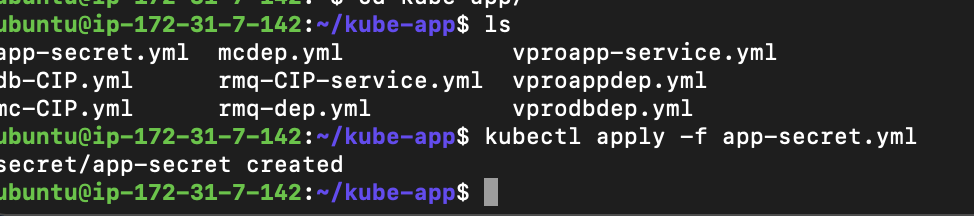
- In application.properties file, we have db password and rabbitMQ password. We will encode these values and create a K8s secret file as in given under kubernetes directory.


-
Create a K8s DB deployment and service file as in given under kubernetes directory.


-
Create a K8s MC deployment and ClusterIP type service file as in given under kubernetes directory.Run below commands to create files:
kubectl apply -f mcdep.yml
kubectl apply -f mc-CIP.yml
-
Create a K8s RMQ deployment and ClusterIP type service file as in given under kubernetes directory.Run below commands to create files:
kubectl apply -f rmq-dep.yml kubectl apply -f rmq-CIP.yml -
We can check the resources created with below command:
kubectl get all

-
Create a K8s Application deployment and LoadBalancer type service file as in given under kubernetes directory.Run below commands to create files:
kubectl apply -f vproapp-dep.yml
kubectl apply -f vproapp-svc.yml
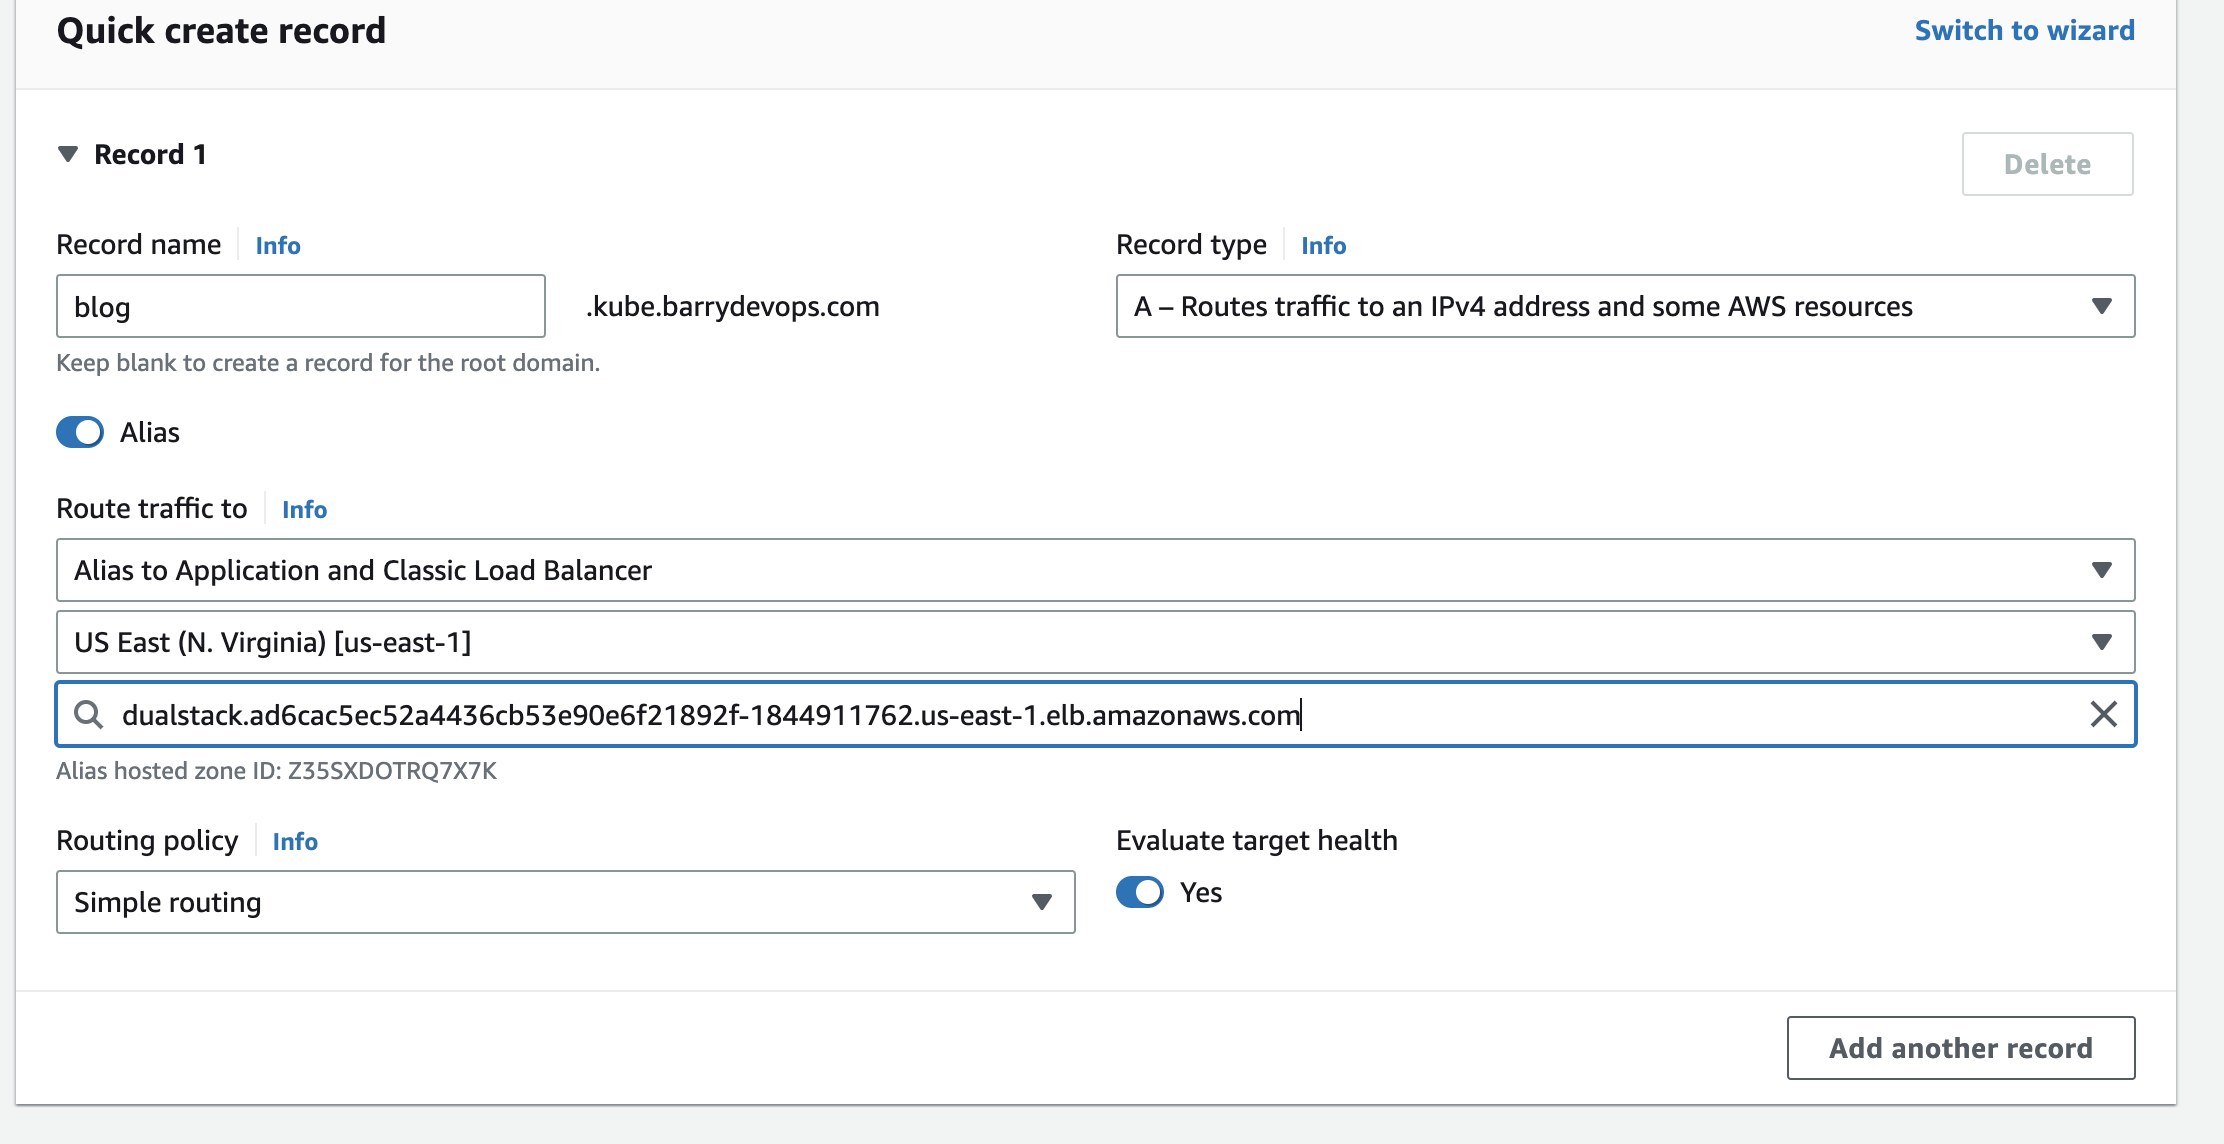
- We will create a A record with Alias to Load balancer.
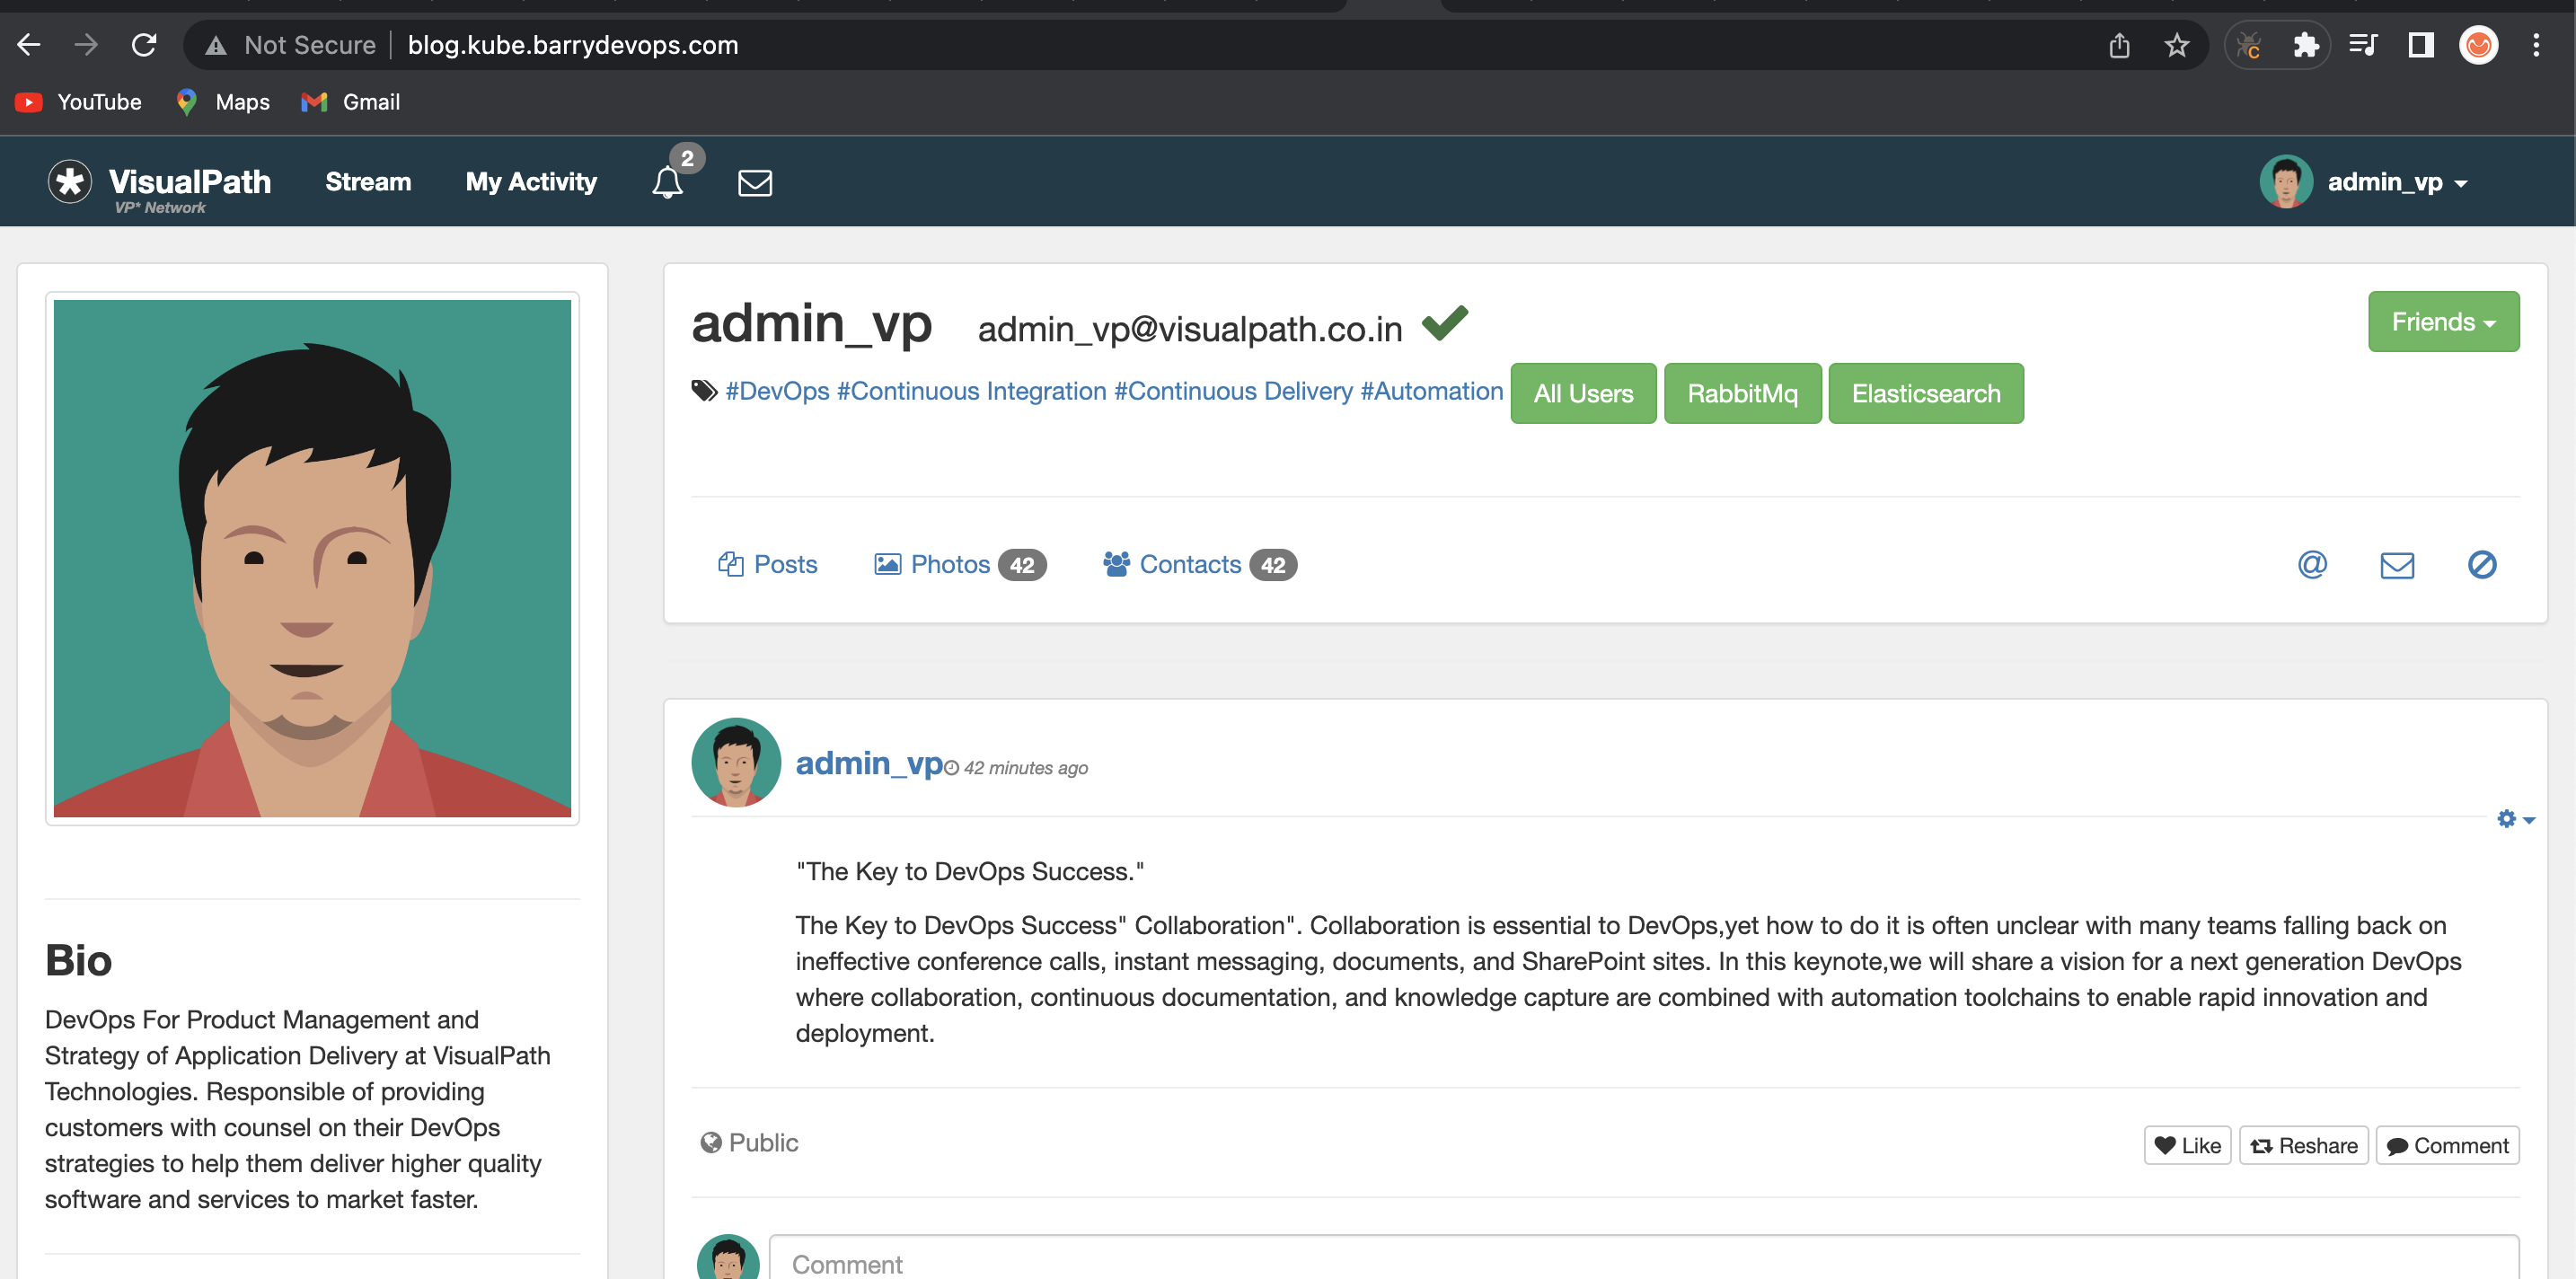
- Lets validate our application from browser with our new dns name.

- We validated DB by successfully logging in with admin_vp/admin_vp username&pwd.
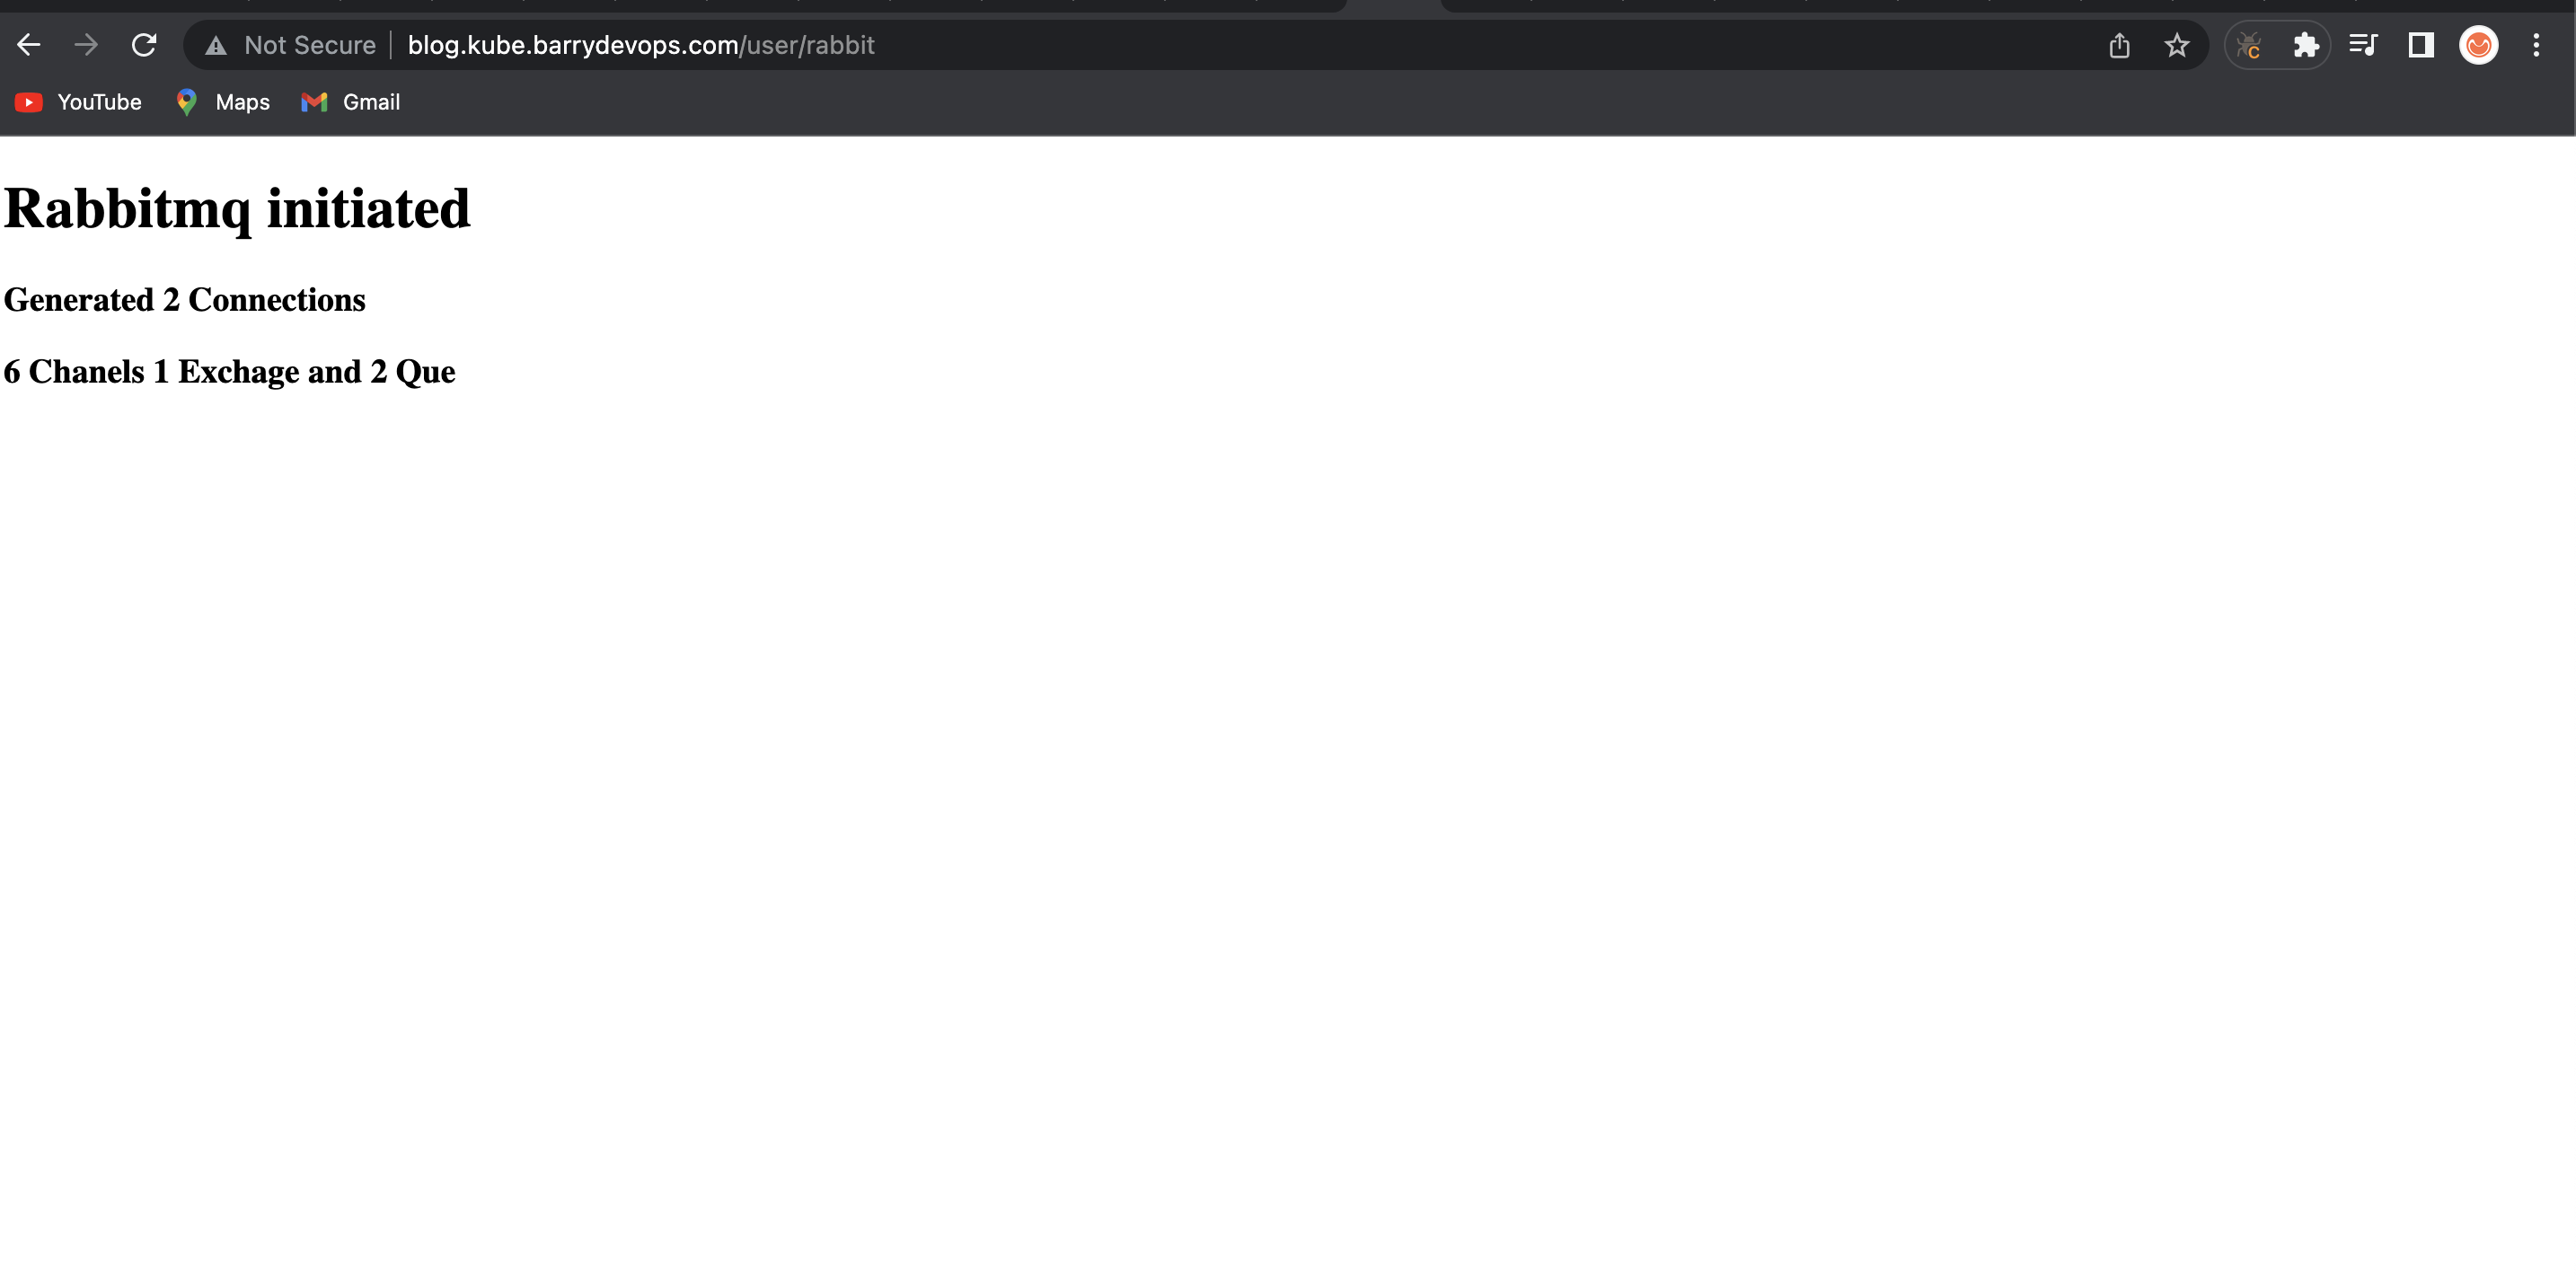
- We can validate RabbitMQ service.
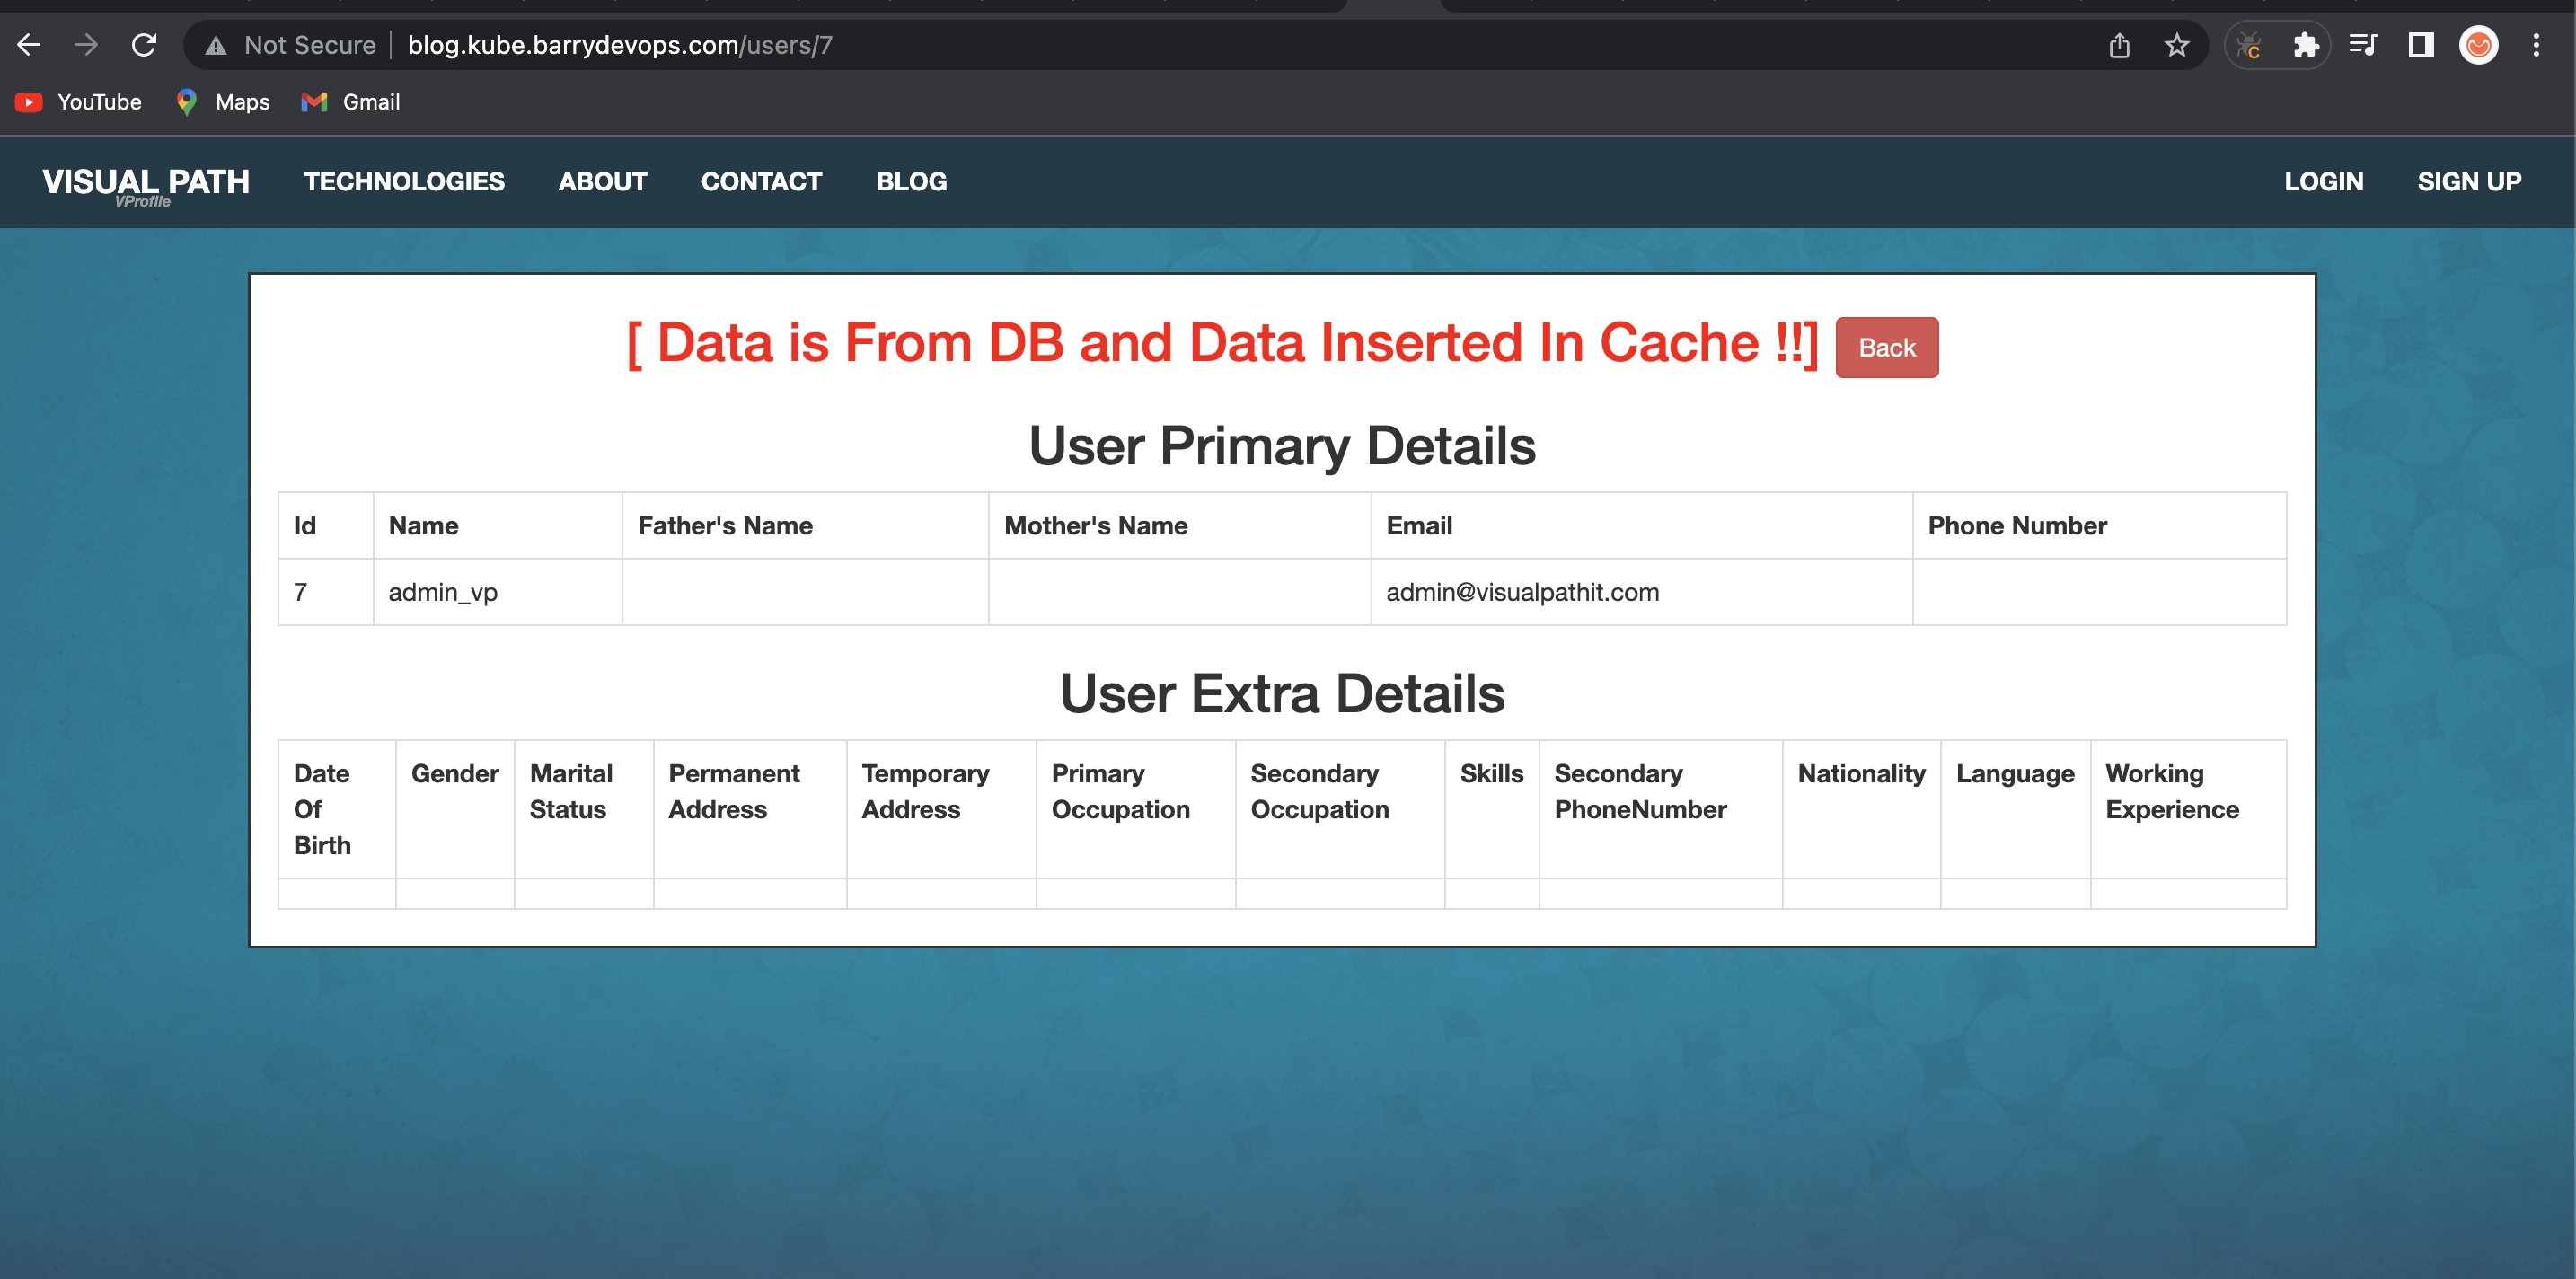
- Lastly, we can verify our memcached service.


-
We will start with deleting our kubernetes services first. Then we will delete our cluster, s3 bucket, Route53 Hosted zone.
Kops delete cluster --name=kube.barrydevops.com --state=s3:https://barry-vprofile-kops-state --yes