How to setup Bioollect grails 3 in Intellij
-
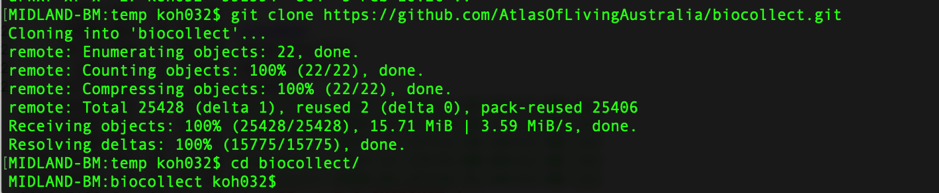
Clone biocollect grails 3 project into a directory.
-
Checkout the branch which contain the latest grails3 code.

-
In Intellij, click Open and navigate to the biocollect folder then click on Open.


-
The first time when you open the project, you need to Import Project from Gradle. As the biocollect project comes with Gradle wrapper, keep the default setting and click OK.

-
Once the project opens, wait for Intellij to configure the build. You should see the following.


-
Before running biocollect grails 3, make sure that the following properties file exist in /data/biocollect/config/biocollect-config.properties (or as indicated in application.yml)

-
The minimum config in the properties file looks like this:

-
Biocollect by default runs on port 8087 in development mode. Modify application.yml or add server.port in properties file if a different port is required. The security.cas.appServerName and server.serverURL as well if needed.


How to modify plugins in a grails 3 project
-
To modify a plugin project for biocollect, for eg: ala-map-plugin, first git clone ala-map-plugin in the same folder where biocollect is. Checkout branch where latest grails3 code is.

-
In biocollect project, modify settings.gradle and add the following:

-
In biocollect project, modify the build.gradle file to set inplace = true, then add the inplace plugin

-
Make sure dependencies does not include the ala-map-plugin as we have inplace plugin project which is part of the build.

-
Once the build.gradle is modified, rebuild biocollect project. Once the project has a successful build, you should now see ala-map-plugin project as well.


